Tag Archives: pie crust

Heirloom Tomato Tart

Got Tomatoes? When it is tomato season, heirlooms are front and center in our household. At first glance, some heirloom tomatoes may seem flawed, but it’s actually their uniformly red counterparts who are the genetic deviants of the tomato family.

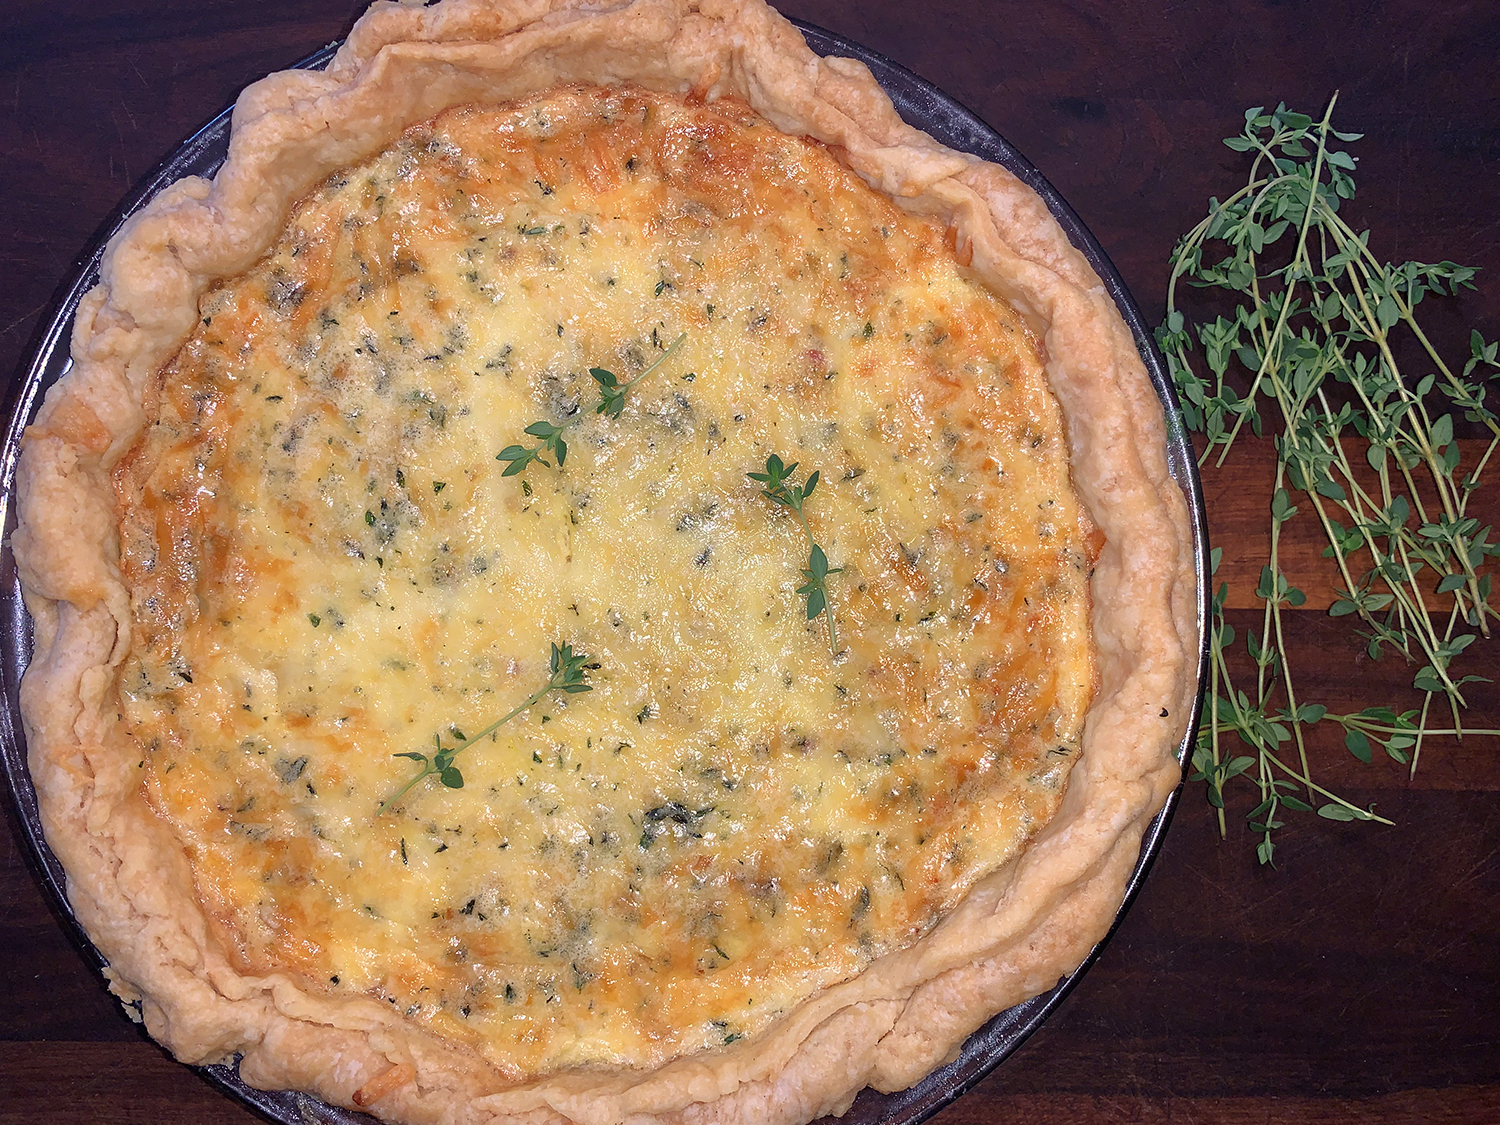
According to NY Times Cooking, decades ago, many businesses decided to prioritize cookie-cutter-like hybrid tomatoes, which grow year-round and can survive a long, bumpy journey. It left heirloom tomatoes on the wrong side of the deal. The varieties that remain have a shorter shelf life and are relegated to just a few months of summer, but they’re sweeter with a more robust flavor. This tart celebrates juicy, vibrant tomatoes in a cheesy, herby, custard-filled, flaky crust, with each bite punctuated with pesto.

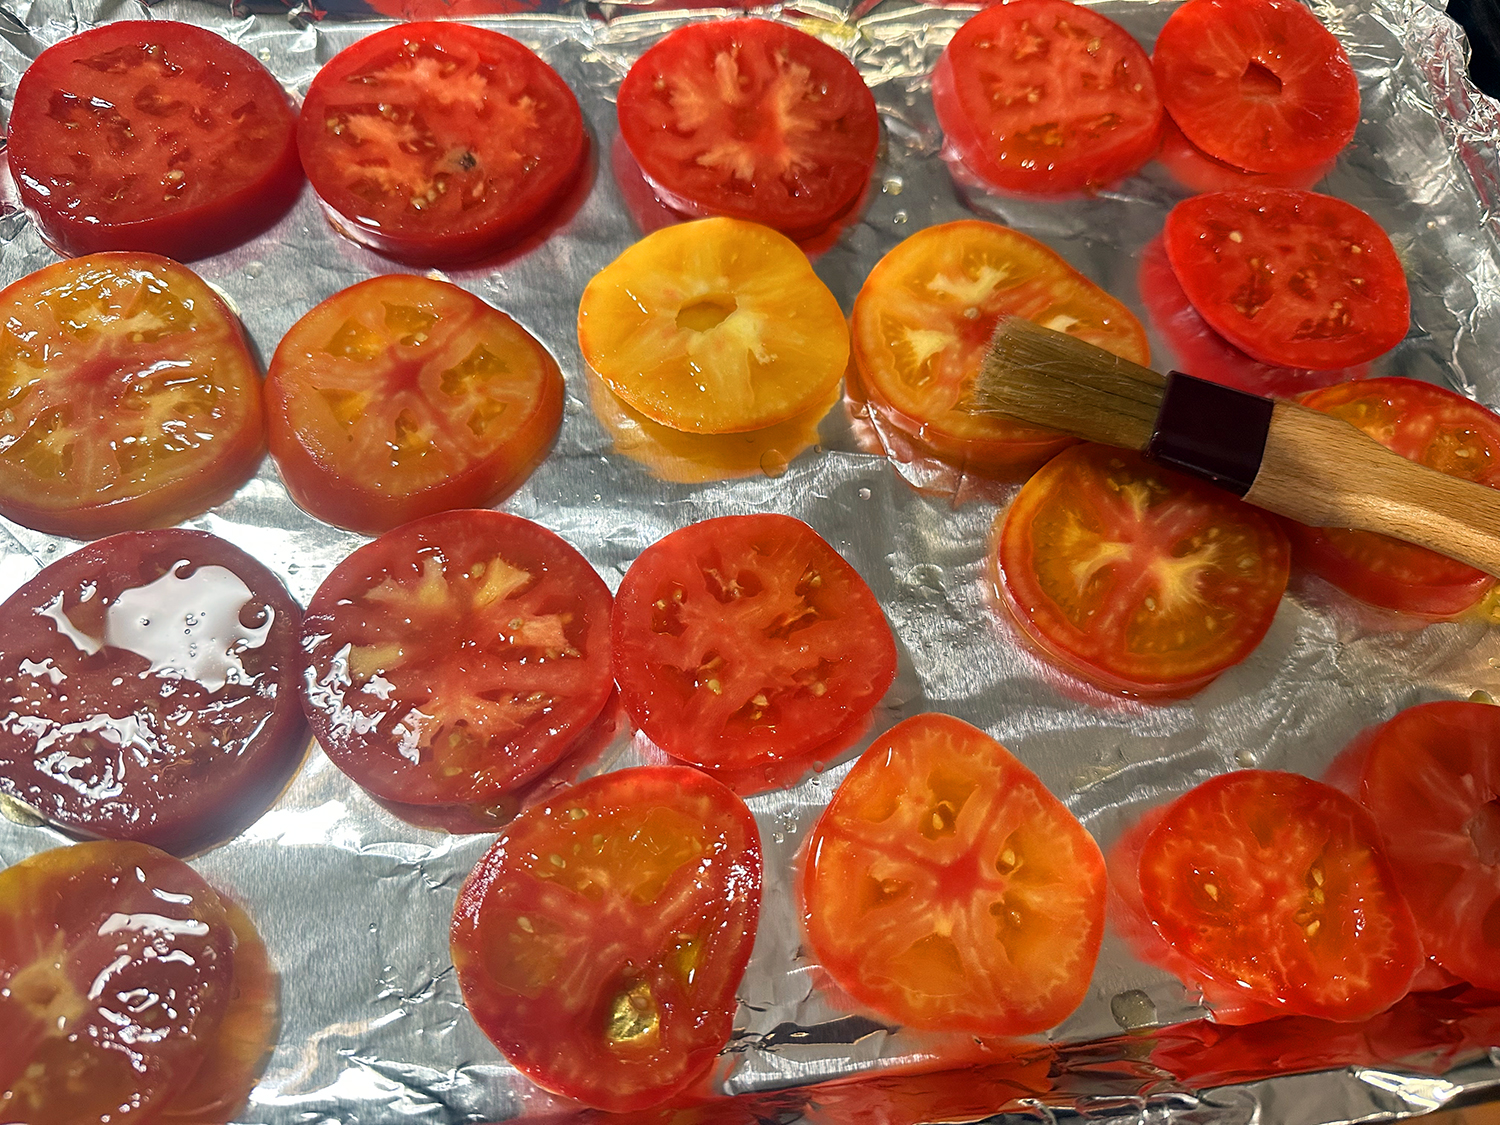
Due to the final results, we made numerous changes and made another tart. By roasting the tomato slices first, much of the moisture evaporates and the tomato flavor is more concentrated. We doubled the amount of shredded mozzarella and added it to the custard, layering the tomatoes on top of that.

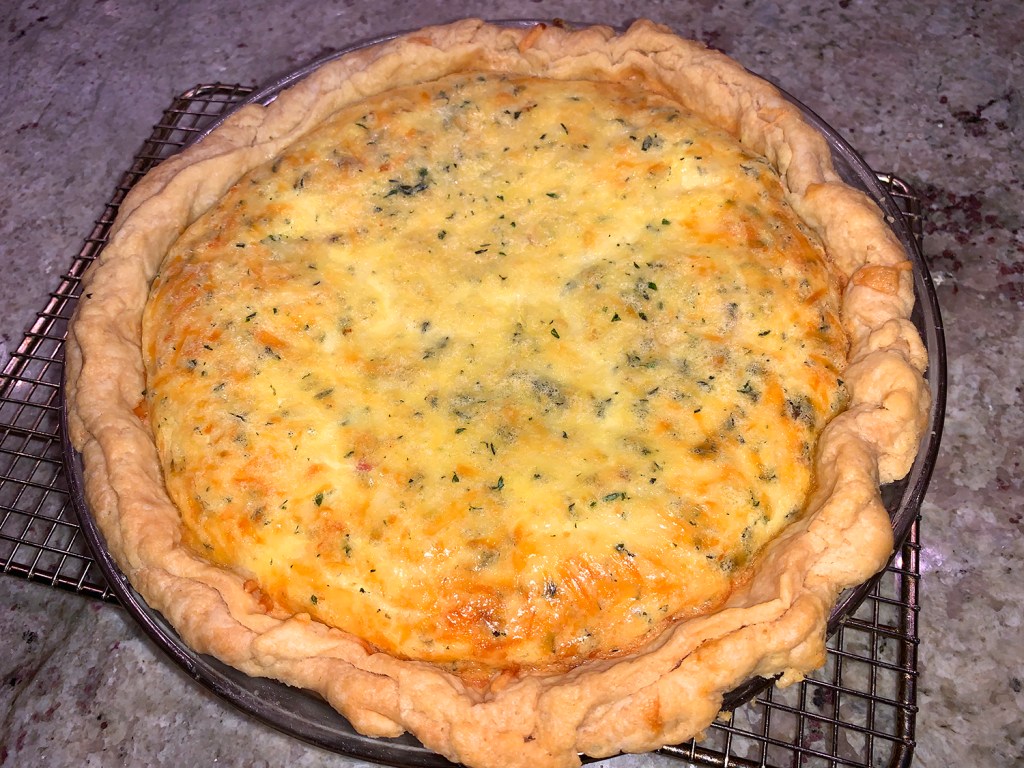
The second pie was firmer, and these new instructions are noted below. The tart will feed 4 as a main course with a salad; 6-8 as a starter course.

Heirloom Tomato Tart

  • Servings: 4-8
  • Difficulty: easy
  • Print

Ingredients

  • Dough for a 9-inch single crust pie, or use store-bought, rolled into an 11-inch round
  • 1½ lbs. ripe heirloom tomatoes (about 4 medium), cored and sliced ¼” thick
  • ¼ cup store-bought pesto, such as Classico
  • 1½ cup shredded mozzarella (about 6 oz.)
  • 1 Tbsp. finely chopped fresh basil
  • 1 Tbsp. finely chopped fresh oregano
  • 3 large eggs
  • â…“ cup heavy cream
  • ½ tsp. kosher salt
  • ½ tsp. freshly ground black pepper

Directions

  1. Heat oven to 375 degrees. Cut the tomatoes into 1/4-thick slices. Salt tomato slices, brush with olive oil, place on sheet pan lined with foil and roast in the oven for 30 minutes, turning pan once halfway through.
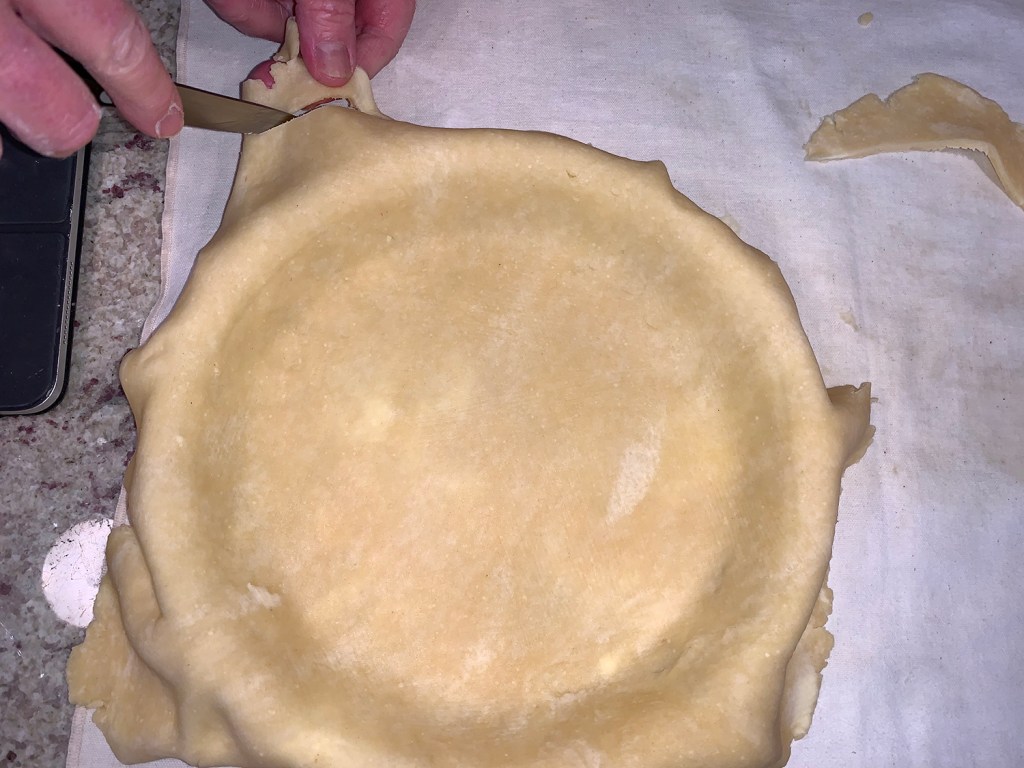
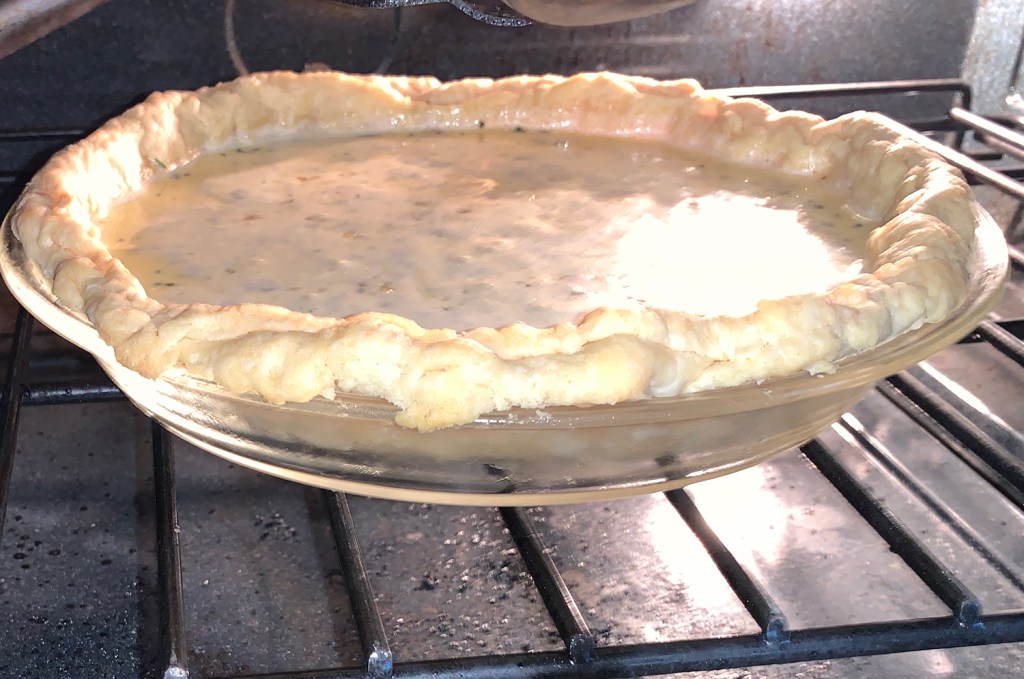
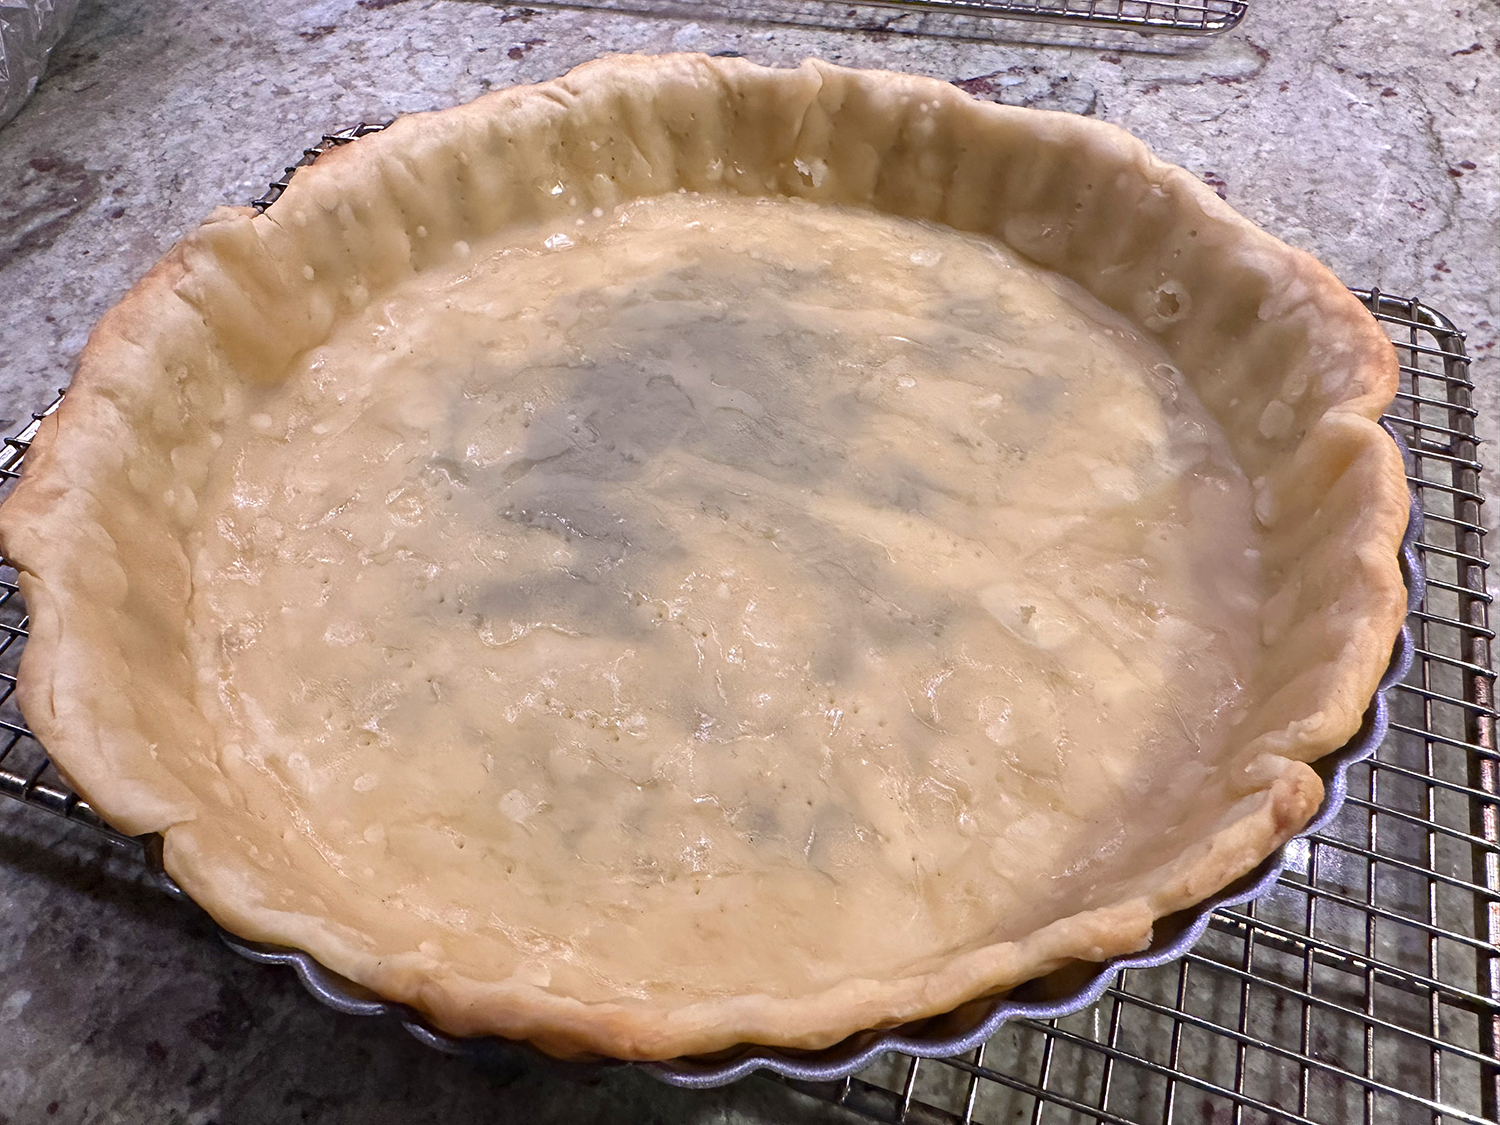
  2. While tomatoes roast, fit the rolled-out dough into a 9-inch tart pan, allowing the edges to rise about ¼ inch above the rim of the pan. Prick the dough all over with a fork.
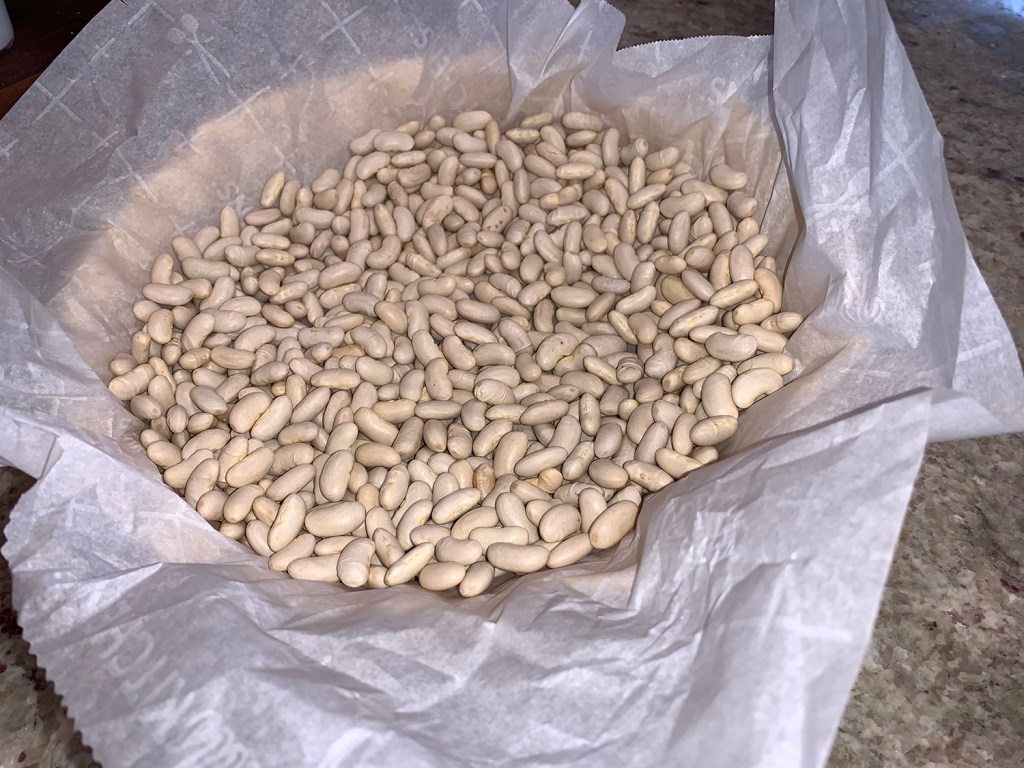
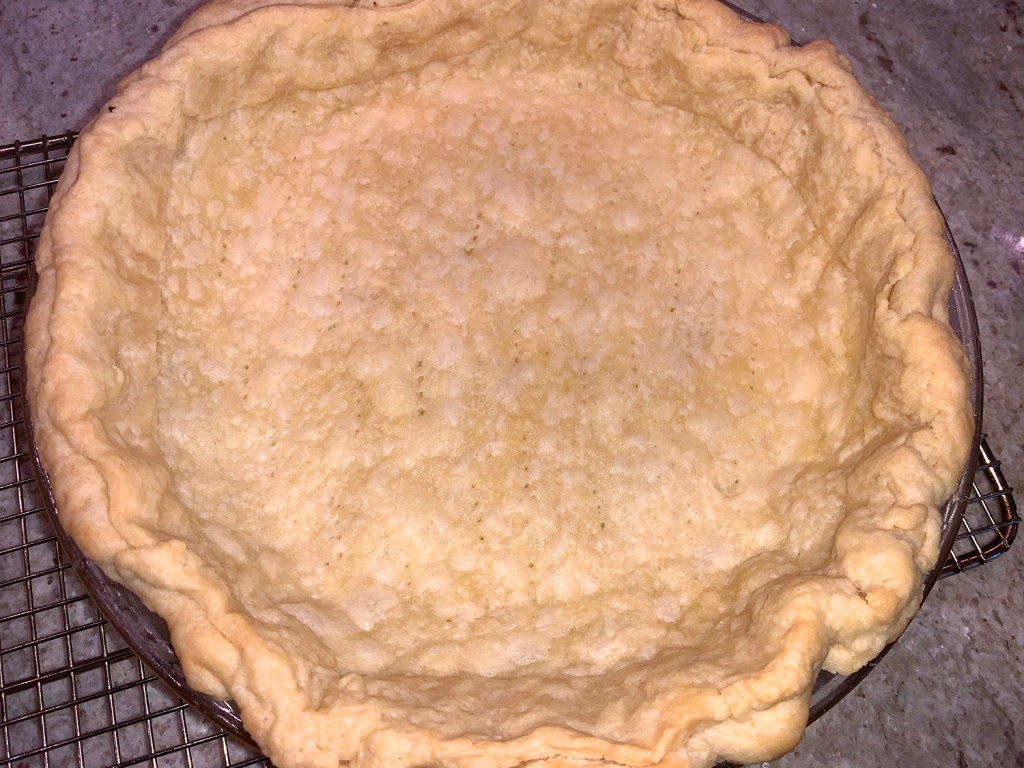
  3. Line the dough with aluminum foil and fill with pie weights or dried beans. After the tomatoes have been roasting for 15 minutes, place the crust in the oven and bake for 15 minutes until beginning to brown at the edges. Remove from the oven to cool slightly. Remove tomatoes from the oven and allow them to cool slightly. Carefully remove the foil and weights from the crust.
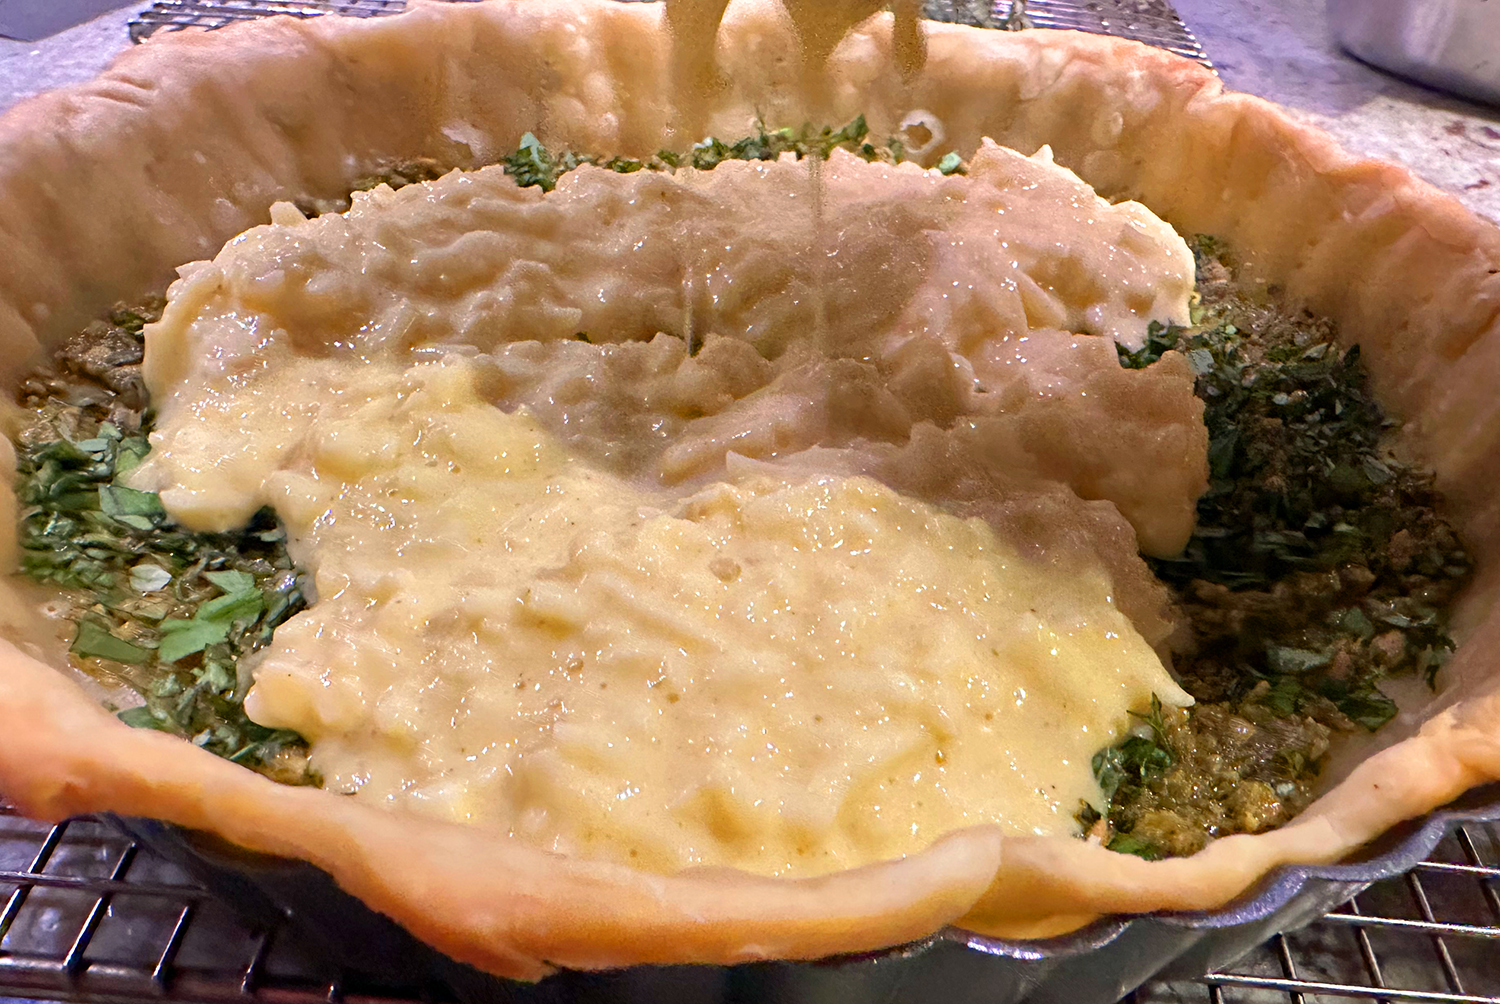
  4. Spread ¼ cup pesto in an even layer over the par-baked tart crust. Sprinkle the fresh basil and oregano over the pesto.
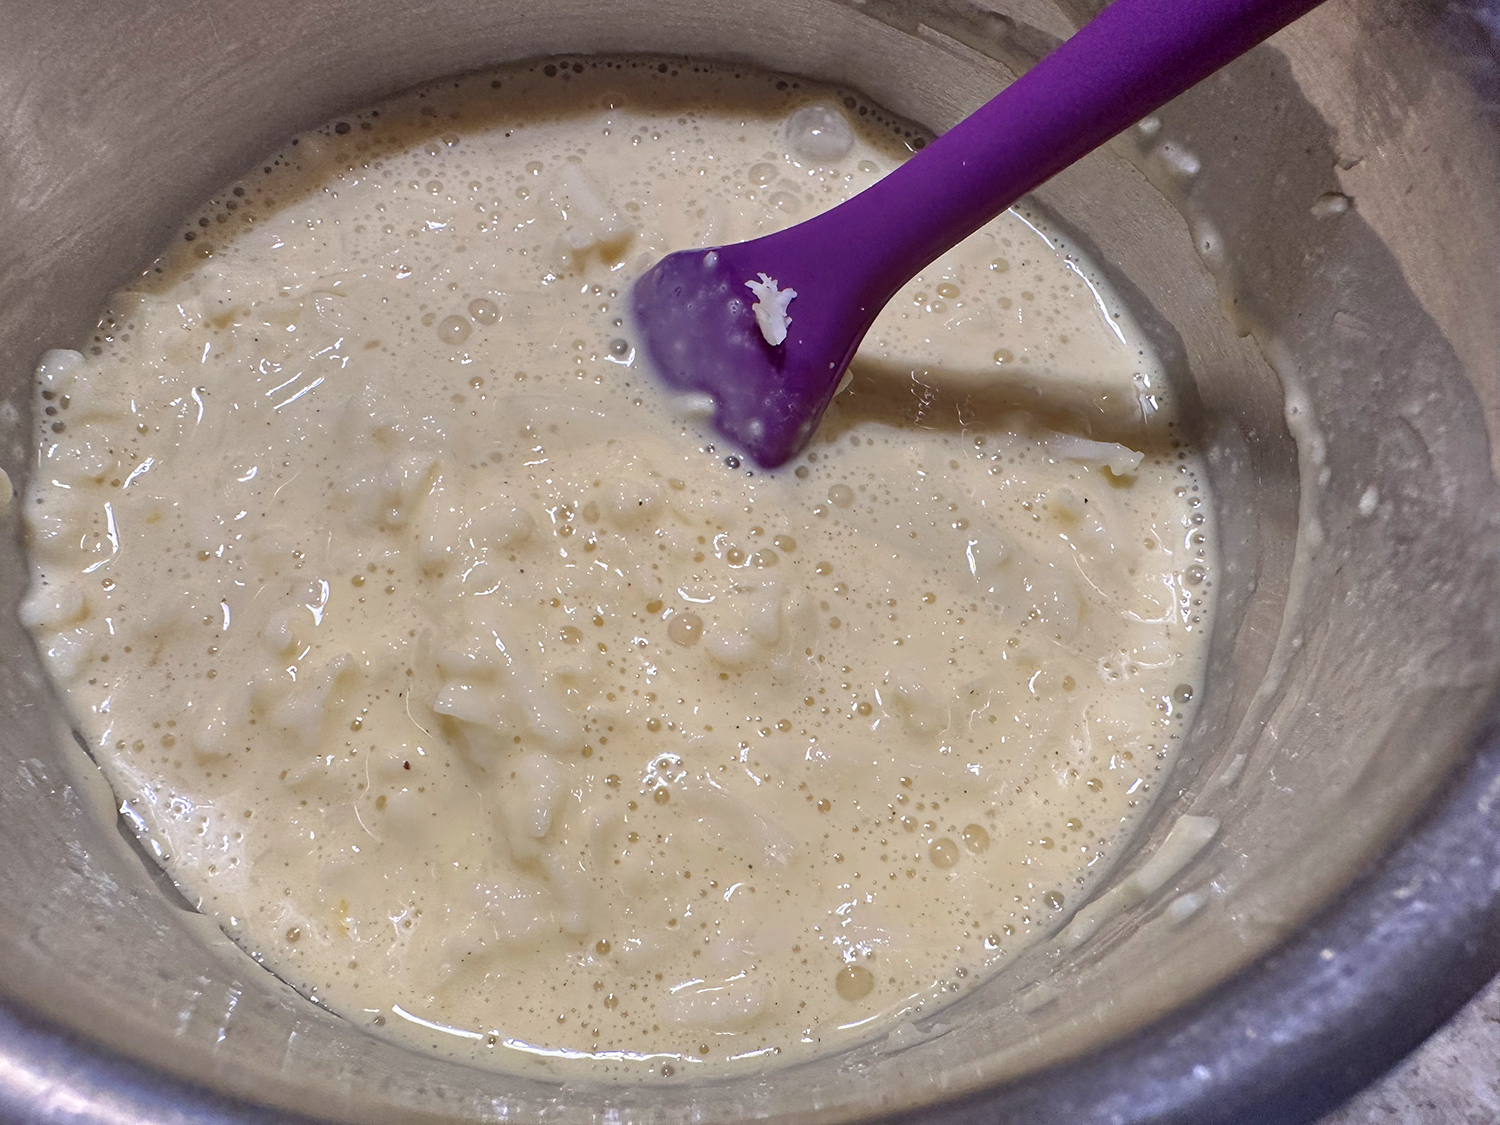
  5. In a medium bowl, prepare the custard: Whisk together the eggs, cream, salt and pepper; add the shredded mozzarella and stir to combine.
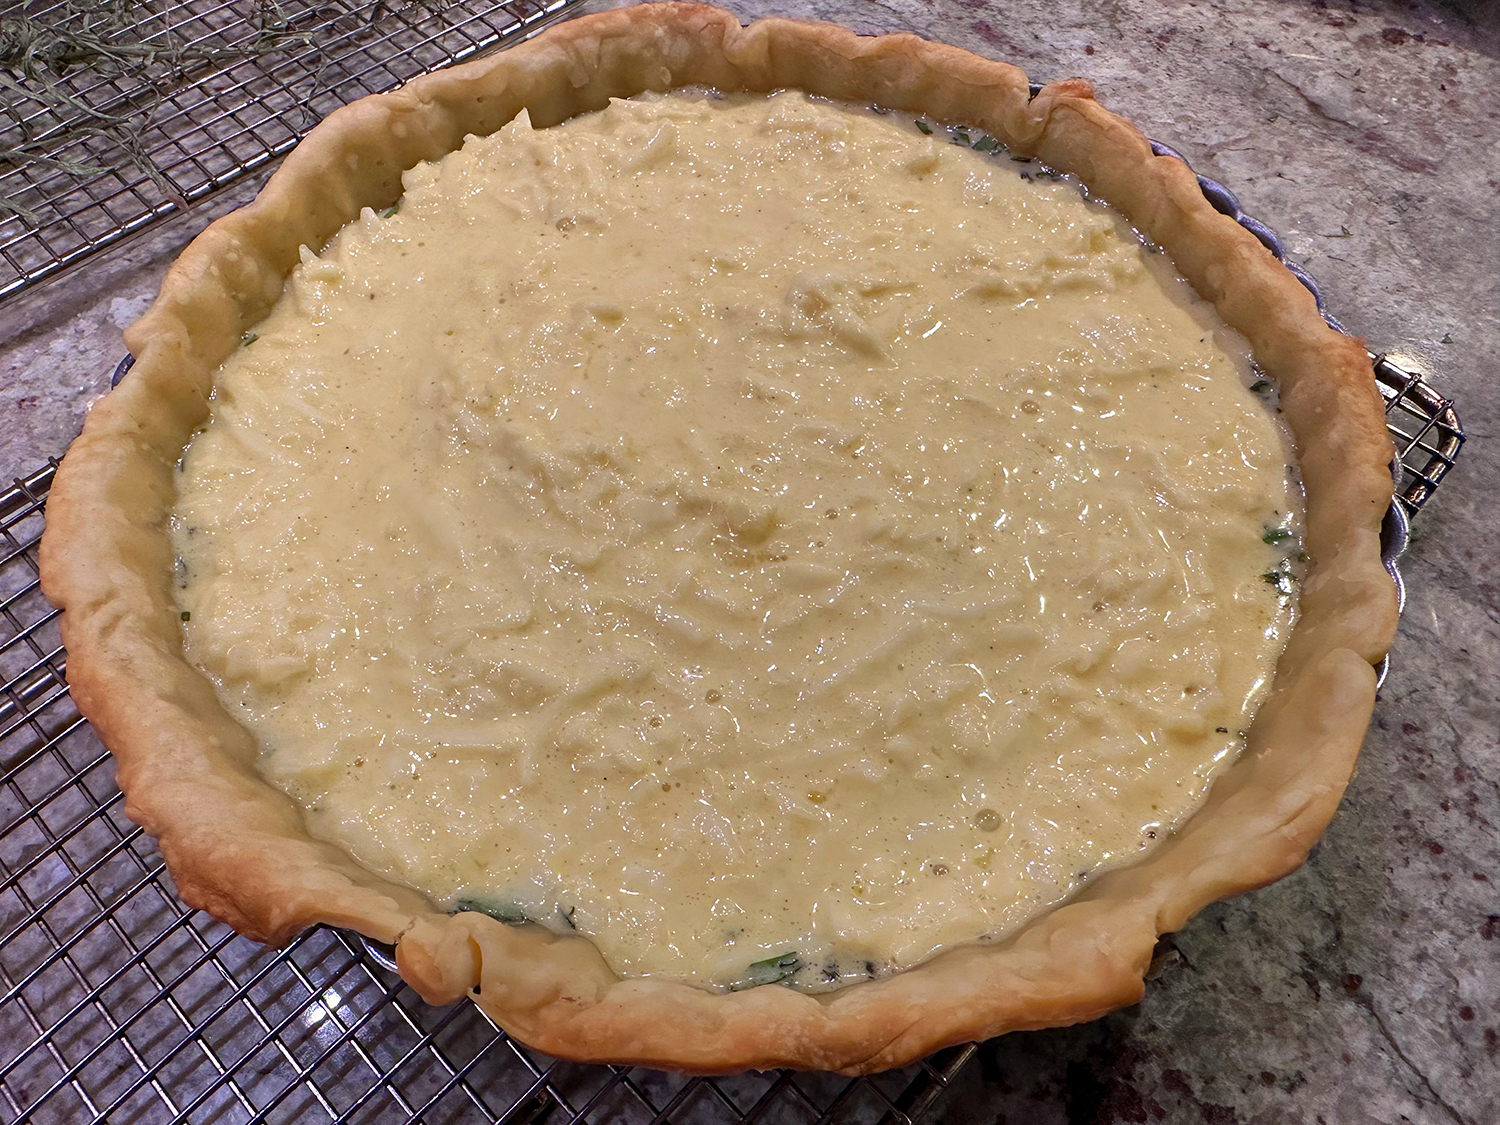
  6. Pour most of the custard over the pesto and herbs then place the sliced tomatoes evenly over the custard in overlapping concentric circles. Spoon on remaining custard in spots on top of tomatoes.
  7. Swirl the pan to evenly distribute the liquid. Bake until the filling is set and won’t jiggle when shaken, about 35 minutes.
  8. Remove from the oven and let cool for 15-20 minutes to solidify. This tart can also be served at room temperature.

http://www.lynnandruss.com

Loosely adapted for a recipe by Vallery Lomas for NYTimes Cooking

Ham and Gruyere Quiche

Quiche is one of those versatile dishes that can be served at any meal, be it breakfast, brunch, lunch or dinner. Once baked and cooled slightly, it can be eaten right away, or refrigerated for another time. Using a combination of milk and heavy cream, it yields the richest, creamiest filling ever.

With a large amount leftover from a recent dinner party featuring Ham Braised in Madeira with Rosemary & Peppercorns, and a block of gruyere that never got used, we had the starter ingredients for our filling. To that we included some diced shallot and chopped fresh thyme.

We are “those” people that thrive on culinary challenges, but if you don’t have the time, or the stamina to create your own crust, by all means purchase a pre-made store bought variety. But be forewarned, this crust recipe is fabulous, and according to The Hubs, the best he’s ever made! He really liked the trick of adding the leftover dough to the edges for crimping and fluting. This also helped prevent the crust from sinking down.

Ham and Gruyere Quiche

  • Servings: 4-6
  • Difficulty: easy
  • Print

Homemade Buttery Flaky Pie Crust

Ingredients

  • 2 1/2 cups all-purpose flour (spoon & leveled)
  • 1 tsp. salt
  • 6 Tbsp. unsalted butter, chilled and cubed
  • 3/4 cup vegetable shortening, chilled
  • 1/2 cup ice water

NOTE: This recipe is enough for a double crust pie. If you only need 1 crust for your pie, cut this recipe in half OR freeze the other half.

Directions

  1. Transfer the dough to a floured work surface.
  2. Using floured hands, fold the dough into itself until the flour is fully incorporated into the fats.
  3. Form it into a ball. The dough should come together easily and should not feel overly sticky.
  4. Cut the dough in half. Flatten each half into 1-inch thick discs using your hands. Wrap each tightly in plastic wrap.
  5. Refrigerate for at least 2 hours or up to 5 days. Or freeze.
  6. When rolling out the chilled pie dough discs to use in your pie, always use gentle force with your rolling pin. Start from the center of the disc and work your way out in all directions, turning the dough with your hands as you go. Visible specks of butter and fat in the dough are perfectly normal and expected.
  7. Roll the dough into a 12-inch circle so that there is enough crust to go up the edges of the glass pie dish. Cut away extra dough but leave about an inch overhang.
  8. Gather all of the extra dough pieces, mush together and roll out into a thin rectangle. Cut 1-inch strips and add them to the top edge of the pie crust. Crimp or flute the edges.
  9. Chill the shaped pie crust for at least 30 minutes. This prevents shrinking. Remember that pie dough must be cold.
  10. Fill with pie weights (or dried beans). As the pie dough bakes, its fat will melt. The melting fat causes the pie crust to shrink down the sides of the pie dish. To prevent the pie dough from completely losing its shape, weigh it down with pie weights. Carefully line the pie dough with parchment paper first, then pour in pie weights/dry beans.
  11. Bake until the edges are lightly brown, about 15 minutes.
  12. Remove pie weights, then prick the crust with a fork.
  13. Bake crust for about 8 more minutes.

The Perfect Quiche

Ingredients

  • 1 unbaked flaky pie crust (recipe above)
  • 4 large eggs
  • 1/2 cup whole milk
  • 1/2 cup heavy cream or heavy whipping cream
  • 1/4 tsp. each salt and pepper
  • 1 cup shredded Gruyere cheese
  • 1 cup cubed ham
  • 1 Tbsp. butter
  • 1 cup minced shallot
  • 1 1/2 tsp. chopped fresh thyme

Directions

  1. Preheat oven to 375°F. 
  2. Partially blind bake your pie crust as indicated above. Crust can still be warm when you pour in the filling. (You can partially pre-bake the crust up to 3 days ahead of time. Cover cooled crust tightly and refrigerate until ready to fill.)
  3. Reduce oven temperature to 350°F.
  4. Heat 1 tablespoon of butter in a nonstick skillet over medium heat. When melted, add shallot pieces and cook, stirring occasionally until translucent, about 4-5 minutes.
  5. In a large bowl with a handheld or stand mixer fitted with a whisk attachment, beat the eggs, whole milk, heavy cream, salt, and pepper together on high speed until completely combined, about 1 minute. Whisk in ham, cheese, shallot and thyme.
  6. Bake the quiche until the center is just about set, about 45-55 minutes. Don’t over-bake. Use a pie crust shield to prevent the pie crust edges from over-browning. Allow to cool for 15 minutes.
  7. Top with optional toppings before slicing and serving, if desired. Or you can cool the quiche completely before serving– it’s fantastic at room temperature!
  8. This quiche makes great leftovers! Cover tightly and store in the refrigerator for up to 4 days.

Make Ahead Freezing Instructions: The pie dough can be prepared ahead of time and stored in the refrigerator for up to 5 days or in the freezer for up to 3 months. You can pre-bake the crust ahead of time too. To freeze, cool baked quiche completely, then cover tightly with a couple sheets of aluminum foil and freeze for up to 3 months. Thaw in the refrigerator or on the counter, then bake at 350°F for 20-25 minutes.

http://www.lynnandruss.com

Recipes adapted from sallysbakingaddiction.com