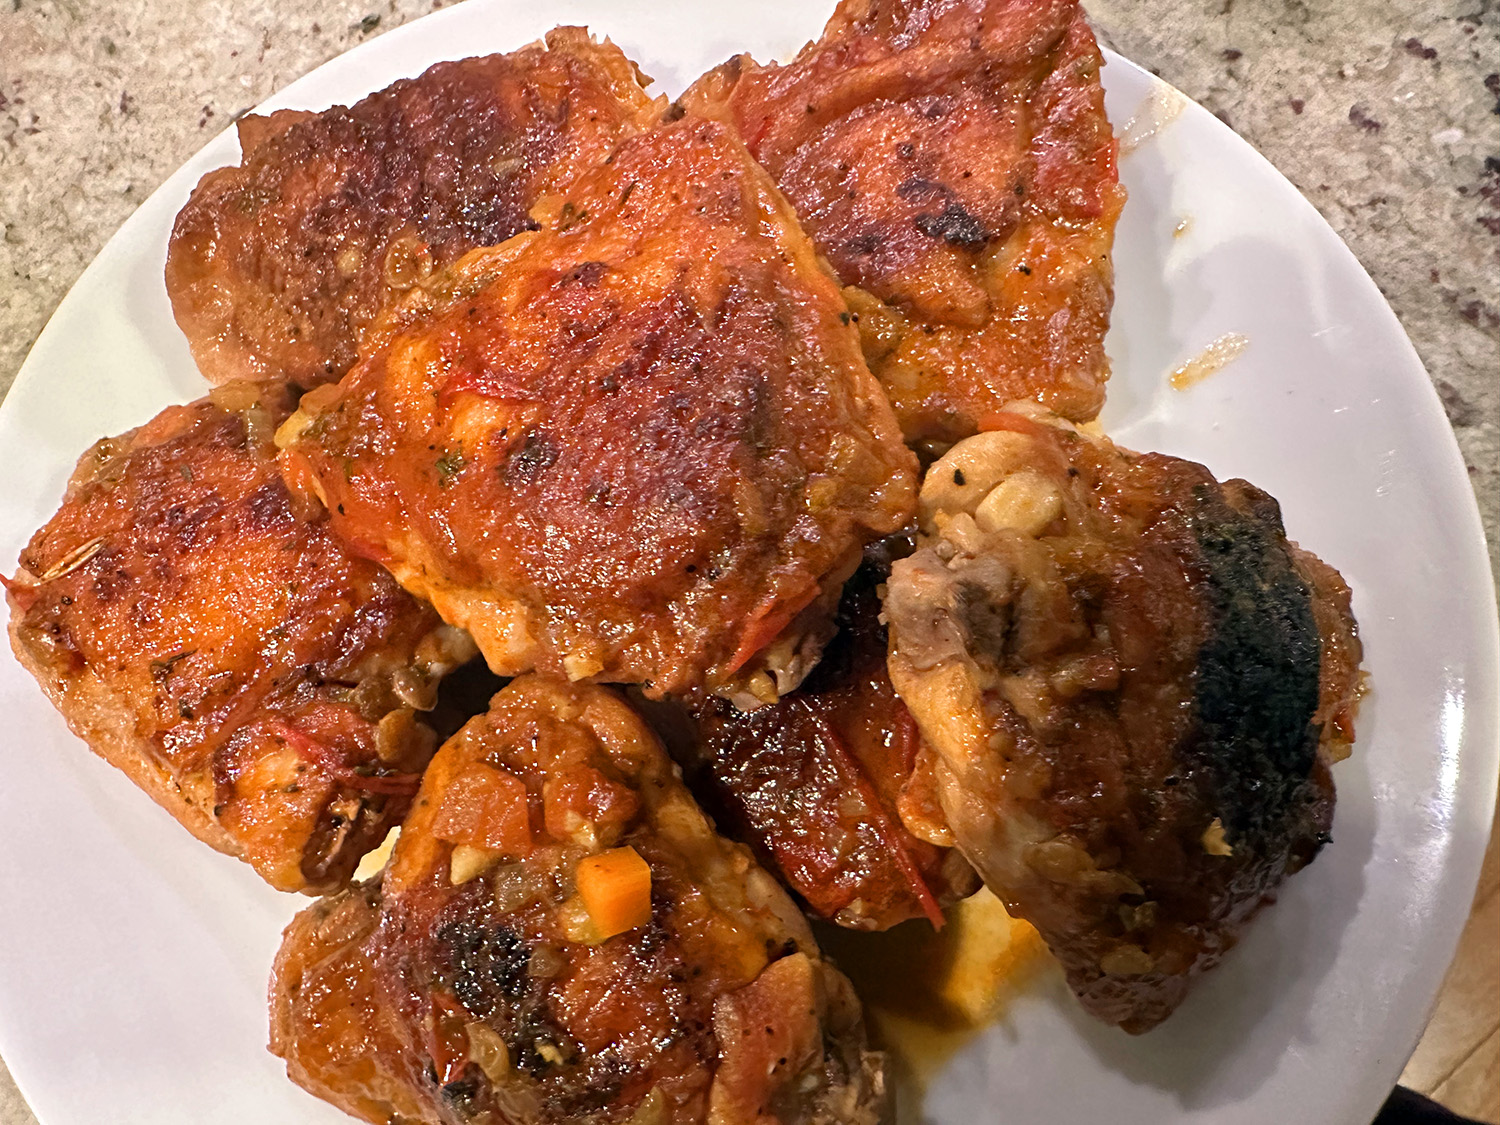
With chicken being the most popular meat in America, it’s no wonder there are an endless variety of recipes worth your time and effort! This lovely Mediterranean-influenced braised dish from Williams Sonoma’s Test Kitchen is right up there with the best of them.
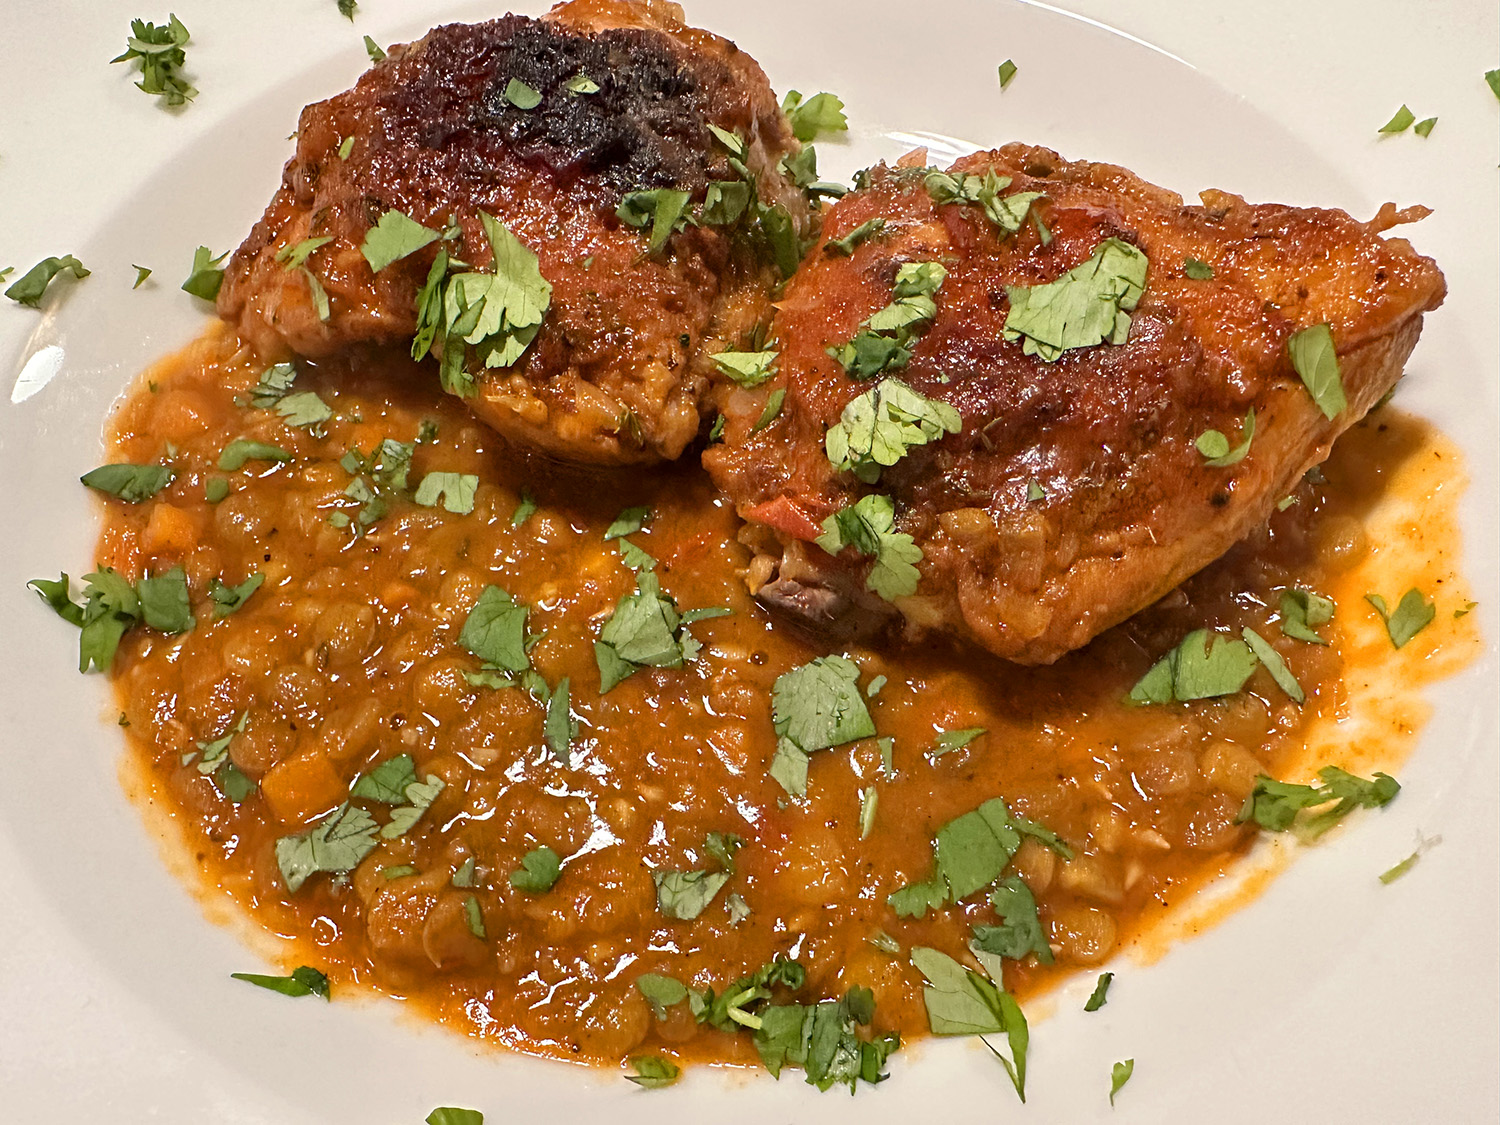
Braising chicken in white wine instead of red results in a lighter, brighter flavor, which in this recipe is heightened with piquant olives and capers. If desired, serve with a good loaf of bread, some mashed potatoes, or polenta so you can soak up the flavorful braising liquid, because it is worth every drop.

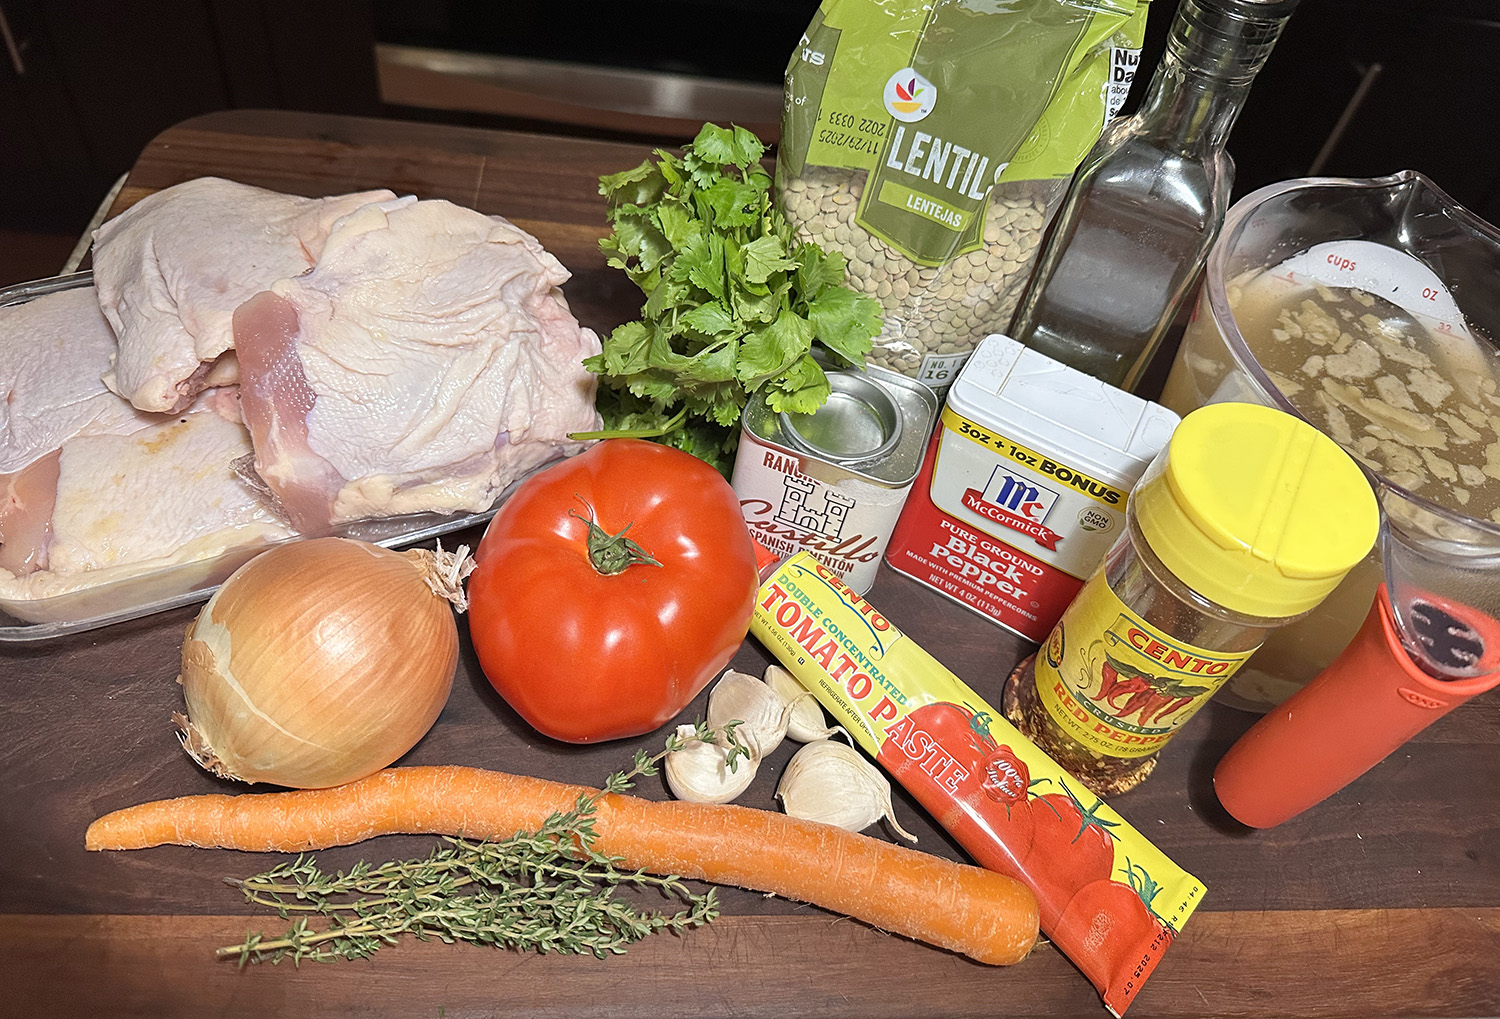
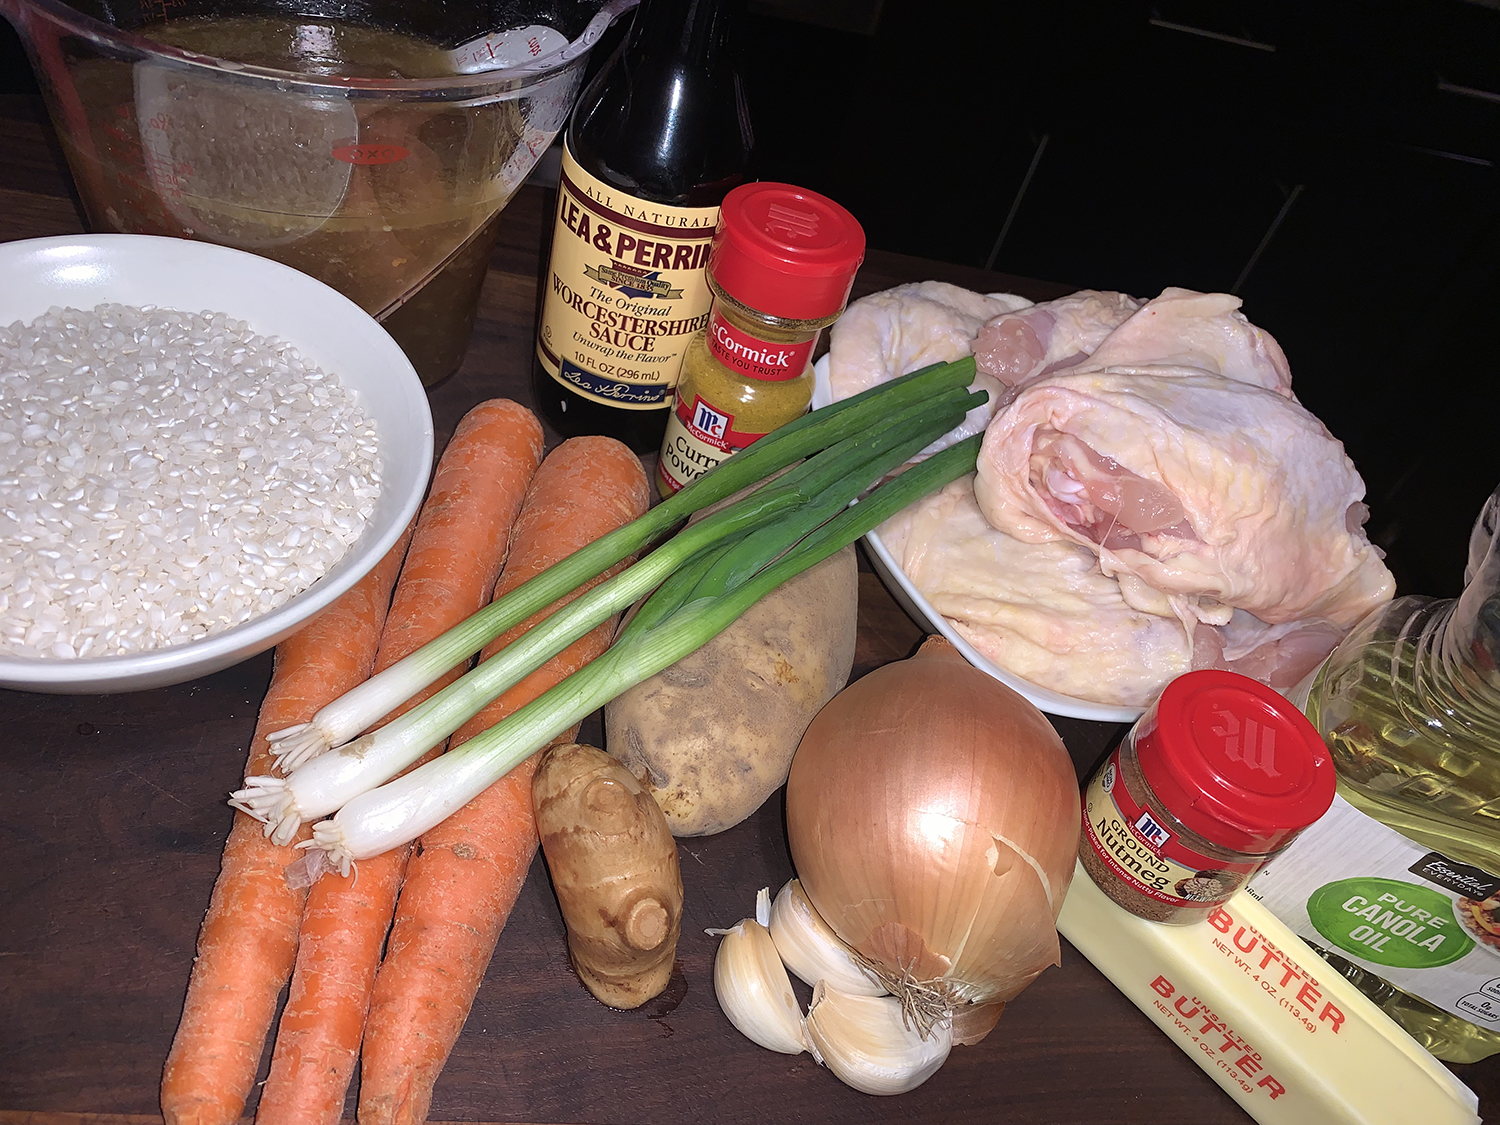
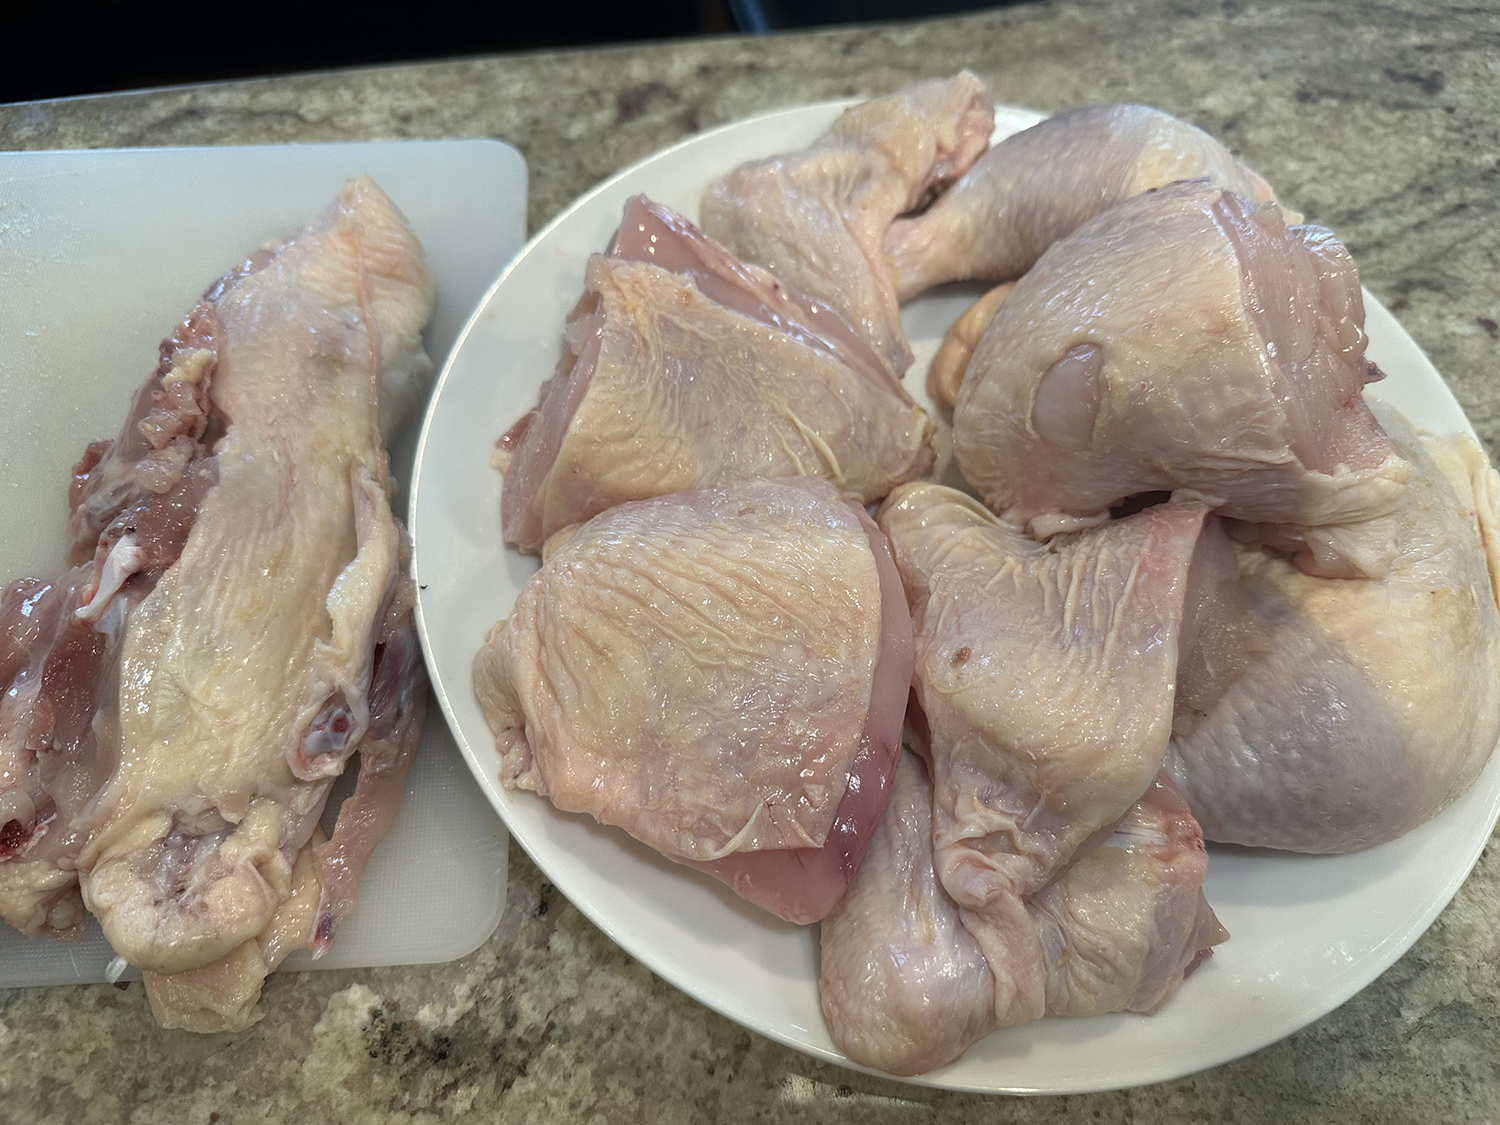
Instead of cutting up a whole chicken, you could certainly save some time buying a selection of bone-in, skin-on pieces such as thighs, breasts and legs. For us, the positive in using an entire bird, is saving the leftover parts (back, wingtips, etc.) for making home made stock at another time.
The regular amounts of white wine (3/4 cup) and chicken broth (2 1/2 cups) were way too much, thus causing the reduction time to increase considerably, from 5 to 20 minutes. The opposite was true of braising the chicken. Instead of the hour to hour-and-a-half noted in the original directions, the pieces were overdone after only 45 minutes.
To offset the chicken (especially white meat) from being overcooked, the oven temp gets lowered down to 325°F (braises are typically low heat). Additionally, pile the breast pieces on top of the dark meat 15 minutes after the the braise goes into the oven. In Step 3, the stovetop burner was reduced to medium. All of our corrections are noted in the recipe below.
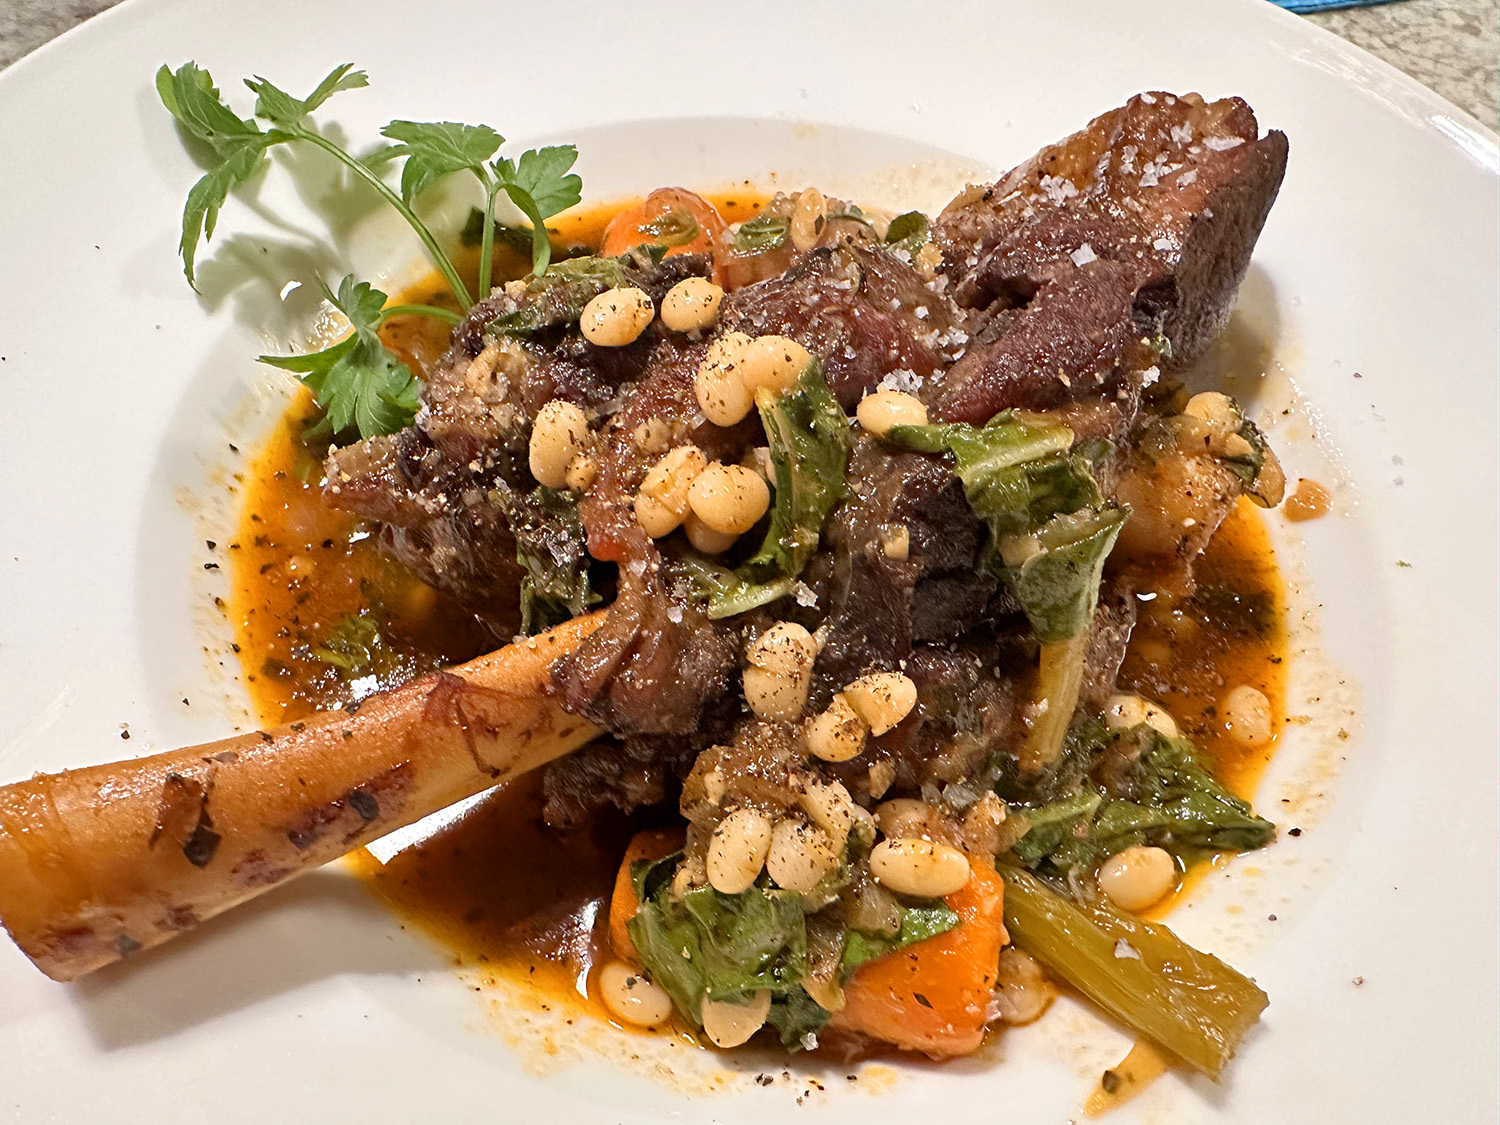
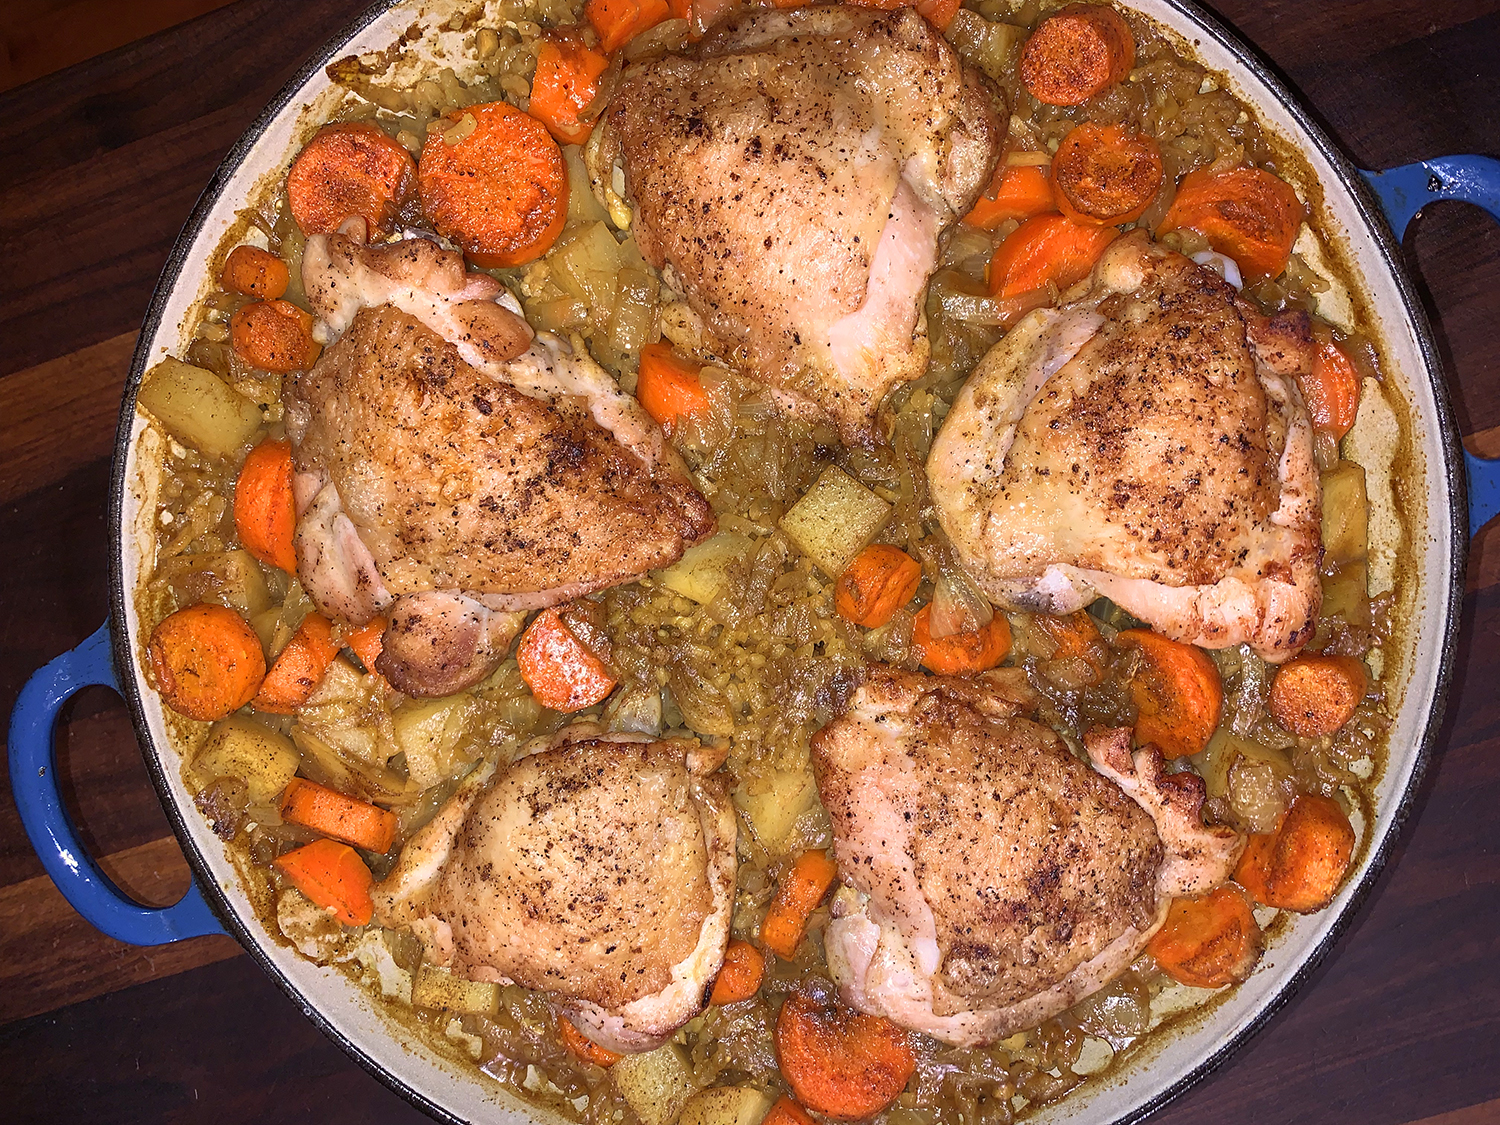
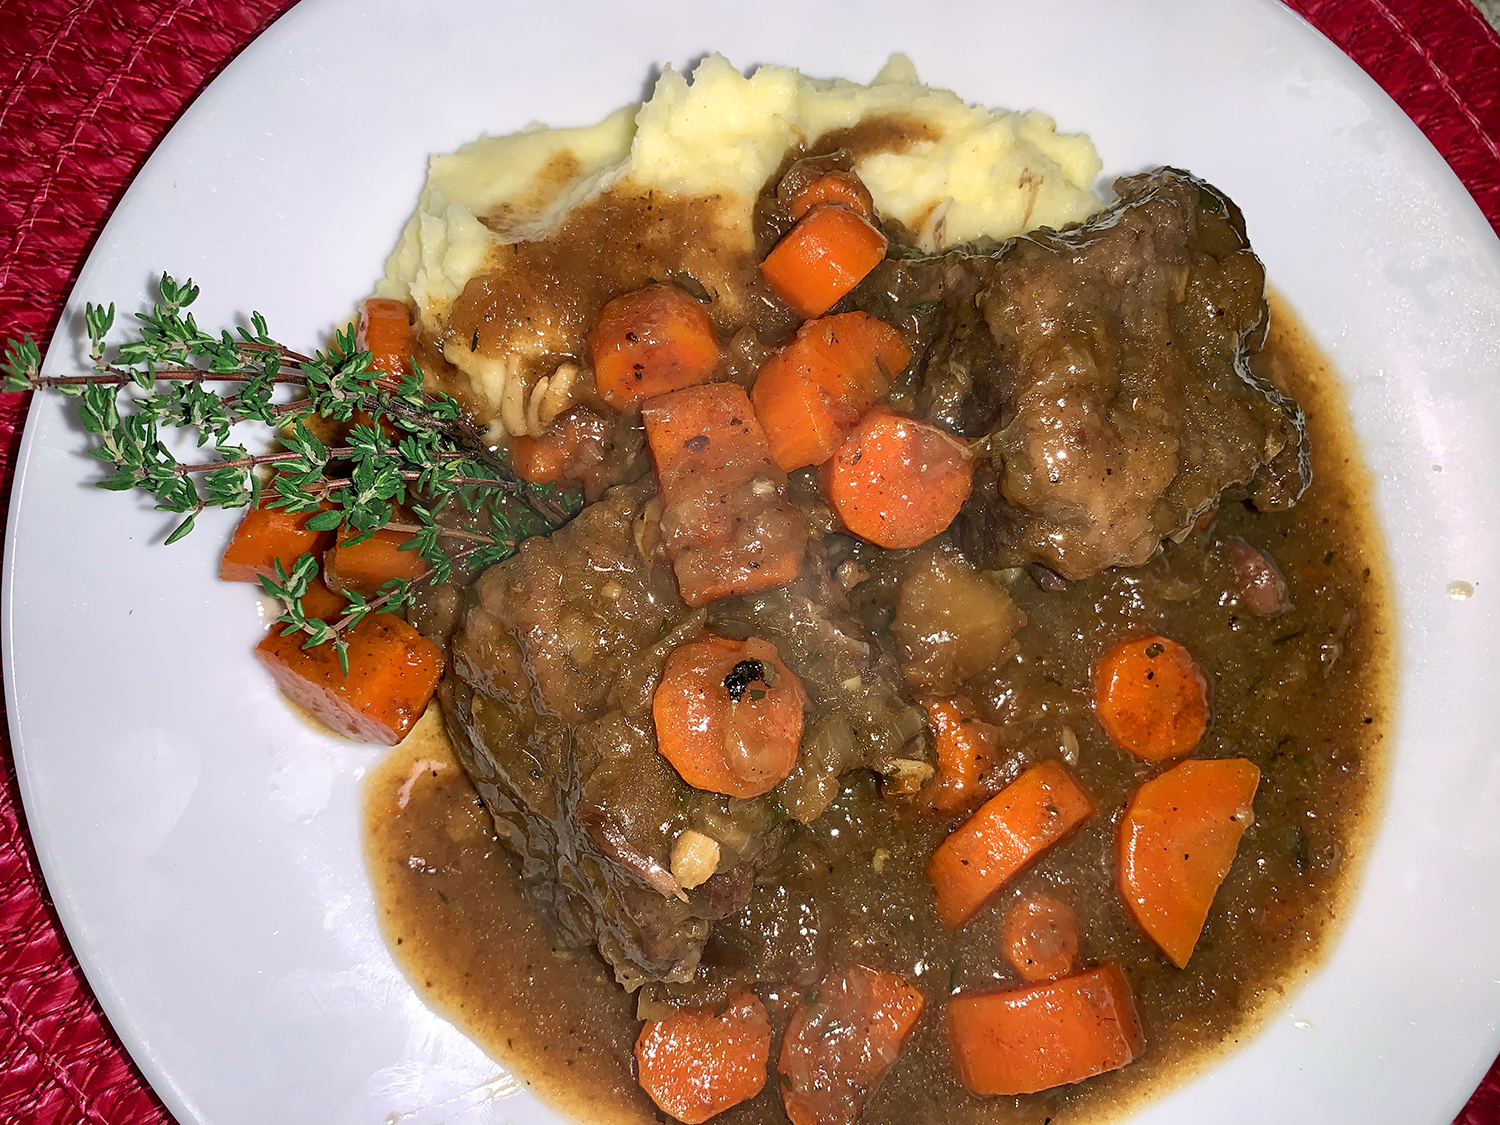
To complete our meal, we served the chicken with sides of glazed carrots and a potato-parsnip mash. WOW, was that sauce amazing!!

Braised Chicken with Olives and Capers
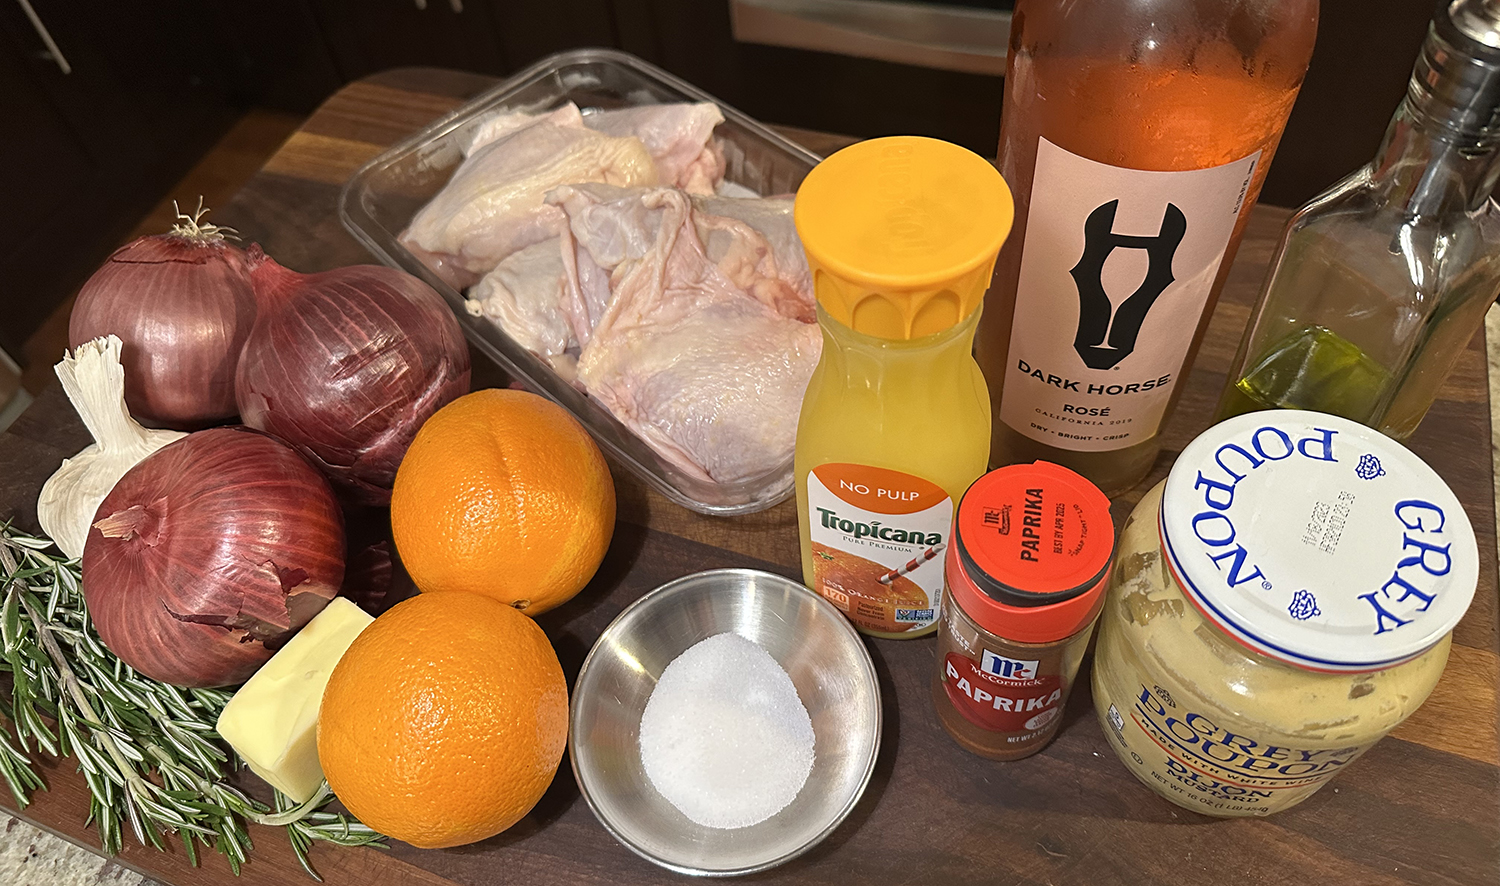
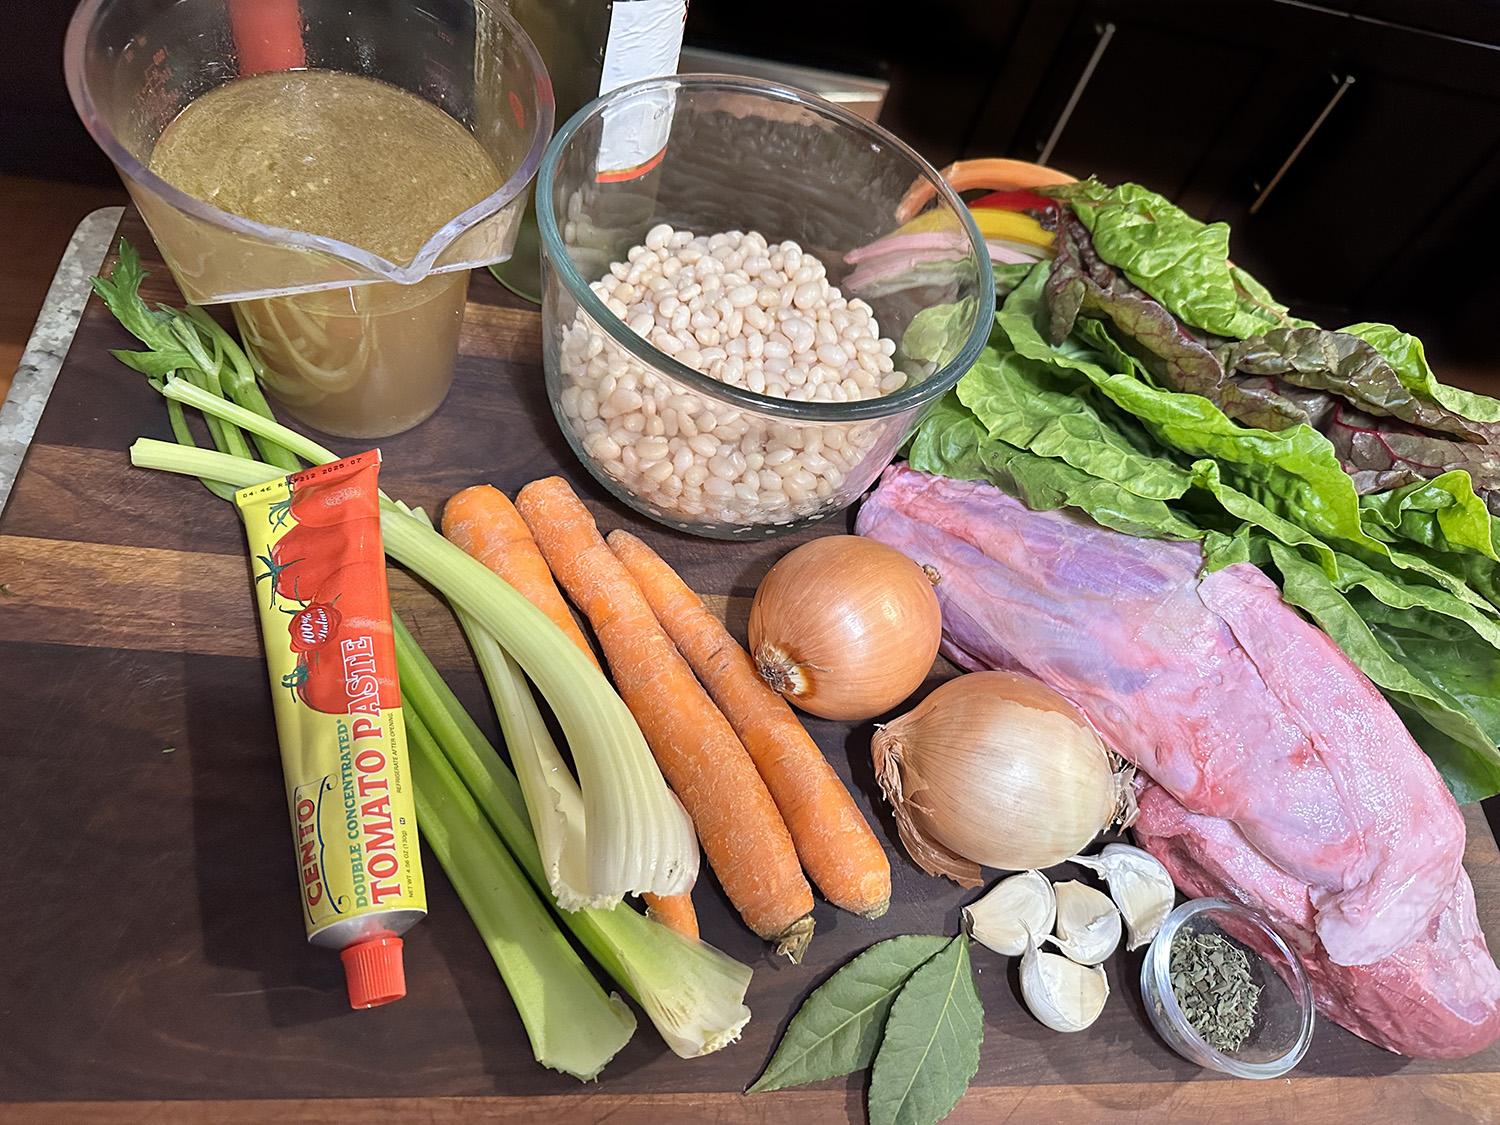
Ingredients
- 1 whole chicken, about 3 1/2- to 4-lb, cut into 8-10 serving pieces
- Kosher salt and freshly ground pepper, to taste
- 1 Tbsp. olive oil
- 3 Tbsp. unsalted butter
- 1 onion, diced
- 2 garlic cloves, chopped
- 1/2 cup dry white wine
- 1 1/2 cups chicken broth, preferably homemade
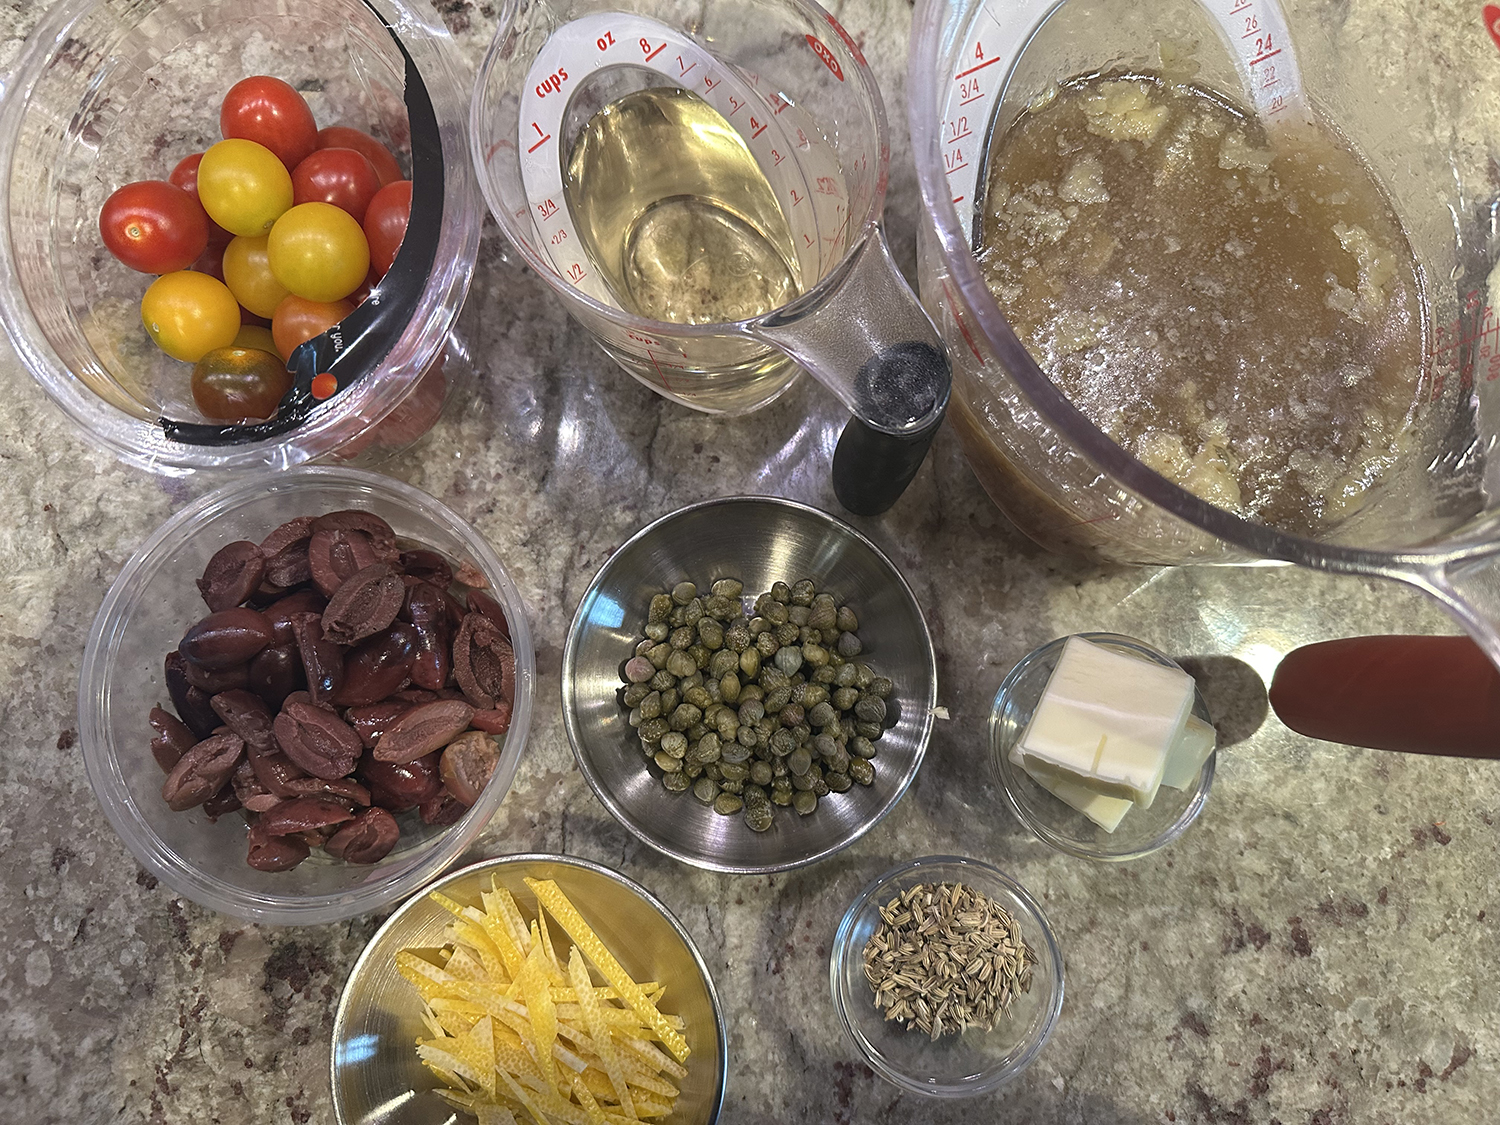
- 3/4 cup pitted olives, such as Kalamata, halved
- Zest of 1 lemon, peeled into strips using a vegetable peeler and
then julienned - 3 Tbsp. capers, drained and rinsed
- 2 tsp. fennel seeds
- 8 oz. cup cherry tomatoes


Directions
- Preheat an oven to 325ºF.
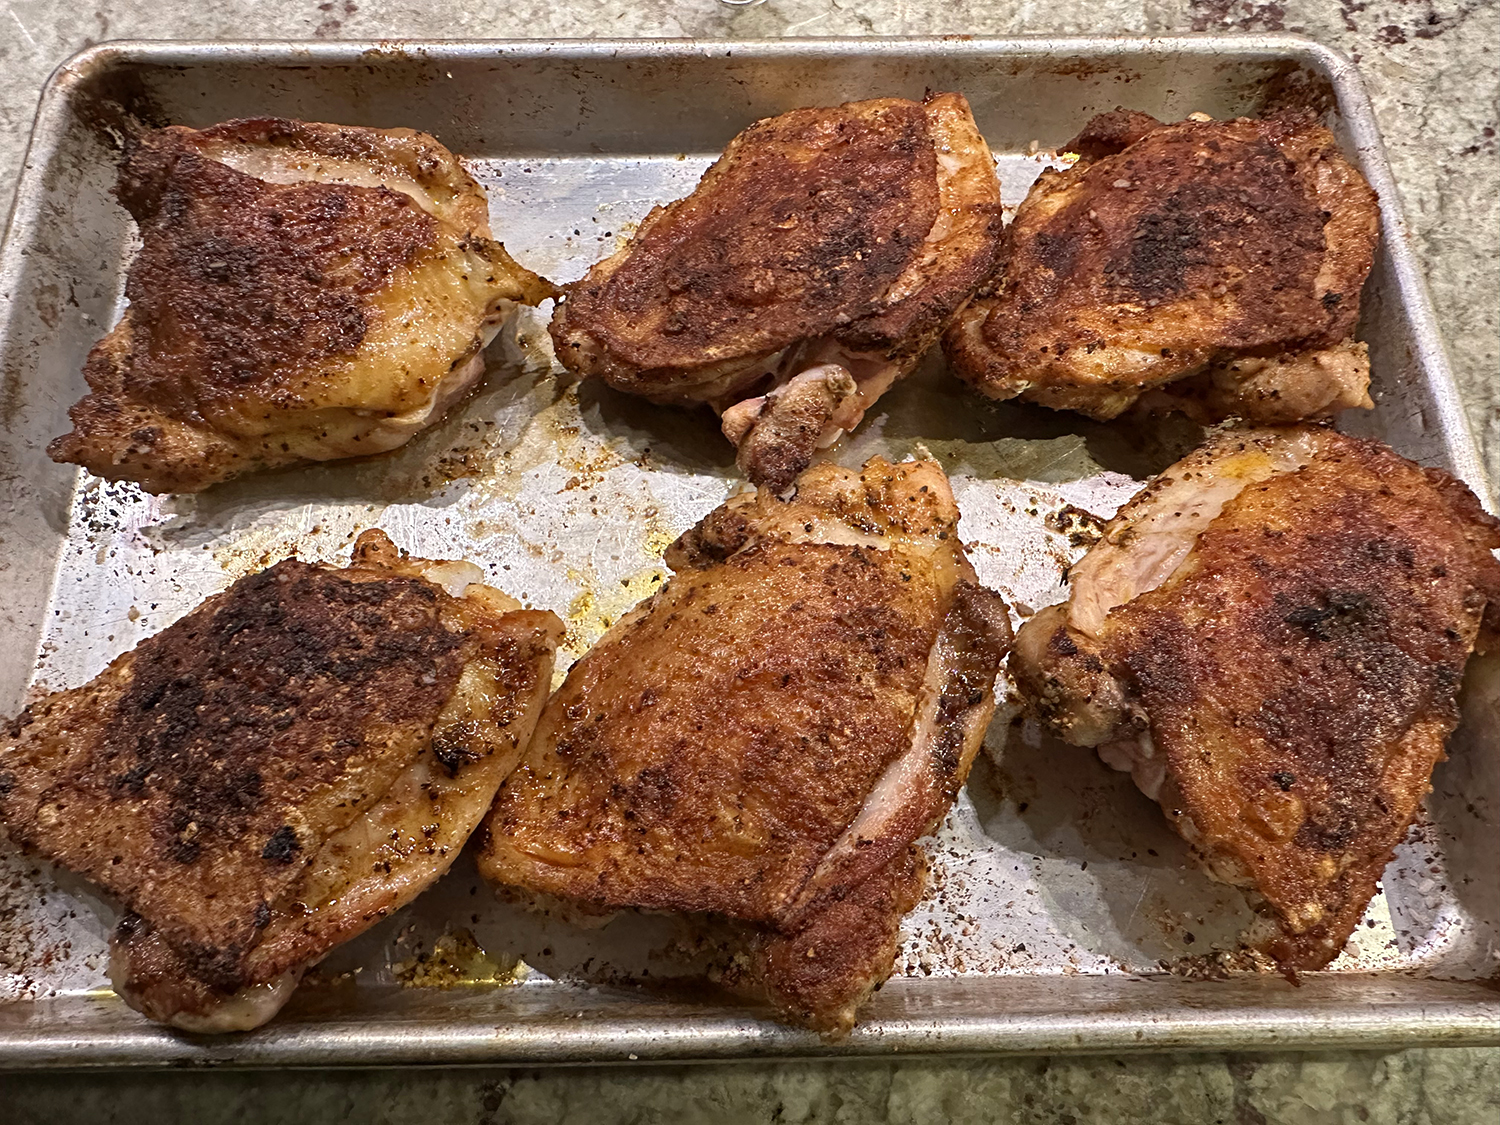
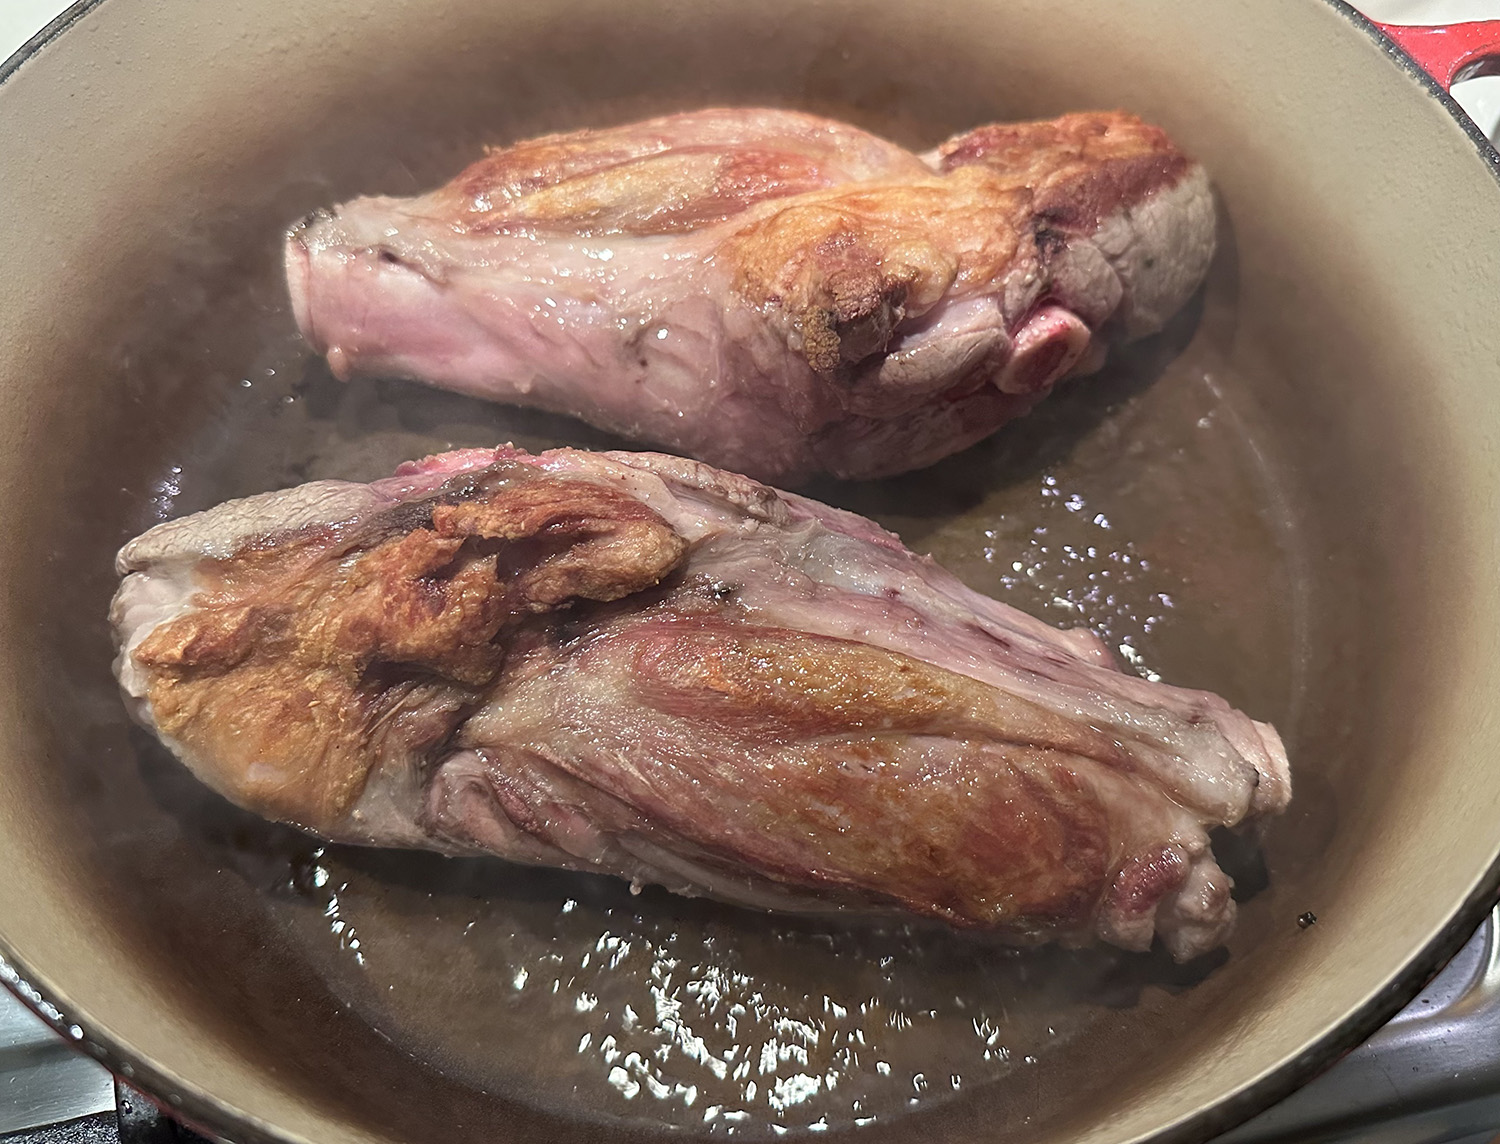
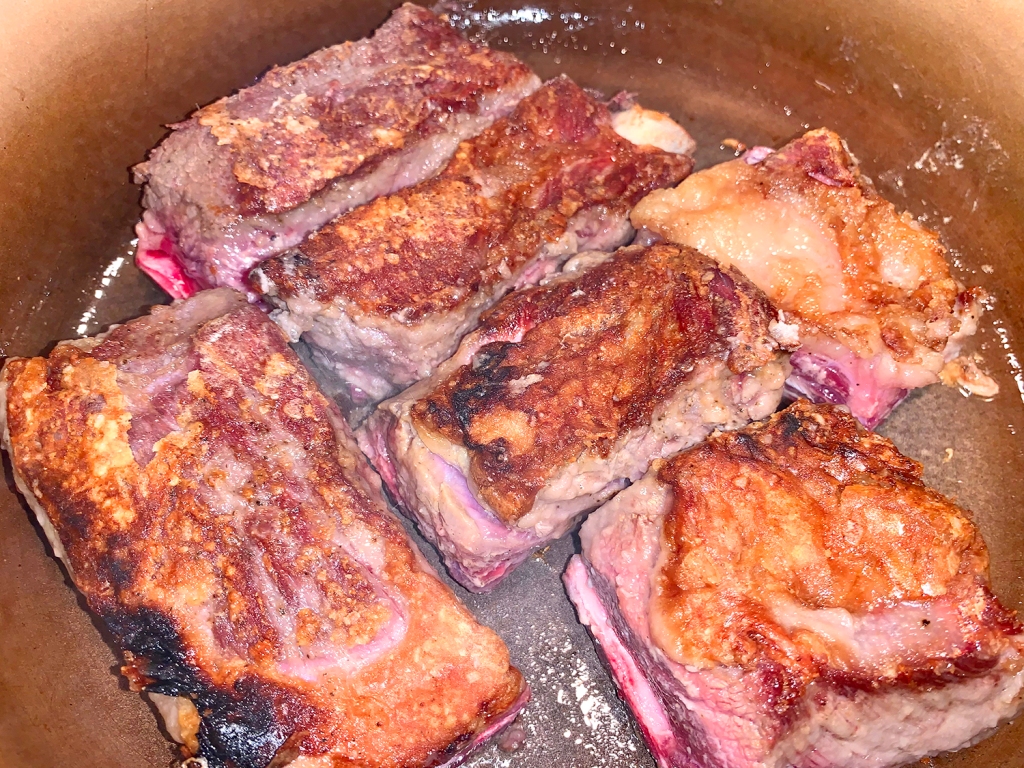
- Pat the chicken dry and season with salt and pepper. In a Dutch oven over medium-high heat, warm the olive oil. Working in batches, brown the chicken on all sides, 8 to 10 minutes per batch. Transfer the chicken to a plate and carefully pour the fat from the Dutch oven.
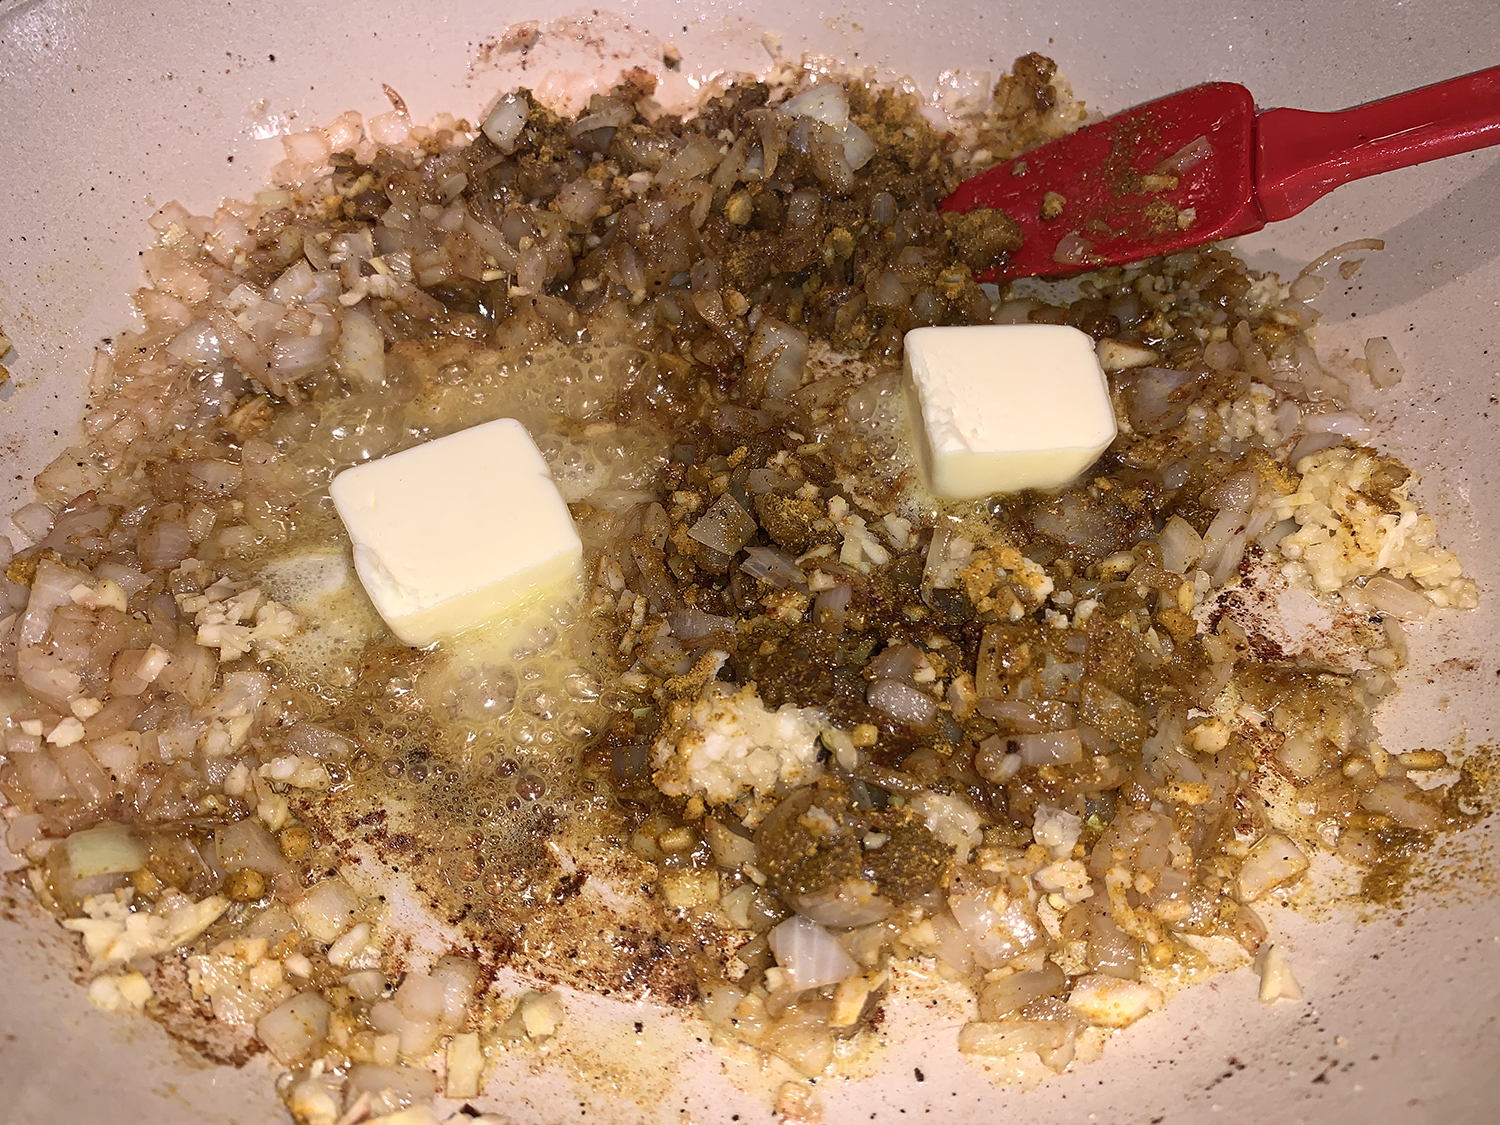
- Reduce heat to medium. Add the butter to the Dutch oven. When it has melted, add the onion and sauté until translucent, 4 to 6 minutes. Add the garlic and continue to cook for 1 minute more.
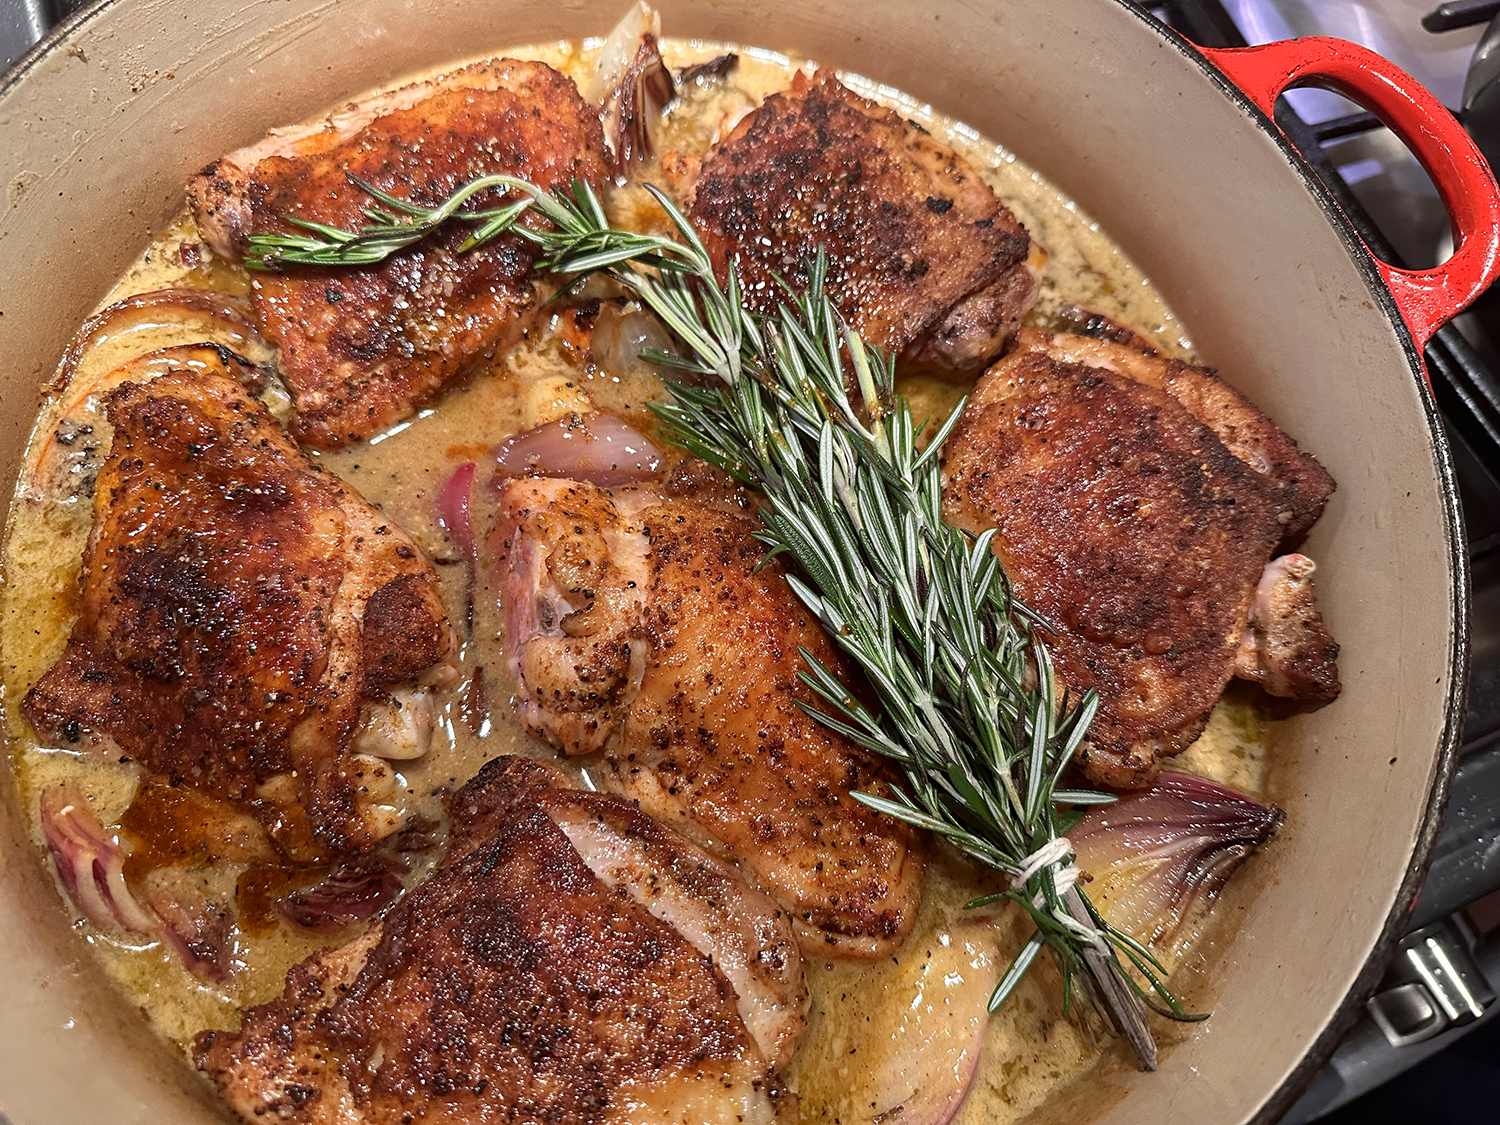
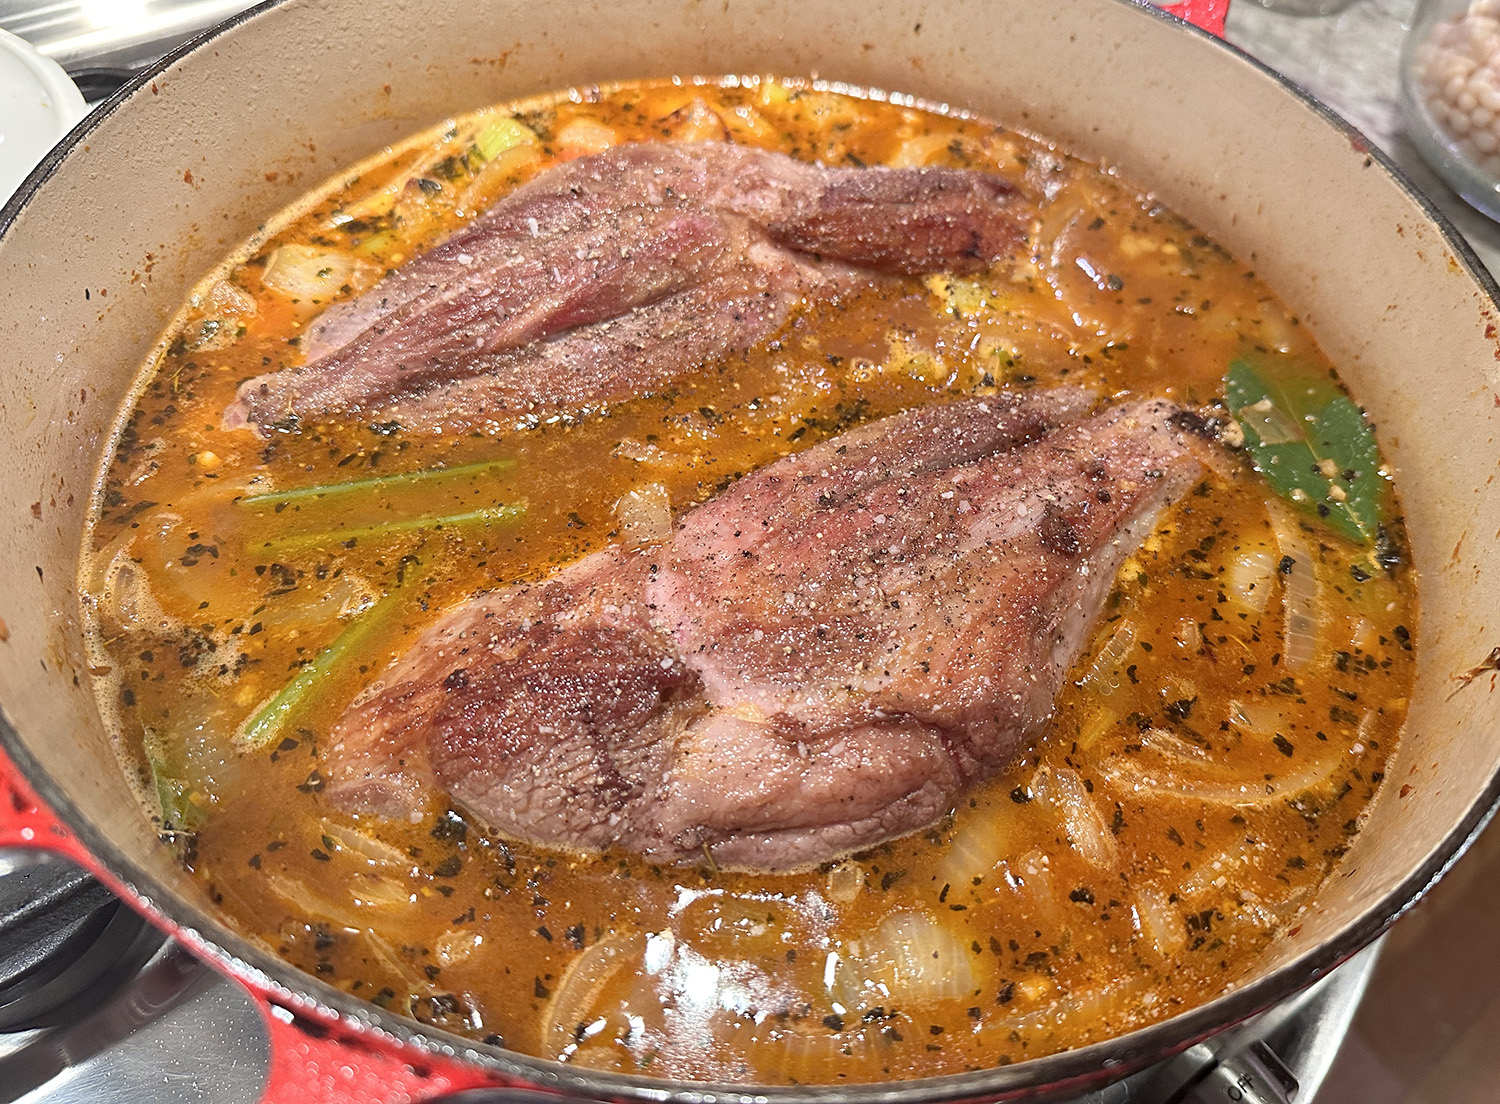
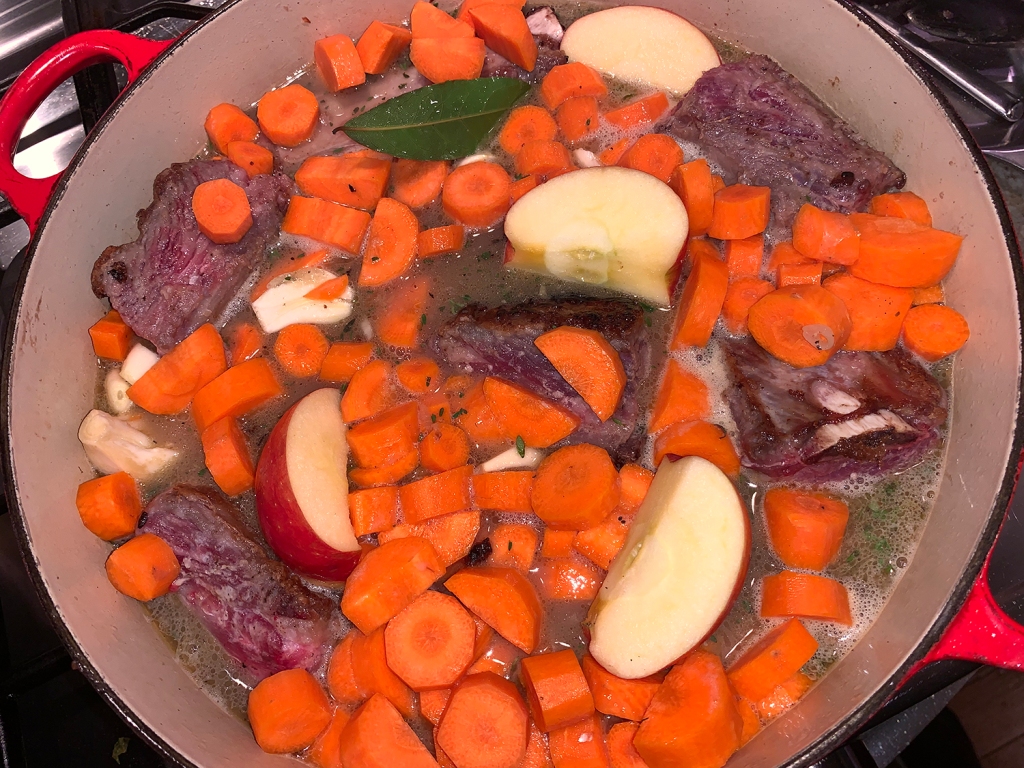
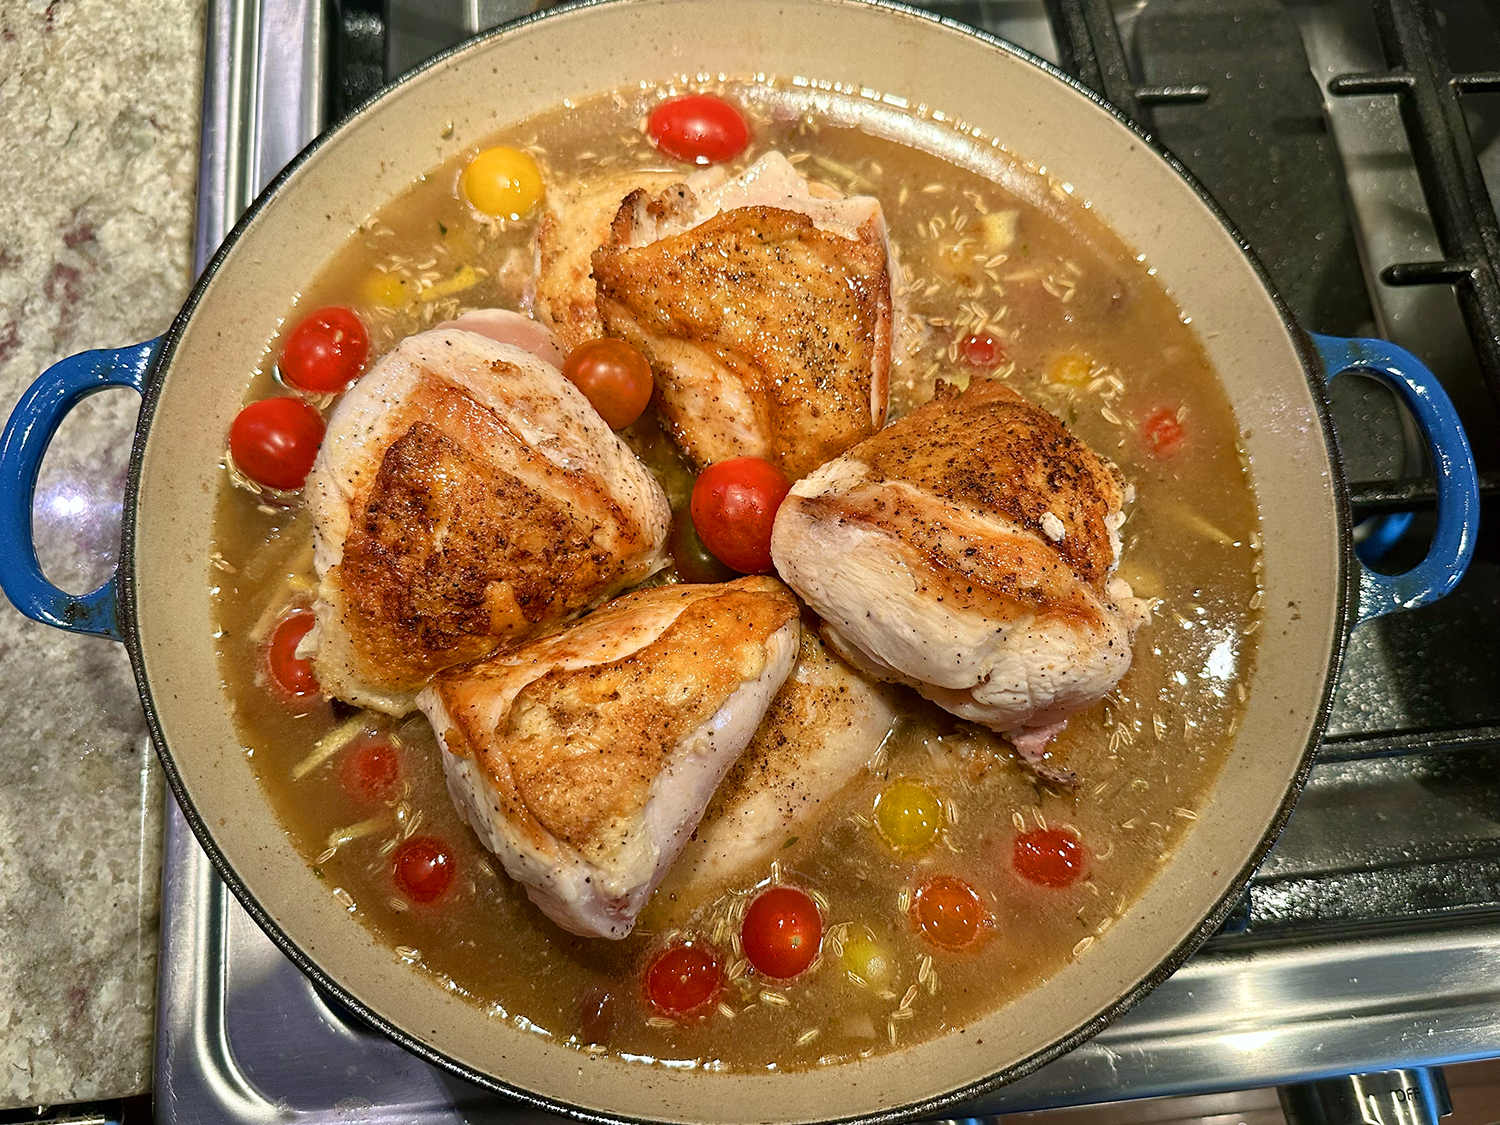
- Add the wine and cook, stirring to scrape up the browned bits from the bottom, until the wine reduces slightly, about 2 minutes. Add the broth, olives, lemon zest, capers and fennel seeds. Return the dark meat chicken to the Dutch oven and top with the tomatoes.
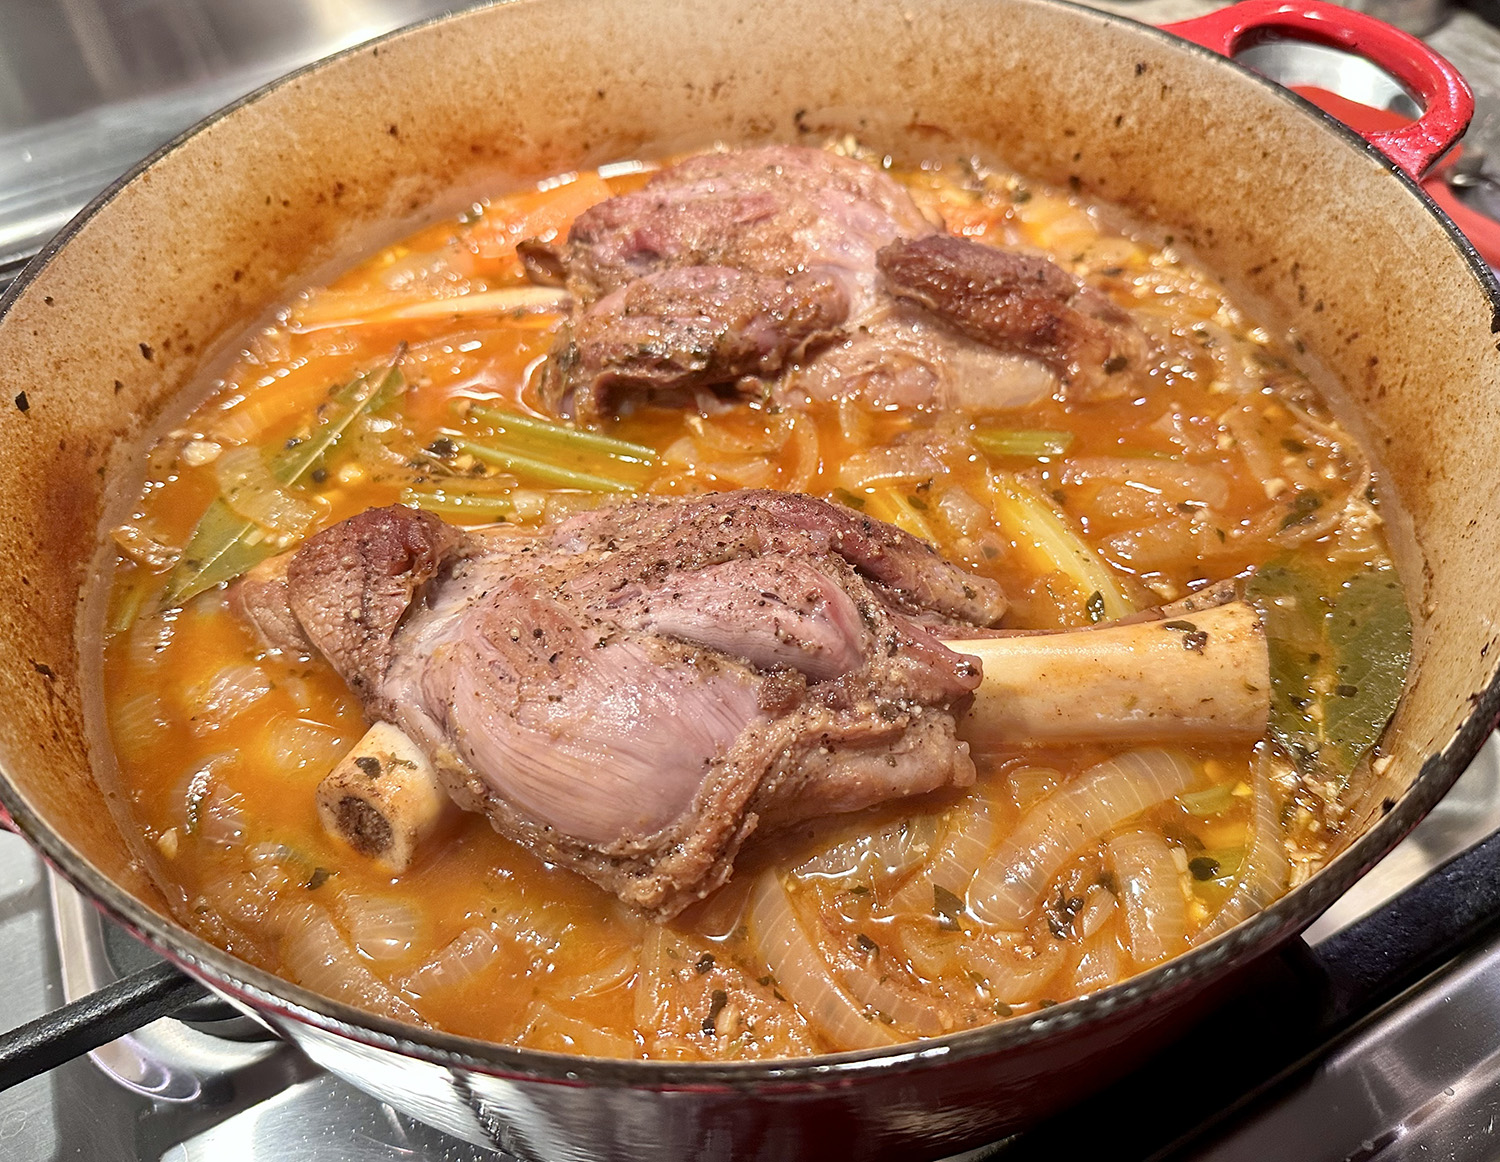
- Cover, place the Dutch oven in the oven. After 15 minutes of cooking, place the breast pieces on top of the dark meat, cover, and cook until the chicken is tender, 20 minutes more — 35 to 40 minutes total, checking with an insta-read thermometer at 35 minutes. The breast meat should register 155° and the thigh meat should be 165°.
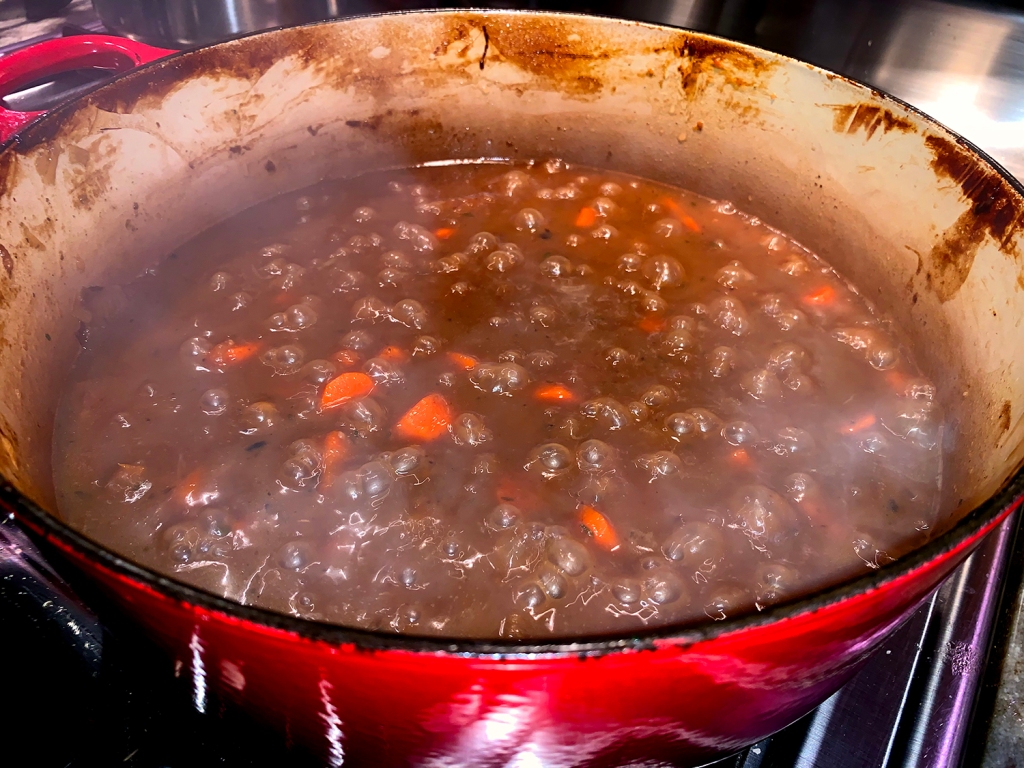
- When the chicken is cooked, transfer the chicken pieces to a plate and place the Dutch oven over medium-high heat. Cook until the braising liquid is thickened a good bit, about 10-15 minutes. Season with salt and pepper and return the chicken to the Dutch oven. Serve immediately.
Recipe was loosely adapted from one by Williams Sonoma Test Kitchen