Four days after Labor Day, my longtime friend Merry Sue (MS) and her “seestah” Susan (maiden name Fritz) and I made a road trip to Cape Cod. Susan owns a house in Orleans, MASS and needed to address a few things up there, so Merry Sue and I decided to tag along for a girl’s weekend. (The title of this blog was inspired by a passenger’s T-shirt graphic on our ferry ride to Martha’s Vineyard.)

Doing some shopping at the Artist’s Shanties after buying our Hy-Line Ferry tickets in Hyannis. And yes, those are purple sandals I have on, and purple sunglasses, pocketbook, nail polish…
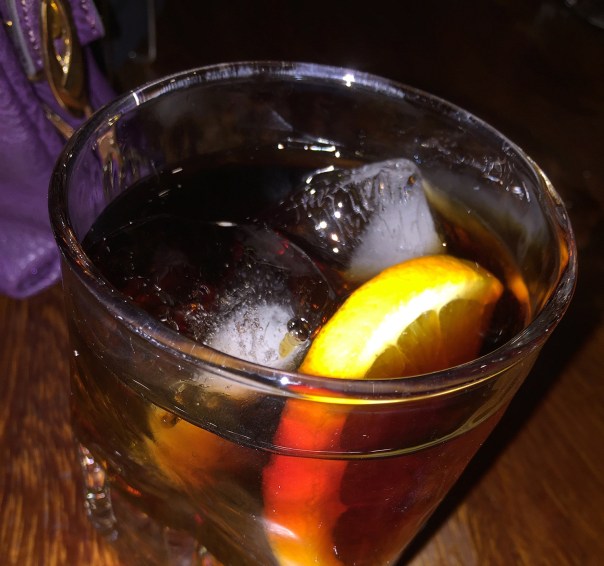
Wicked Pissah is a slang phrase in the New England area; perhaps most frequently heard in Boston, and used as an adjective to describe something totally cool or awesome—like our trip. However; the phrase can be used in the sarcastic sense too. Wicked Pissah is also a New England Style IPA, described as cloudy with a thick white head, strong tropical fruit aroma with notes of pineapple, citrus fruit and mango—although we didn’t indulge in any.
Anyway, being a food blog and all, I’m going to mention a few highlights and lowlights from our culinary adventure, starting on the day we arrived for lunch at Yardarm, a local spot for many since 1972. Now if you’re a local, and not a wash-ashore like us, it would be pronounced “yahd-ahm.” The place was packed for a Friday afternoon off-season, but we didn’t have to wait long for a table.

Kind of like the “Cheers” of Orleans… “every town has one, that neighborhood gathering place where friends meet for a drink, some conversation and conviviality, where upon entry, you are greeted with a smile and a thanks for coming; and where, when you get hungry, a table is waiting, and the food is home cooked as is the service.”
Local color abounds, from fishermen to physicians, tradesmen to tourists, all rubbing elbows at the bar and extending conversation from table to table while the Red Sox or the Patriots appear on their many TVs.
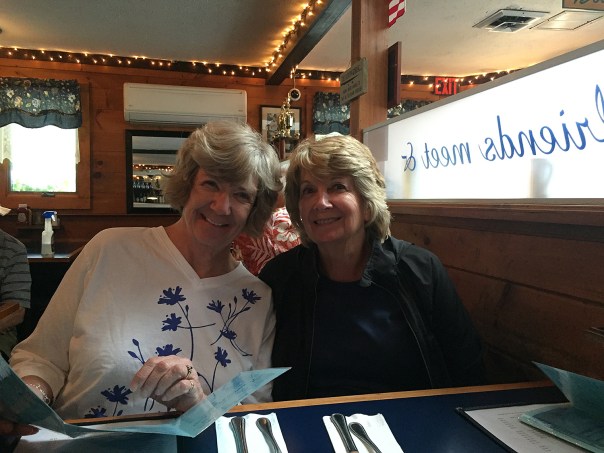
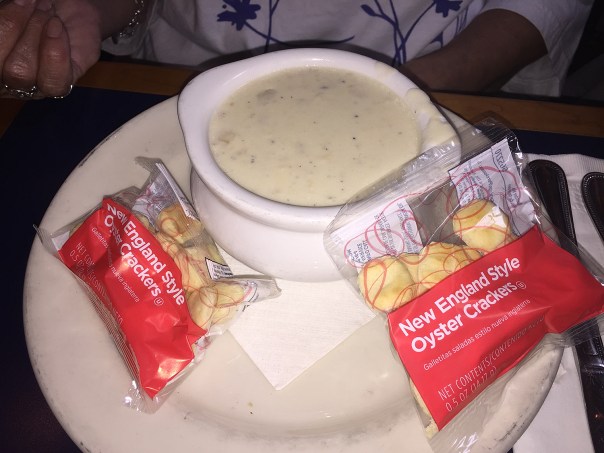
Being on the Cape, the Fritz sisters (above, MS on the left, Susan on the right) both yearned to try their Clam Chowder; and while I will indulge at times, clams are not one of my faves, so I ordered their Chili Con Carne with Cheese, which I luv-luv-loved! Susan got a cuppa chowdah with a side of coleslaw (which she did not like at all); Merry Sue got the bowlful, both sizes came with a packet of oyster crackers.

Apparently, Susan was told by her daughter-in-law—who worked for years as a waitress on the Cape—that all restaurants get the same chowder base and therefore every eating establishment basically serves the same thing. MS and I found that hard to believe, but if it’s the case, I’m hypothesizing that they at least doctor it up with additional ingredients to put their own stamp on it. Anyone know for sure?
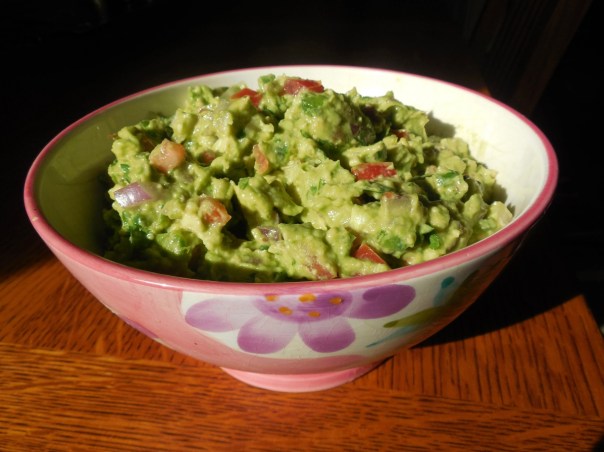
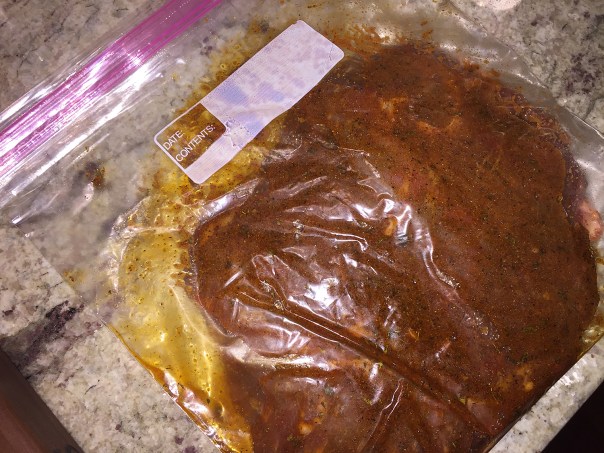
After Yardarm we went grocery shopping to purchase breakfast, lunch and snack items because we didn’t intend on eating out for every meal. Plus we all brought along some vittles, like the ingredients to make my famous guacamole, which you can make yourself following the recipe at the end of this blog.
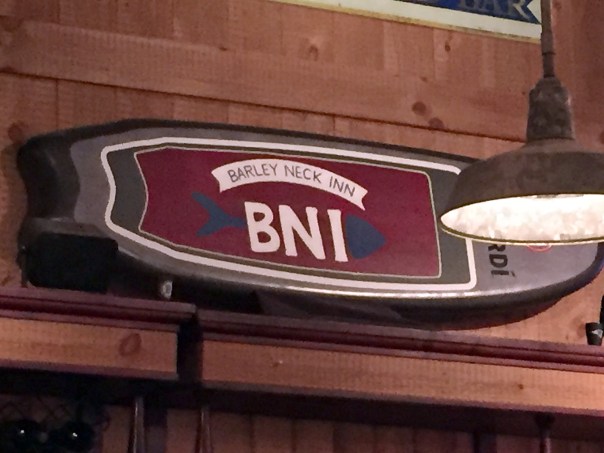
Our first dinner out was at the Barley Neck Inn, a small independently owned resort based in an old sea captain’s 1868 home in the rural village of Orleans in the elbow of Cape Cod. Even though it was the Saturday after Labor Day, MS and I thought it prudent to make reservations. Thank goodness we did because it was packed when we got there and they were turning people away, or they had at least an hours wait—and it was already going on 8 p.m.

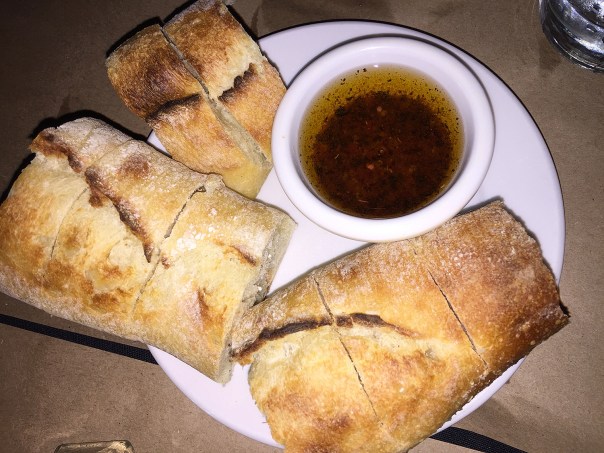
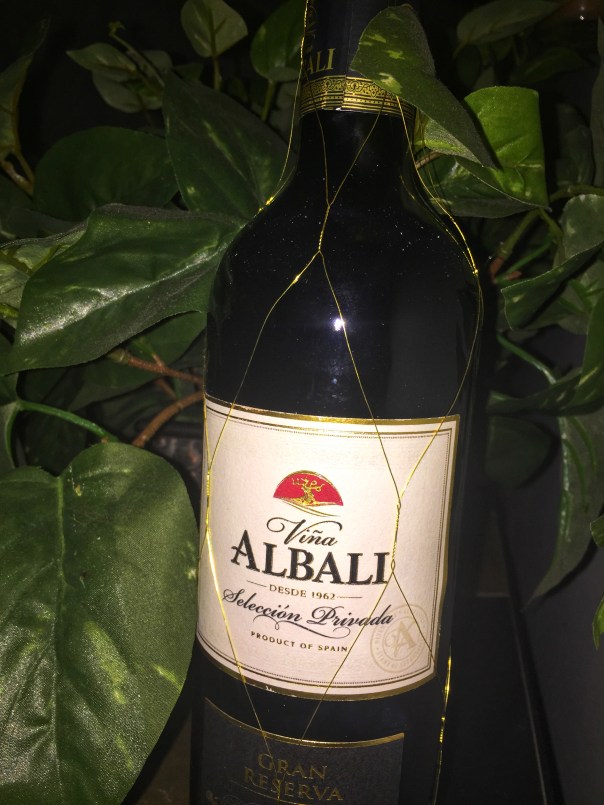
With glasses of wine ordered from our friendly waitress with an obvious accent (she was from London), we scanned the menus and munched on the crusty bread served with a spiced olive oil.
Figuring appetizers would be too much, we went right for the entrées and Merry Sue chose from the Special Additions Menu and ordered the Day Boat Cod topped with lemon-thyme crumbs resting on a lemon butter sauce, served with sides of rice pilaf and tender asparagus stalks. No complaints from her.

Susan and I both had a hankering for the ith a Marseille butter sauce, steamed broccoli and the same rice pilaf. The bright magenta orchid blooms were an attractive touch to each serving. We just about licked our plates clean, except for Susan’s carrot medallions, a veggie she doesn’t care for unless they are very soft.

The following morning we took the Hy-Line ferry from Hyannis to Martha’s Vineyard. After a bit of shopping in Oaks Bluff, we took a bus to Edgartown and ended up for lunch at the quaint Among the Flowers Café. Their outdoor patio (which was packed therefore we had to sit indoors) is nestled under a blue and white awning with views of Edgartown Harbor. Apparently it is a little goldmine because for nearly 40 years they have served fresh, healthy, homemade dishes at reasonable prices and the folks keep piling in.

Our choices included Lynn’s Asian Chopped Salad arriving in an asymmetrical white bowl filled with mixed greens, grilled chicken, Napa cabbage, edamame, red and yellow peppers wasabi peas and lightly tossed with a Thai peanut dressing. It was soooo good, I ate every last morsel!

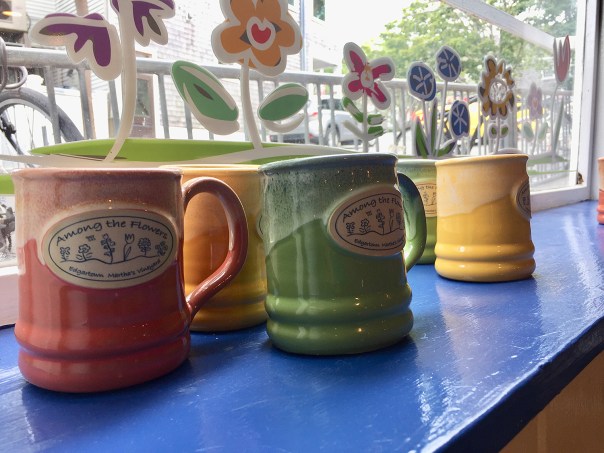
A chalkboard listed some daily specials, one of which was a Mushroom & Spinach Quiche that Susan ordered. She liked the quiche enough, but had to pick out the raw carrots from the side salad. MS went for the Soup & Salad Combo, choosing New England clam chowder that was served in their signature clay mug. These for-sale colorful mugs and mini bud vases lined all of the windowsills and some counters.


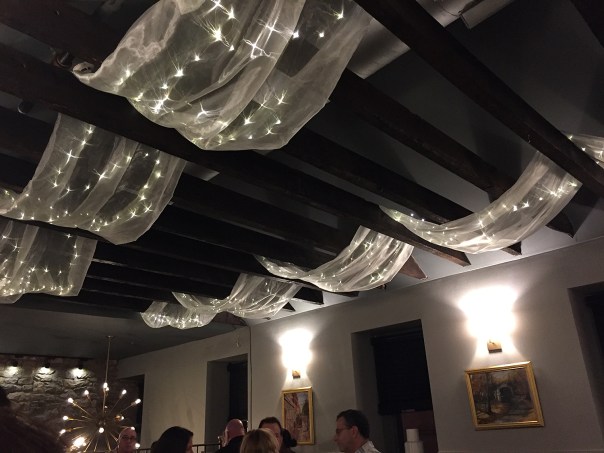
Our other dinner on the town was at Chapin’s in Dennis. We chose that because it was close to the Cape Cinema Theater founded in 1930, and they were featuring The Wife, starring Glenn Close—a great movie BTW. The auditorium is designed in the style of Art Deco and includes 317 individual arm chairs of black lacquer and tangerine suede. American painter and illustrator Rockwell Kent designed the massive 6,400-square-foot mural for the auditorium’s ceiling (below), featuring a colorful representation of the heavens and constellations.

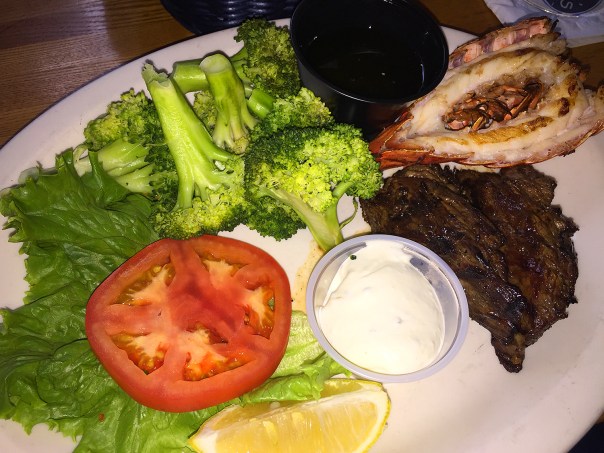
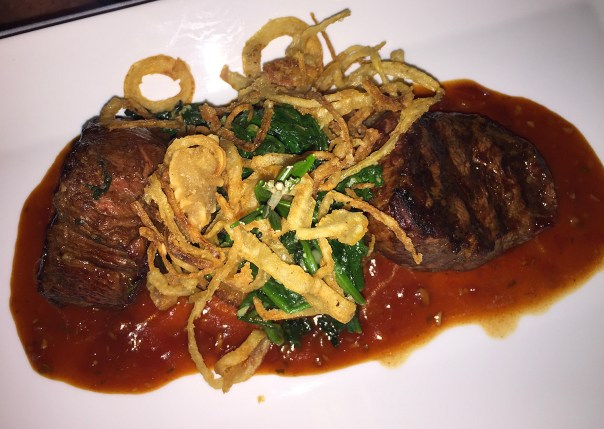
The movie ended at 4:00, and Chapin’s opens at 4:00 which is WAY early for dinner IMHO, but we considered it a late lunch/early supper meal. And believe it or not, we weren’t the first patrons to arrive on that Monday afternoon. Once seated, we were given multiple menus, one listing the specials which had a Surf N’ Turf option, and included two steak tips and a grilled lobster tail served with a choice of sides.
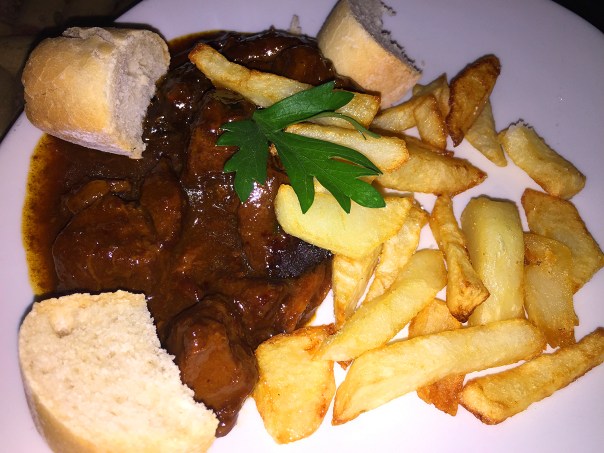
I hadn’t indulged in lobster since we’d been on the Cape, so my mind was made up. Seems Susan had the same idea. Well, it was a huge disappointment. Problem was, Susan’s steak was overdone as was both of our miniscule lobster tails—not succulent at all. (Must have been leftovers from the weekend.) My steak on the other hand, was a perfect medium-rare and the side of broccoli was cooked just right.
Miss MS chose the Chapin’s Baked Stuffed Cod chock full with seafood stuffing, lobster sauce, Cheddar Jack cheese, chopped bacon and topped with seasoned bread crumbs. My goodness, that was a big portion! She tried her best to finish it, but in the end had to succumb—couldn’t even take a doggie bag because we were leaving for home early the next morning when we’d have to wash back ashore.

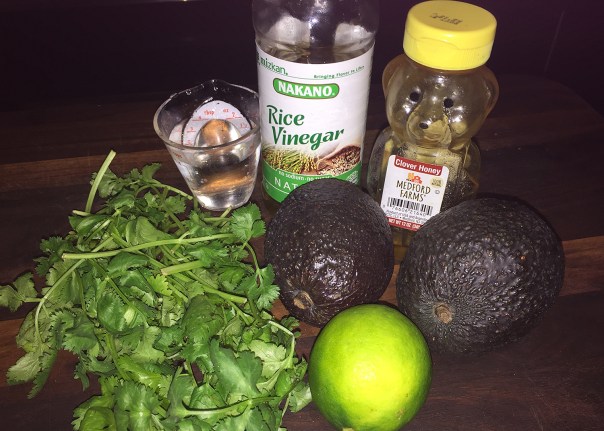
Lynn’s Holey Moley Great Guacamole
Lynn's Holey Moley Great Guacamole
Ingredients
- 1/4 cup chopped red onion
- 1/4 cup fresh lime juice
- 1 teaspoon salt
- 4-5 ripe Hass avocados, halved, pitted
- 2 plum tomatoes, seeded, diced
- 2 jalapeños, seeded, minced
- 1/3 cup chopped fresh cilantro
Directions
- In large bowl combine onion, lime juice and salt; let stand at room temperature for 20 minutes.
- Meanwhile, chop other ingredients. After the onion mixture is ready, with spoon, scoop avocado into bowl with onion mixture. Coarsely mash with potato masher or fork.
- Stir in remaining ingredients. Cover surface directly with plastic wrap and eliminate any air pockets. Refrigerate up to 24 hours before serving. Serve with tortilla chips for scooping.


 Don, Gypsy, Karen, Sue, Lynn and Russ salute the camera outside of Casa Julio.


 Our “bonus” Cucurbita pepo vine got to be 5 times this length and was taking over the patio!
 Hibiscus-like flowers from the Cucurbita pepo vine.


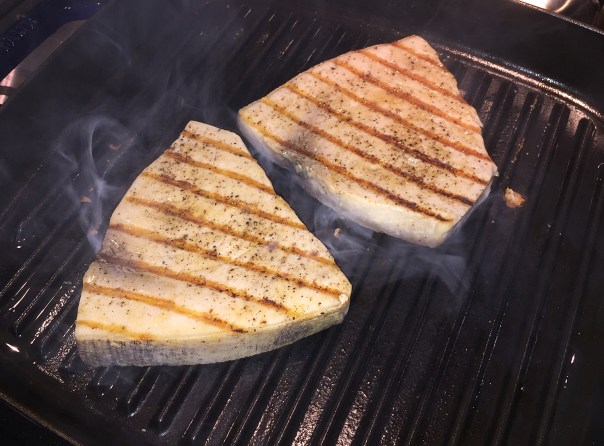
 We served our corn salad at an outdoor BBQ along with Cedar-Planked Salmon with Lemon Thyme Rub.


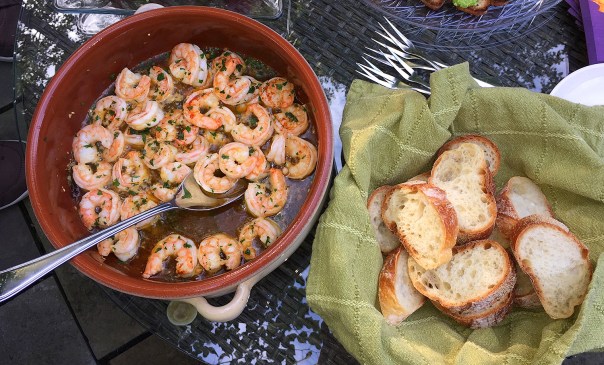 A sliced baguette is a must with this sizzling garlic shrimp dish to mop up all of the luscious EVOO.
 Wendy and Rosanne keep me company in the kitchen as I prepare the Mexican corn dish.
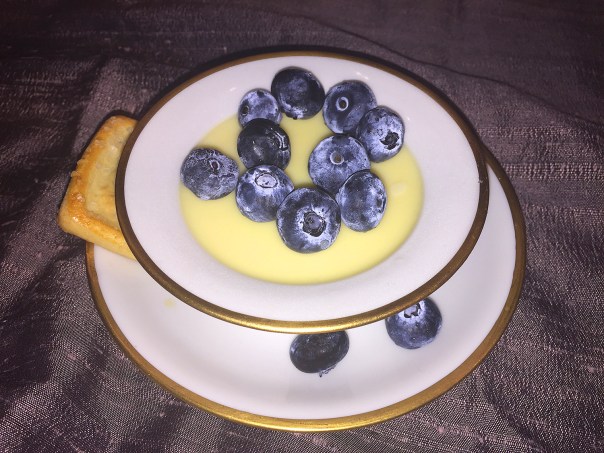
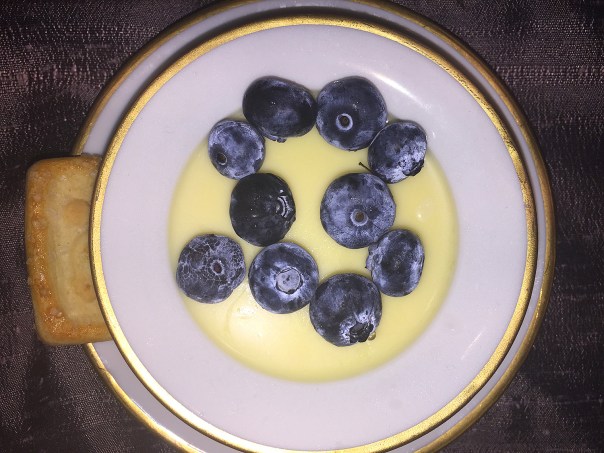 Add a small shortbread cookie on the side for some crunch factor.
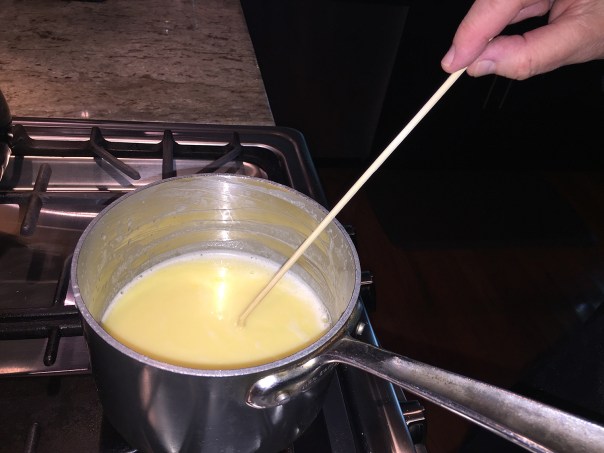
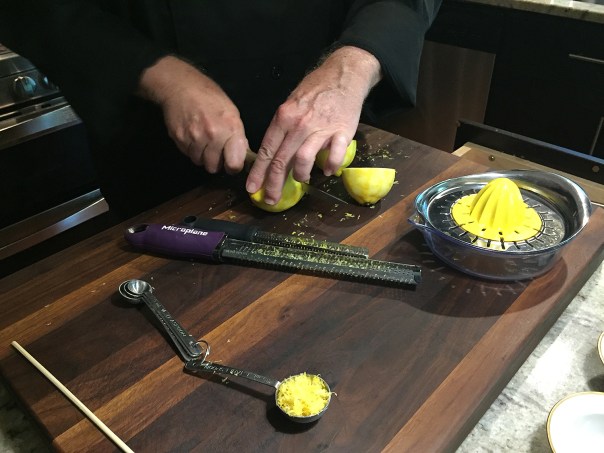 Zesting and juicing the lemons for the posset.


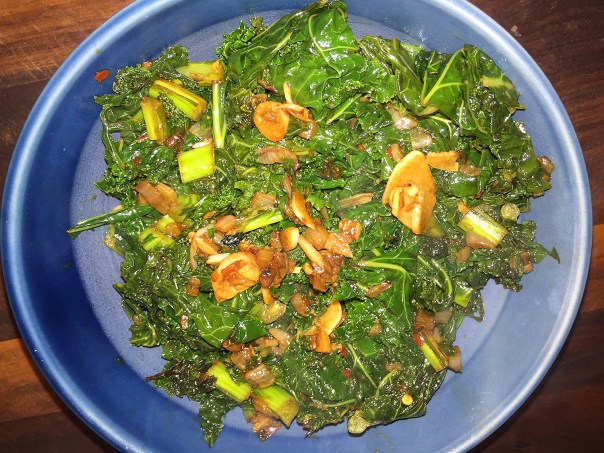


 It made a great side dish for the Spice-Rubbed Grilled Pork Chop dinner.