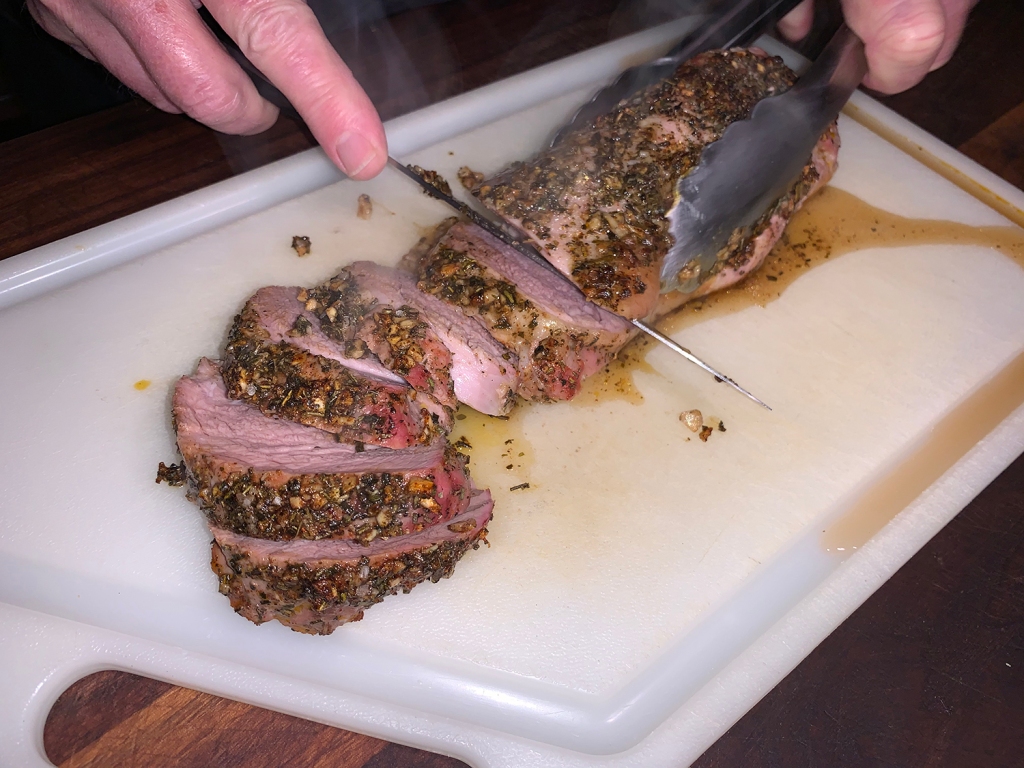
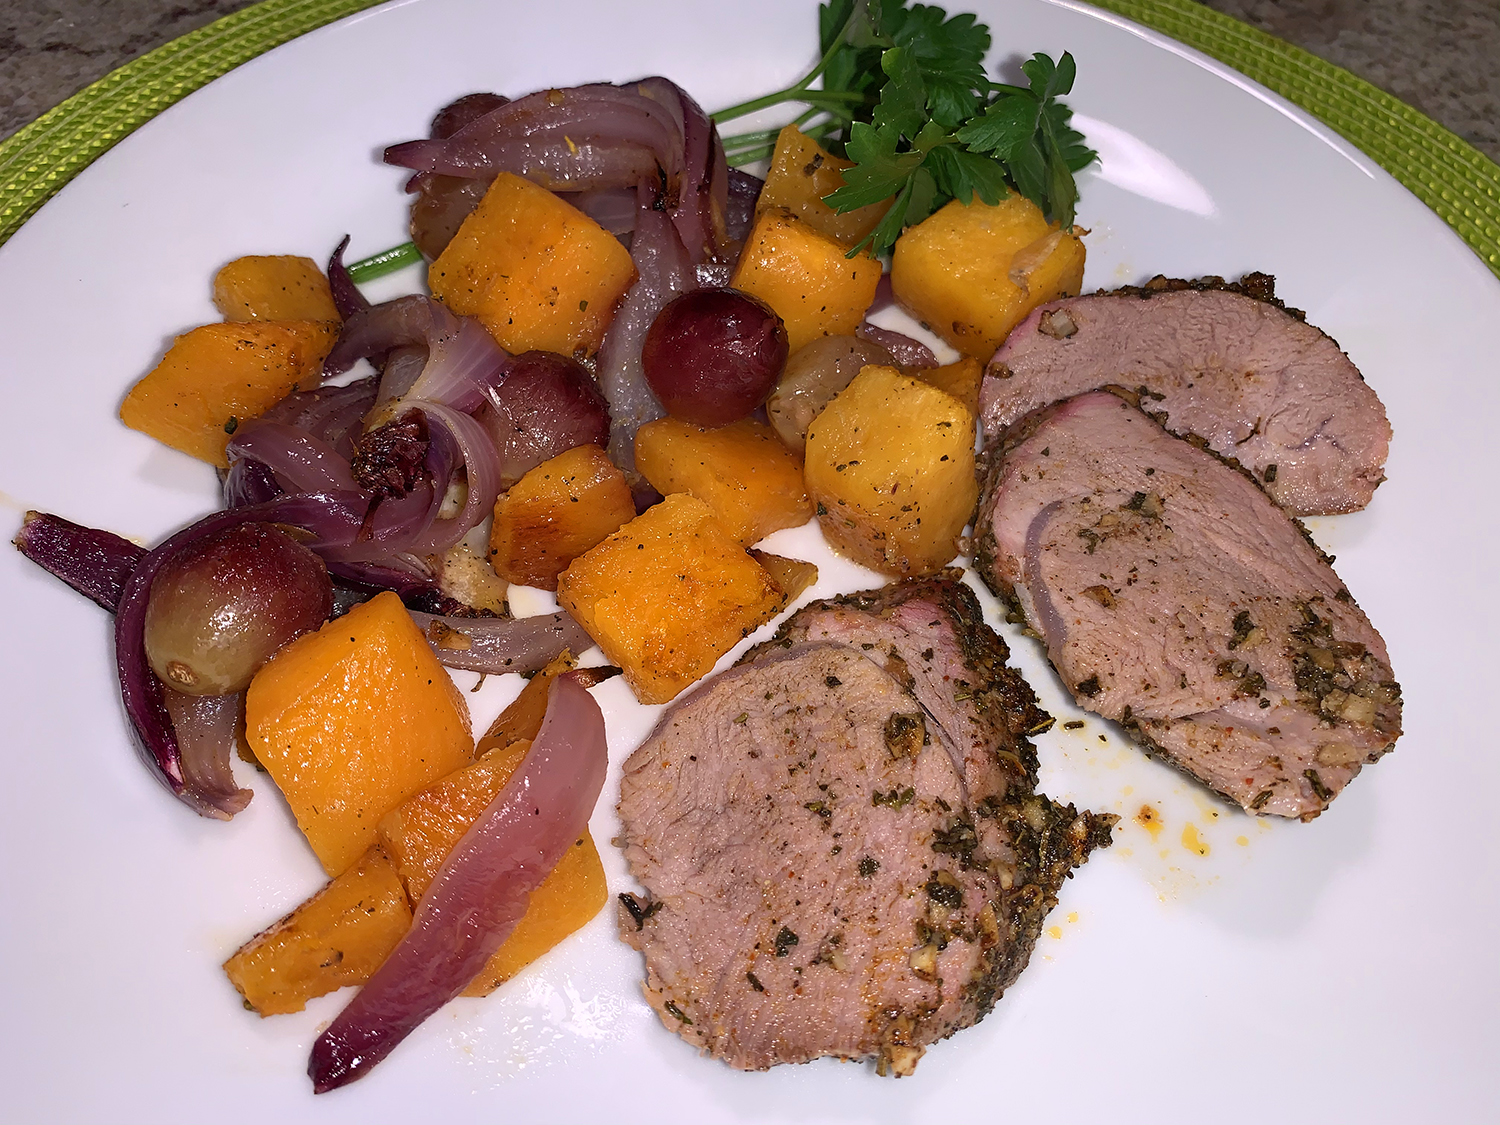
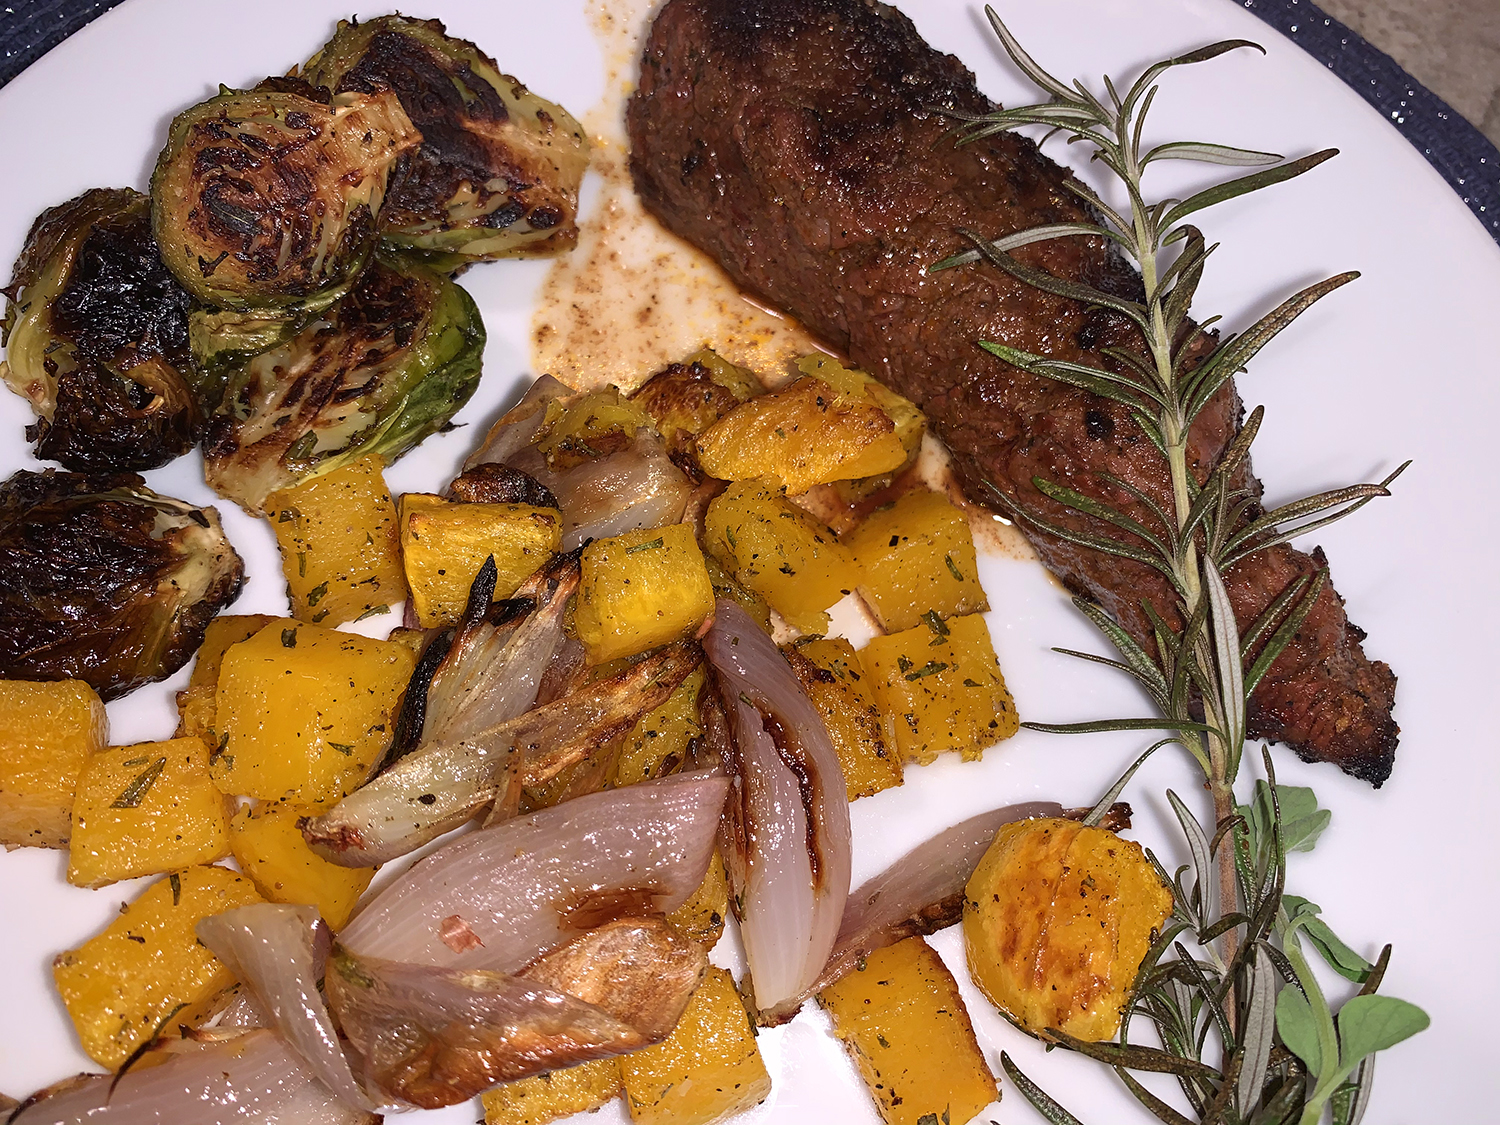
When preparing our weekly menus, we try to be as diverse as possible concerning the main entrée. And we certainly are suckers for trying new dishes or twists to an old favorite. Variety is the spice of life, right? We need a little variation during the extended periods of lockdown when we are all so weary of the challenges 2020 has thrown our way.
After seeing this Shrimp Risotto with Tomatoes and Basil recipe in our latest Milk Street magazine, it quickly prompted us to add shrimp to the grocery list. Classic risotto-cooking technique calls for adding hot broth in several additions to the rice as it cooks, as well as for constant stirring. This simplified method from Milk Street adds the liquid in just two batches with frequent but vigorous stirring which coaxes the starch from the grains, yielding a rich, velvety risotto with minimal effort.
The starchy, creamy consistency of carnaroli (or Arborio) rice is a perfect backdrop for the briny-sweet flavor of plump, perfectly cooked shrimp; juicy tomatoes; and fresh, fragrant basil.
Milk Street
Don’t forget to cover the pot after adding the shrimp; this traps heat in the pot so that the shrimp gently cook through. Ours took 8 minutes to become fully opaque. And just to note, we increased the quantity from 12 ounces to a full pound. That seemed more reasonable for 4 servings as a main course.
If you happen to have homemade shellfish stock on hand, use that in place of, or in addition to, the clam juice.
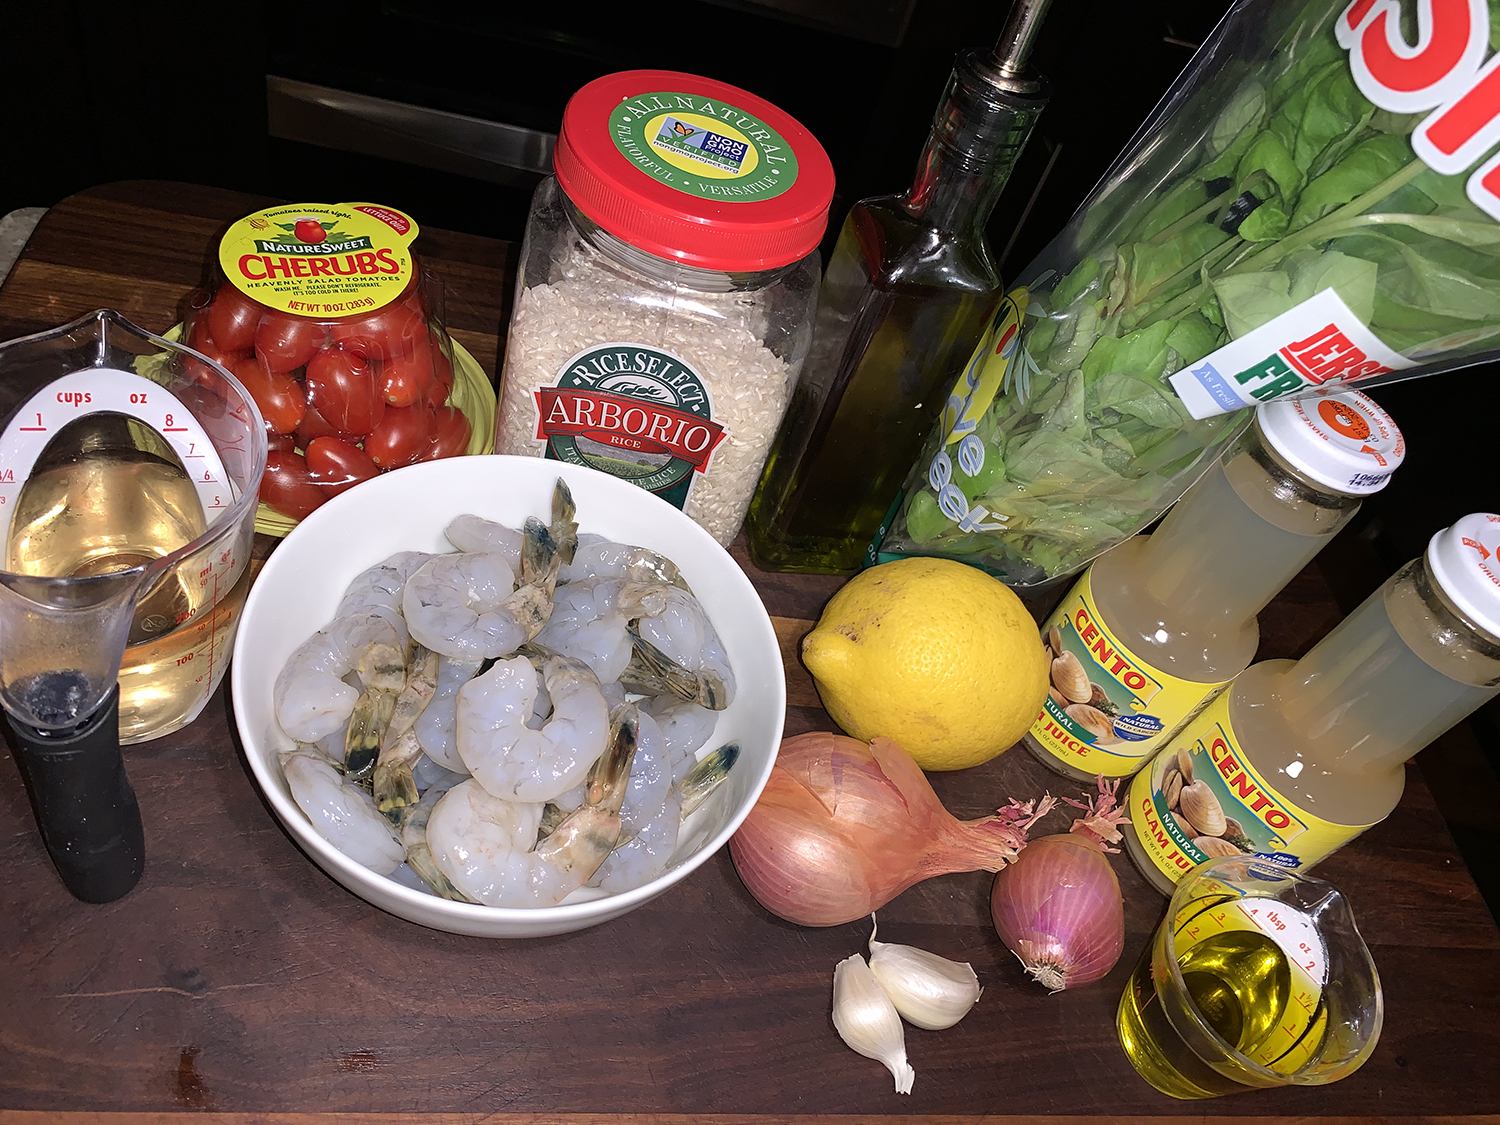
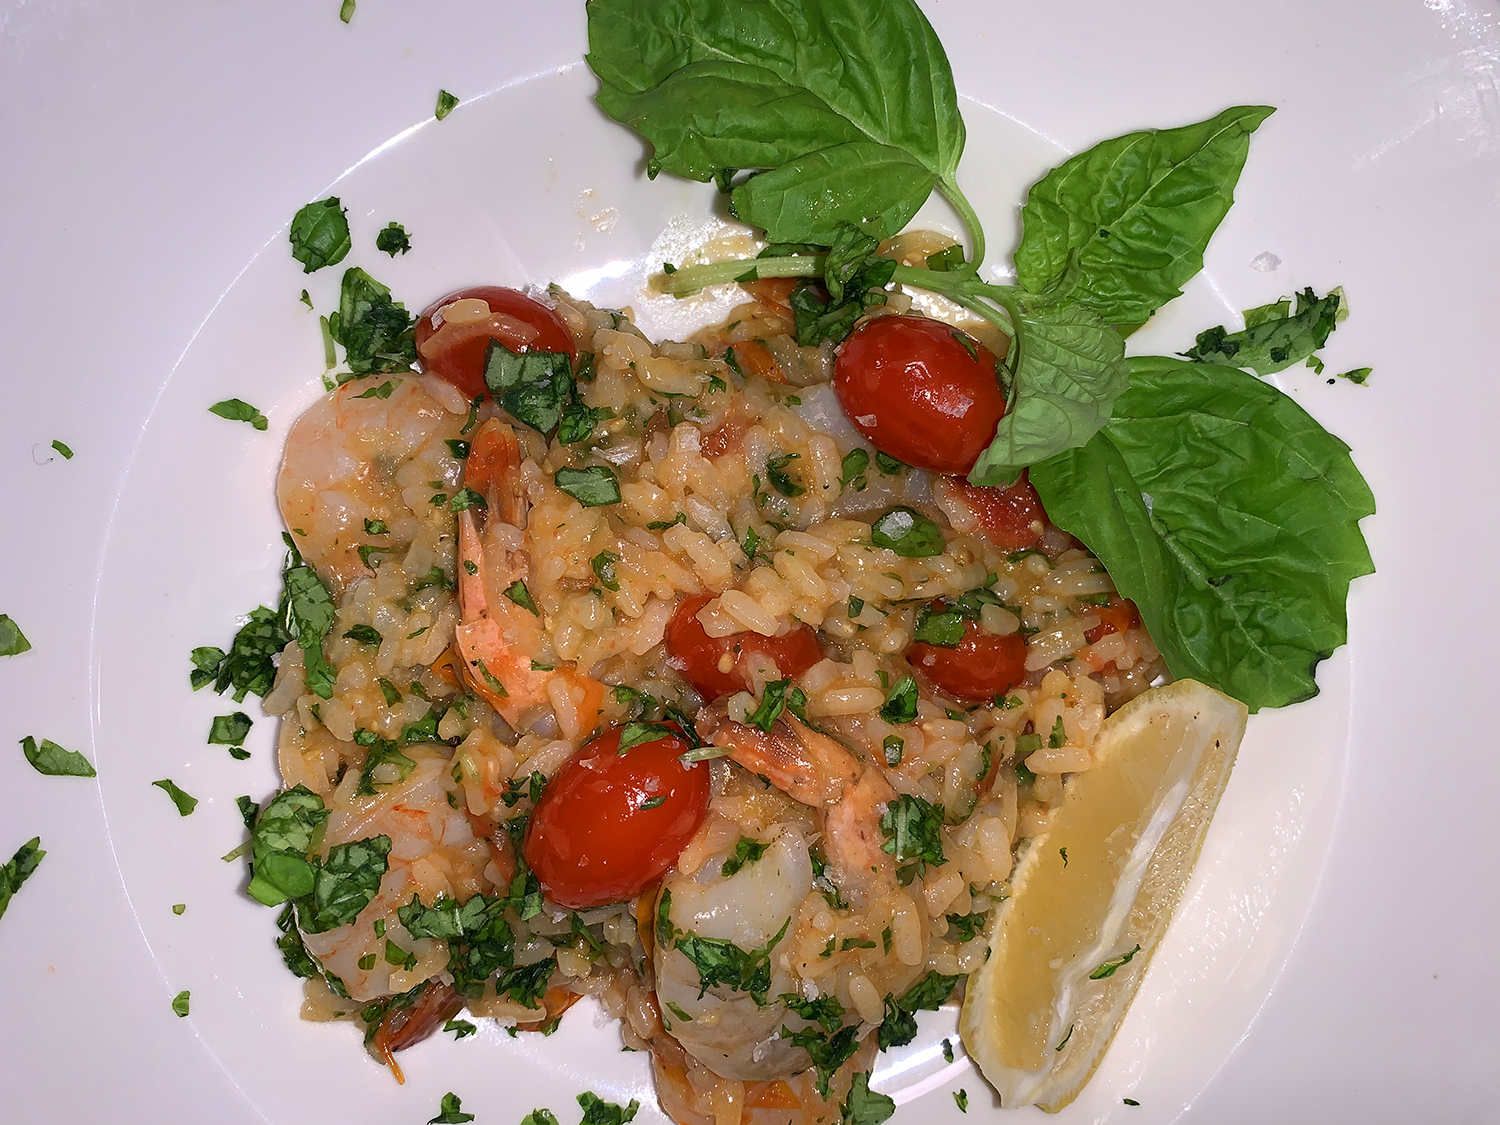
Shrimp Risotto with Tomatoes and Basil
Ingredients
- 2 8-oz. bottles clam juice (or homemade shellfish stock)
- 12-16 oz. extra-large shrimp, peeled, deveined and patted dry
- Kosher salt and ground black pepper
- 4 Tbsp. extra-virgin olive oil, divided, plus more to serve
- 2 medium shallots, halved and sliced
- 1 cup carnaroli or arborio rice
- 1 pint grape tomatoes
- 2 medium garlic cloves, thinly sliced
- ¾ cup dry white wine
- 1½ cups lightly packed fresh basil, finely chopped
- 1 tsp. grated lemon zest, plus 1 Tbsp. lemon juice


Directions
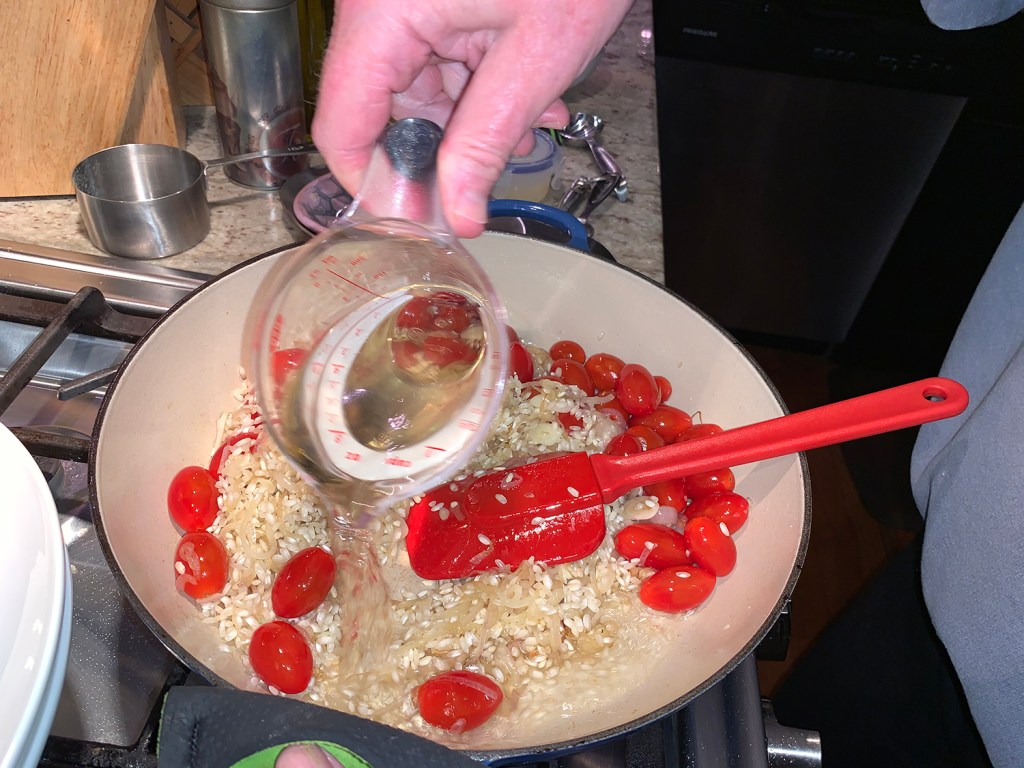
- In a 1-quart liquid measuring cup or medium microwave-safe bowl, combine the clam juice and 2 cups water. Cover and microwave on high until hot, about 4 minutes; set aside, covered. Season the shrimp with salt and pepper; set aside.
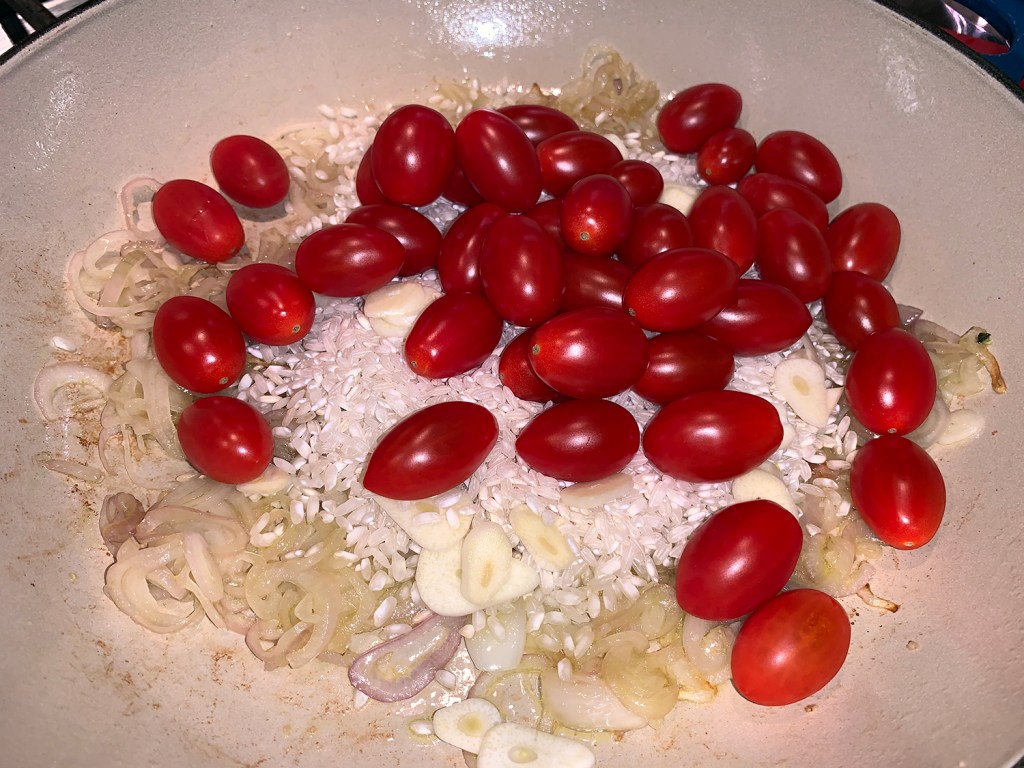
- In a large Dutch oven over medium-high, heat 2 tablespoons oil until shimmering. Add the shallots and ½ teaspoon salt. Cook, stirring often, until softened, about 2 minutes. Add the rice, tomatoes and garlic, then cook, stirring, until the grains are translucent at the edges, 1 to 2 minutes.
- Add the wine and cook, stirring, until almost dry, about 4 minutes.
- Add 3 cups of the hot liquid and cook, stirring often and briskly, until a spoon drawn through the mixture leaves a trail, 10 to 12 minutes.
- Add the remaining hot liquid and cook, stirring, until the rice is al dente, 6 to 8 minutes. Remove from the heat and stir in the shrimp. Cover and let stand until the shrimp are opaque throughout, 5 to 7 minutes. The risotto should be loose but not soupy; if needed, stir in water 1 tablespoon at a time to achieve the proper consistency.
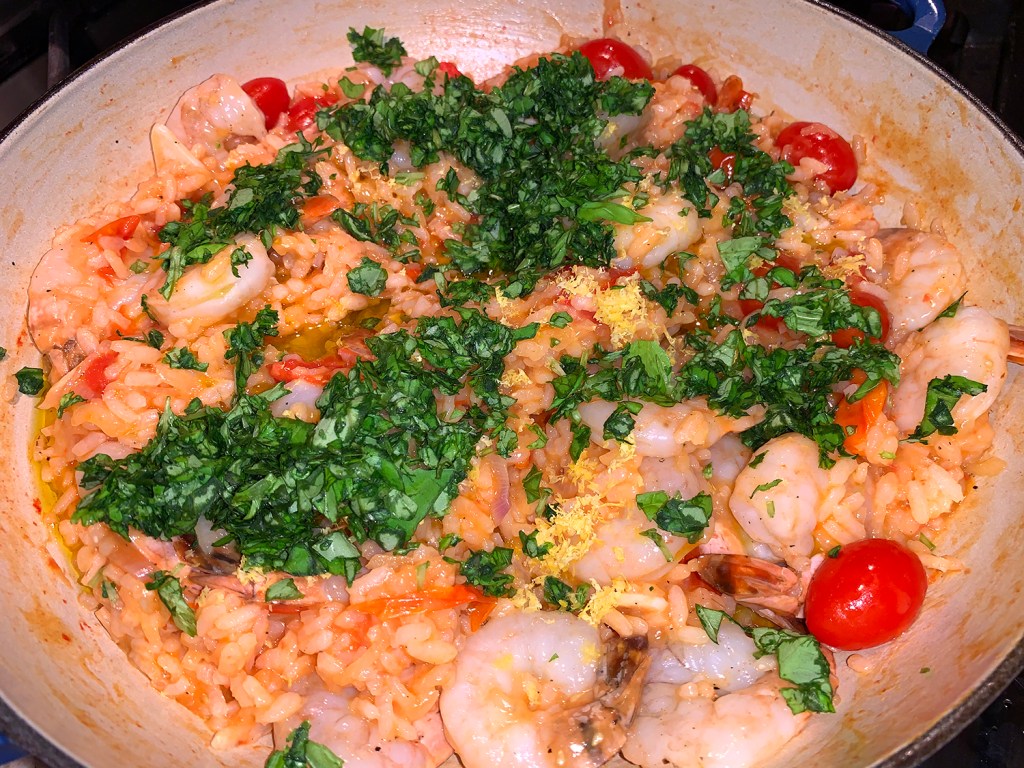
- Stir in the remaining 2 tablespoons oil, the lemon zest and juice and all but 2 tablespoons of the basil. Taste and season with salt and pepper. Serve drizzled with additional oil and sprinkled with the remaining basil.
Recipe from Rebecca Richmond for Milk Street