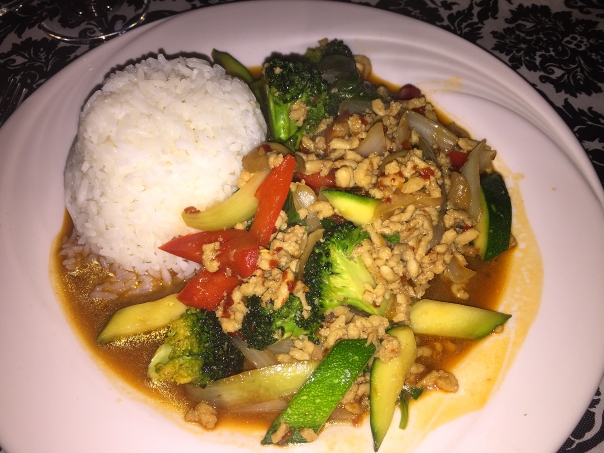
As I’ve mentioned often, Thai cuisine is among one of my favorites, yet neither Russ nor I have ever dined on larb before. The unofficial national dish of Laos, larb is also popular in Thailand and exemplifies the bold flavors of the region. Usually served with fresh vegetables as a salad, this Spicy Chicken Larb recipe is made more winter-friendly served over Thai-Style Roasted Cabbage (recipe follows).
Laoisan Style Larb is most often made with chicken, beef, duck, fish, pork or mushrooms, flavored with fish sauce, lime juice, padaek, roasted ground rice and fresh herbs. The meat can be either raw or cooked; it is minced and mixed with chili, mint and, optionally, assorted vegetables. Roughly ground toasted rice (khao khoua) is also a very important component of the dish. The dish is served at room temperature and usually with a side of sticky rice and raw vegetables.

So as you can see, there are numerous variations of this dish. This particular one we found in the Make It Tonight series from Fine Cooking, one of our go-to places for quick, tasty weeknight meals.
Don’t be shocked how dark the cabbage gets, but be aware of the time as there is a fine line between roasted and burnt. The recipe calls for it to be cooked anywhere from 45-50 minutes, but our small head only took 30 minutes. And make sure you give it a toss every 10 minutes during the roasting period or it will be charred on one side.
LARB (can also be spelt laap, larp or laab )
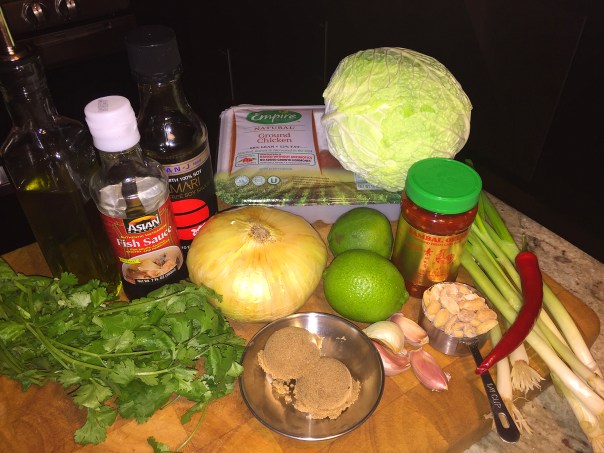
Ingredients
- 3 Tbs. soy sauce
- 1 Tbs. light or dark brown sugar
- 1 tsp. fish sauce
- 1/2 tsp. sambal oelek; more to taste
- 3 Tbs. grapeseed or vegetable oil
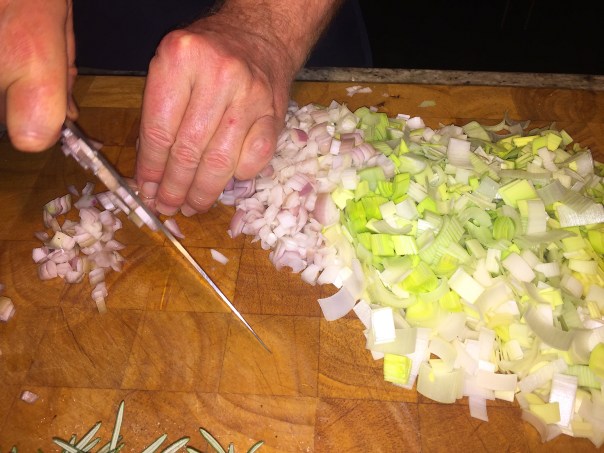
- 1-1/2 cups finely chopped sweet onion
- 1 Thai bird chile, half seeded and minced, half cut into rings and reserved for garnish, if desired
- 1 tsp. minced garlic
- 1 lb. ground chicken
- 1/2 cup coarsely chopped fresh cilantro
- Kosher salt
- 1 tsp. finely grated lime zest; more to taste
- 1 Tbs. fresh lime juice; more to taste
- Thai-Style Roasted Cabbage
- 3 to 4 scallions, green parts only, thinly sliced on a diagonal (about 1/4 cup)
- 1/4 cup coarsely chopped dry-roasted peanuts

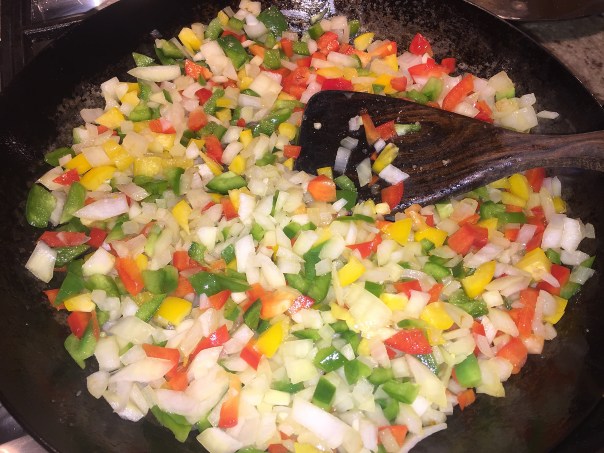
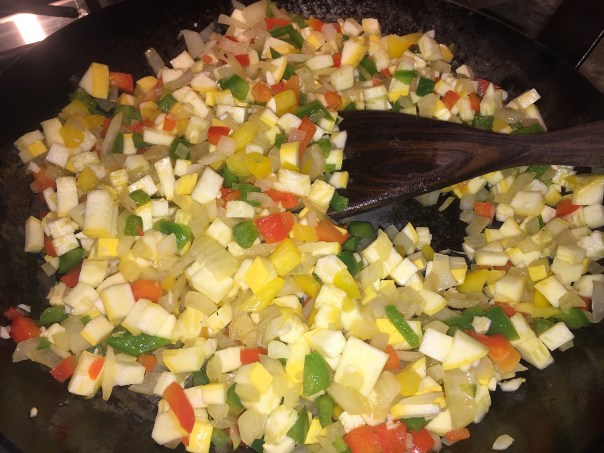
Add the onion and minced chile to a hot skillet, and cook, stirring frequently, until the onion begins to soften, then add the garlic and cook just until fragrant.
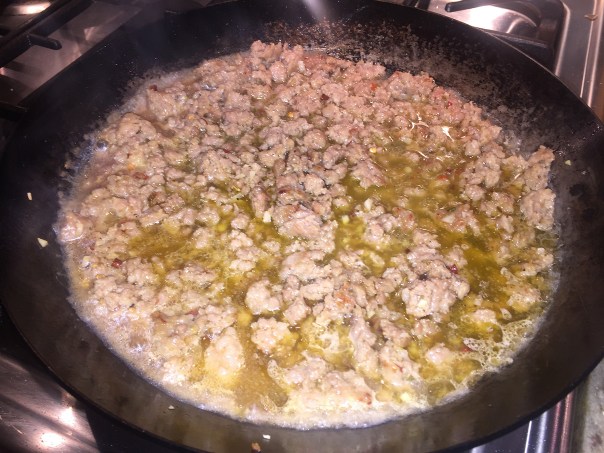
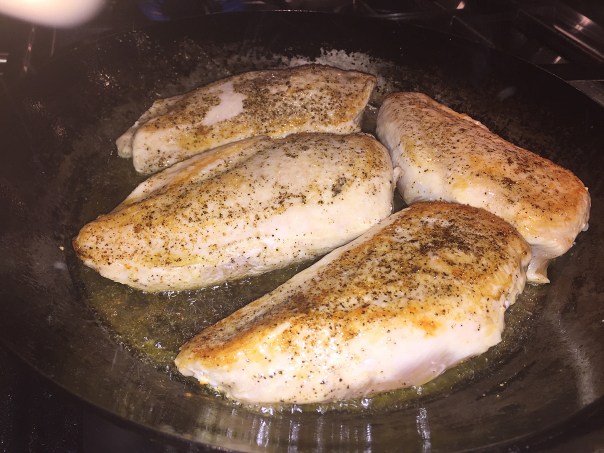
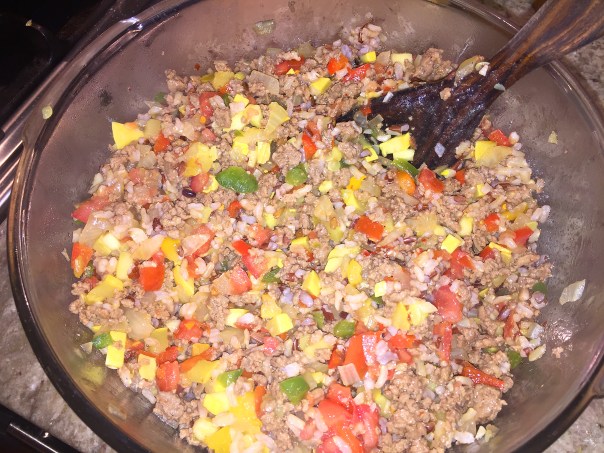
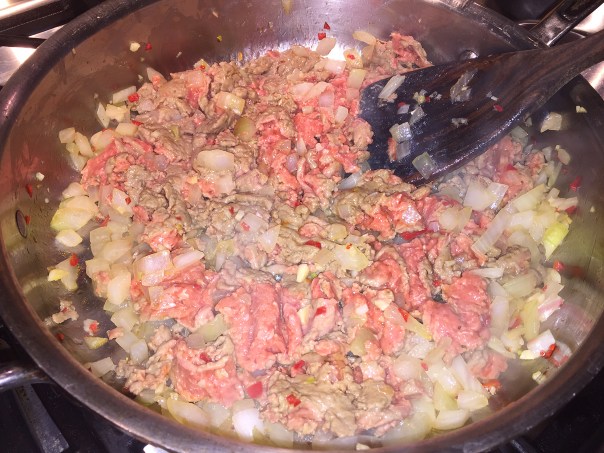 Next, add the chicken and cook, breaking it up with a wooden spoon, until no longer pink.
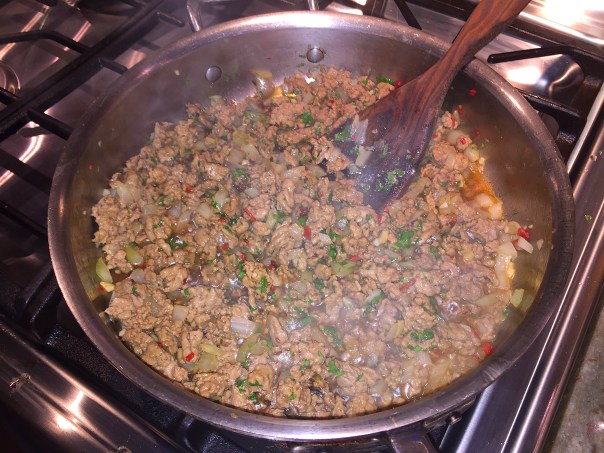
Remove the pan from the heat, and add the lime zest and juice.
Directions
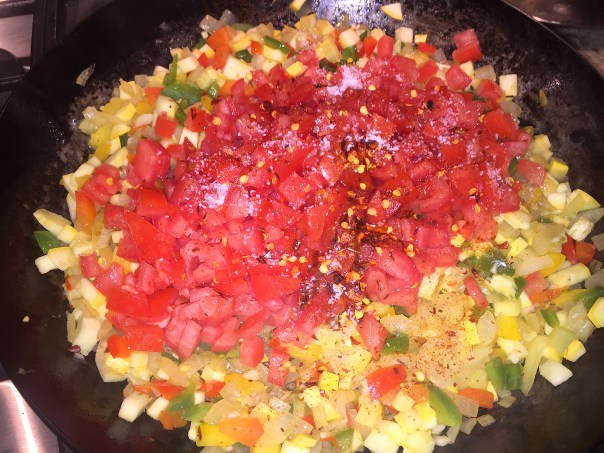
- In a small bowl, whisk the soy sauce, sugar, fish sauce, and sambal oelek.
- In a 12-inch nonstick skillet, heat the oil over medium-high heat. Add the onion and minced chile, and cook, stirring frequently, until the onion begins to soften, 2 to 3 minutes. Add the garlic and cook just until fragrant, about 30 seconds.
- Add the chicken and cook, breaking it up with a wooden spoon, until no longer pink, 6 to 8 minutes.
- Add the soy sauce mixture, half of the cilantro, and 1/4 tsp. salt. Cooking, stirring, until the pan is almost dry, about 2 minutes.
- Remove the pan from the heat, and add the lime zest and juice. Toss to combine, and season to taste with more zest, juice, and salt.
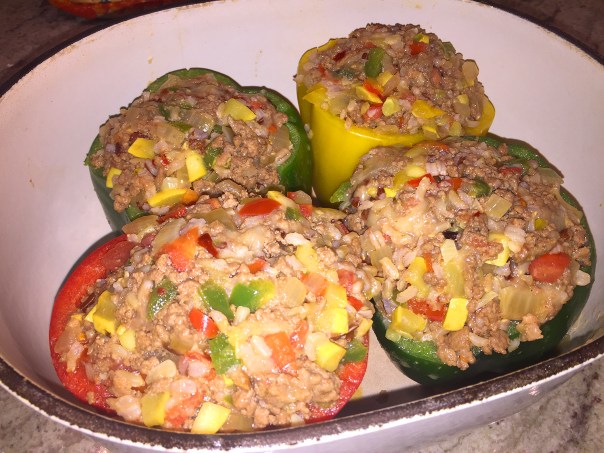
- Serve the chicken over the cabbage. Top with the remaining cilantro, scallions, peanuts, and chile rings, if using.
Thai-Style Roasted Cabbage
Peppery cabbage becomes delightfully sweet post roast. Paired with a Thai-inspired dressing, it makes a perfect side for steak and a great base for Spicy Chicken Larb.

Spread the cabbage out on a rimmed baking sheet, and roast, tossing every 10 minutes.
Ingredients
- 1 medium head Savoy cabbage, halved through the core, cut lengthwise into 1/2-inch ribbons, thick ribs and core discarded (about 16 cups)
- 2 Tbs. grapeseed or vegetable oil
- Kosher salt and freshly ground black pepper
- 3 Tbs. fresh lime juice
- 1 Tbs. finely chopped garlic
- 1 Tbs. fish sauce
- 1 Tbs. packed dark brown sugar
- 1 Tbs. packed finely chopped fresh cilantro; more for garnish
- 1/2 tsp. sambal oelek; more to taste
Directions
- Position a rack in the center of the oven and heat to 425°F.
- On a rimmed baking sheet, toss the cabbage with the oil, 1/2 tsp. salt, and a few grinds of pepper. Spread the cabbage out (it’s OK if the cabbage is mounded; it will shrink as it roasts), and roast, tossing every 10 minutes, until tender and most of the cabbage has turned golden brown, 45 to 50 minutes.
- Meanwhile, in a small bowl, whisk the lime juice, garlic, fish sauce, sugar, cilantro, and sambal oelek.
- Transfer the cabbage to a large bowl and toss with 2 Tbs. of the dressing. Season to taste with additional dressing and salt, top with cilantro, if using, and serve.

Transfer the cabbage to a large bowl and toss with the dressing, season to taste with salt, and top with cilantro.
Both recipes by Diana Andrews from Fine Cooking


 Trimmed broccoli raab gets rinsed before cooking.


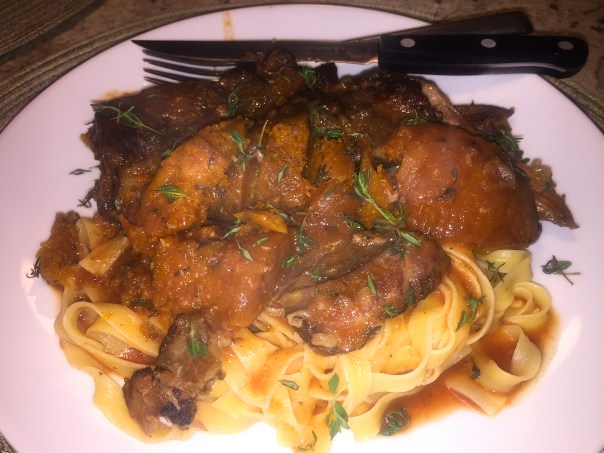


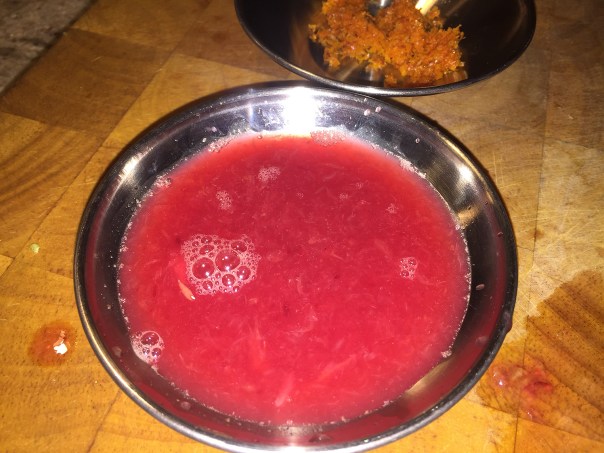
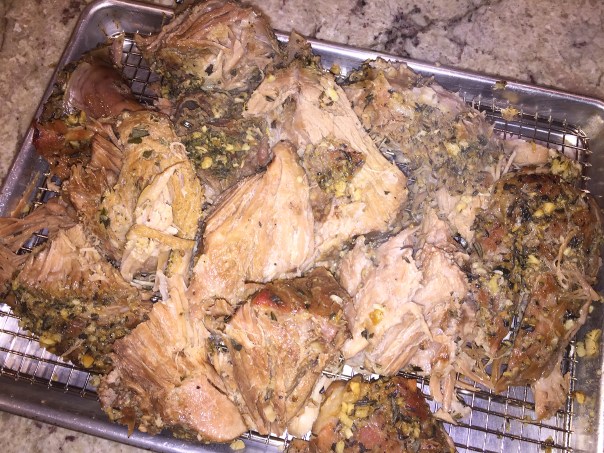
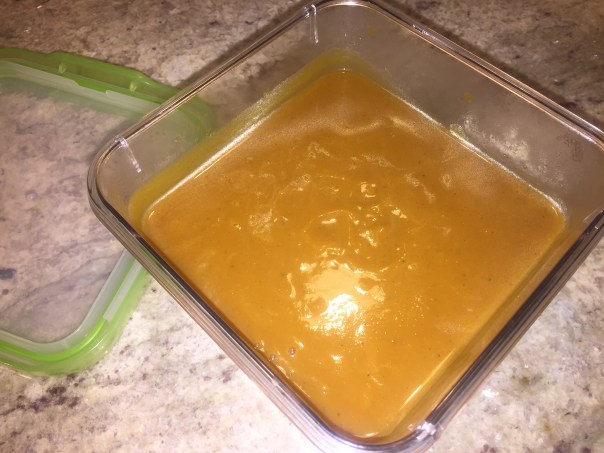
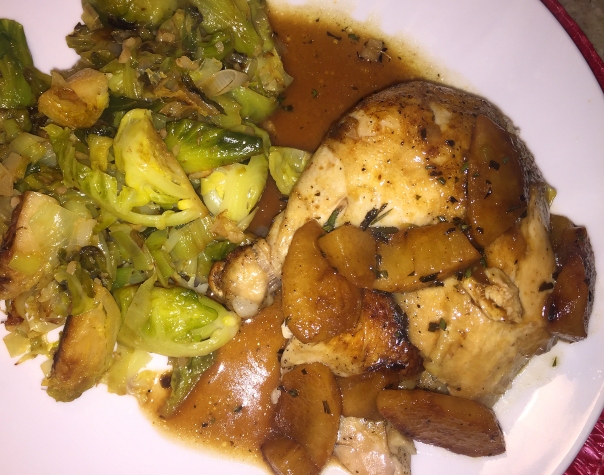
 After I got home from work, I removed the meet and squash to a covered dish and poured the sauce into a gravy separator.


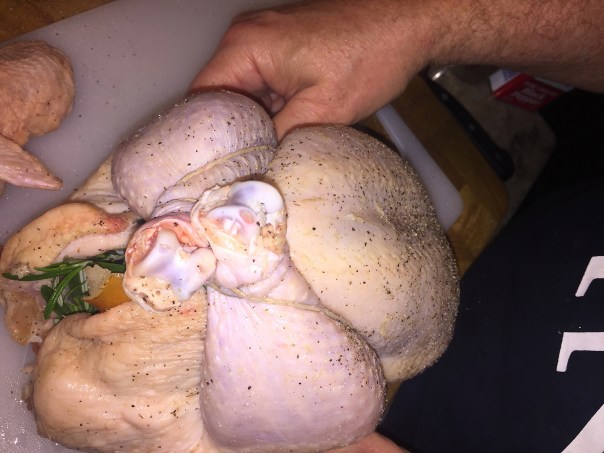


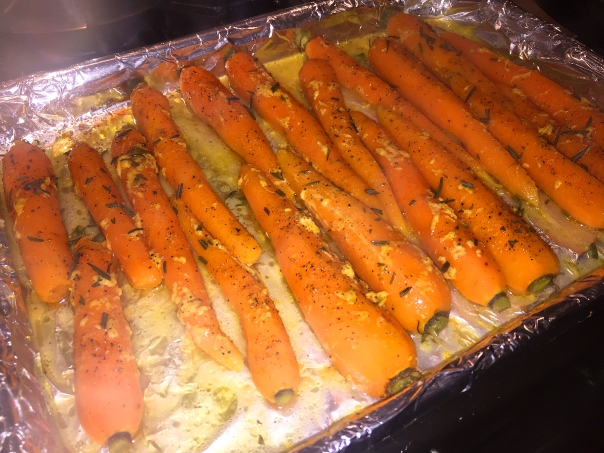
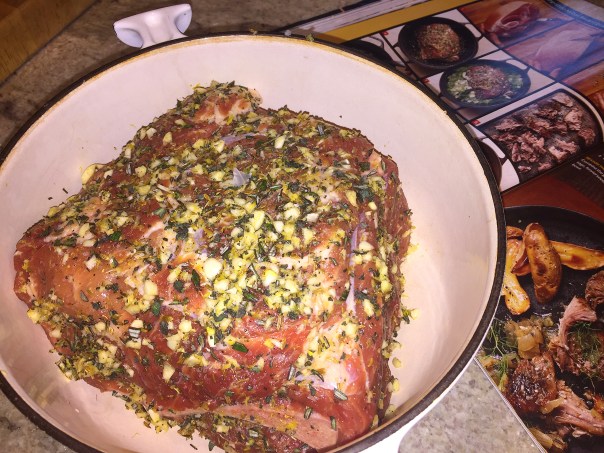
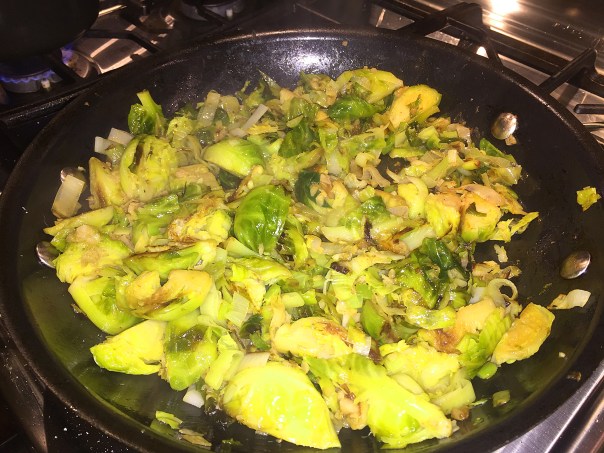
 A rosemary sprig is also added to the sautéing veggies.


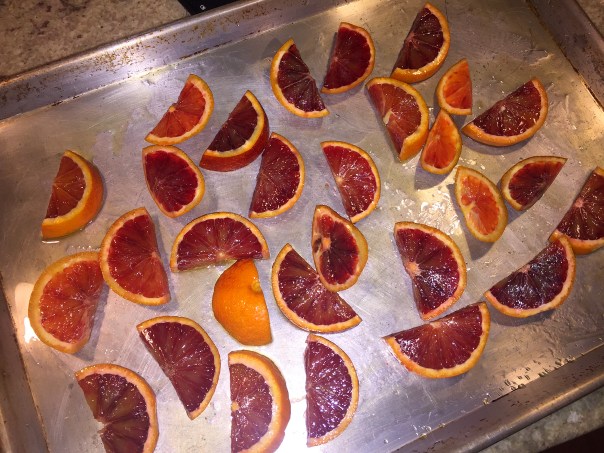

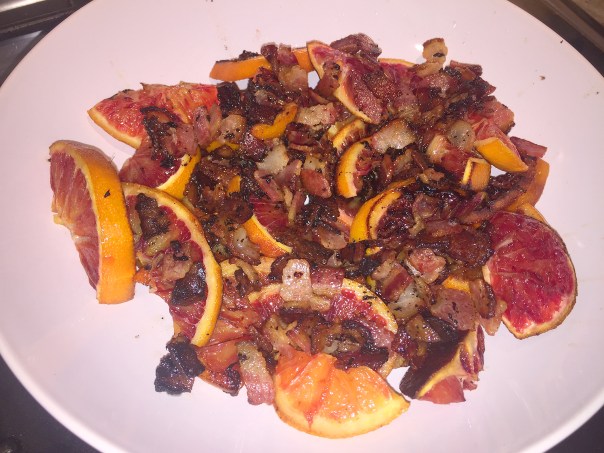 Next, roast the bacon on the same baking sheet for about 12 minutes then transfer to the plate with oranges.
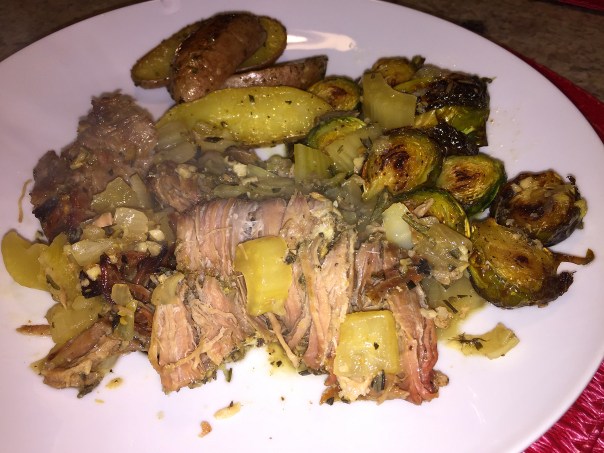
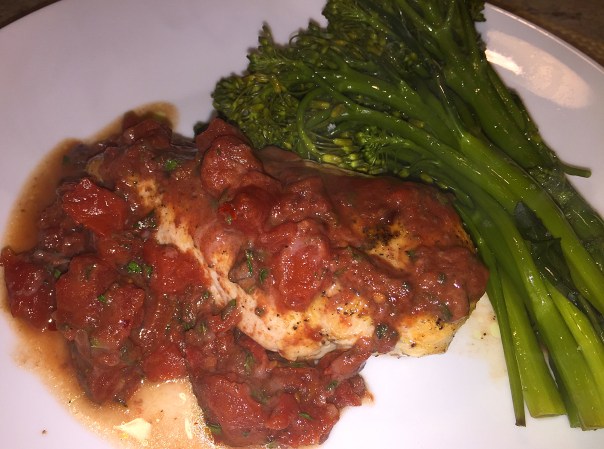
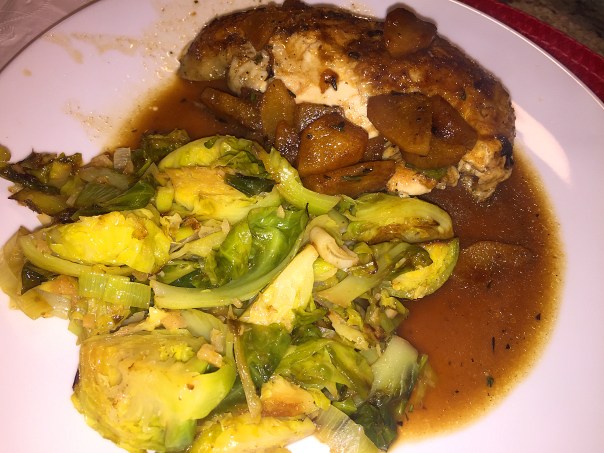
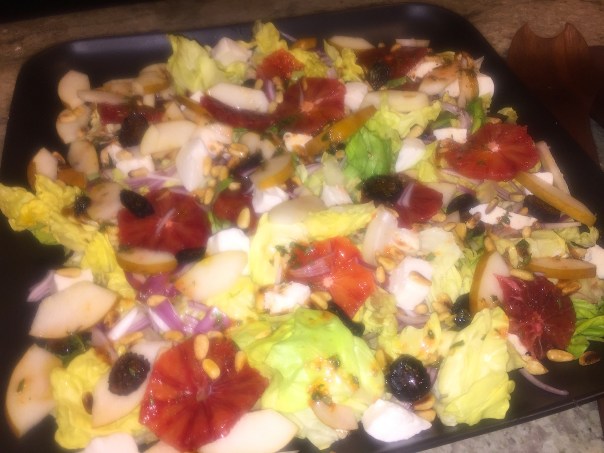
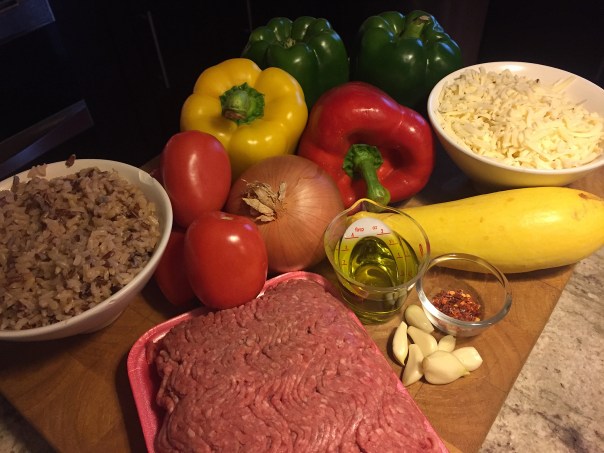
 The colors alone make you eat with your eyes.