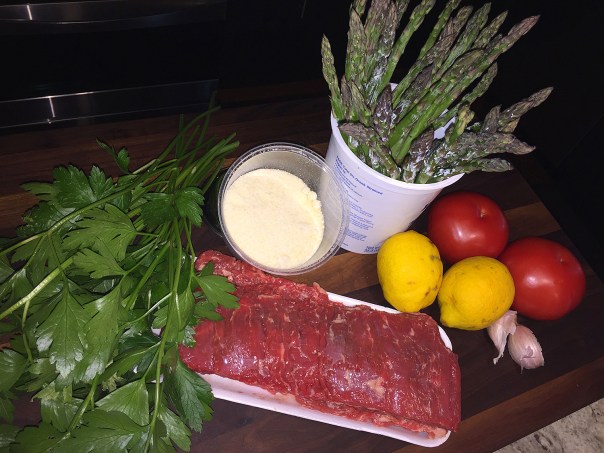
This main course Grilled Steak Salad with Pineapple-Ginger Dressing has it all: tender greens, crisp peppery radishes, sweet succulent pineapple, beefy steak, and a bright, fresh dressing that packs a bit of heat, too. What a perfect choice for a warm summer evening dining al fresco. And to satisfy any vegetarians, just swap out the steak for grilled portobello mushrooms.
For a great time-saver, look for peeled and cut fresh pineapple in the produce section of your supermarket. I bought a whole pineapple so that I could slice it down and have a lot extra for morning fruit smoothies. Those small 6-ounce cans of pineapple juice are almost perfect—just suck down that last ounce.
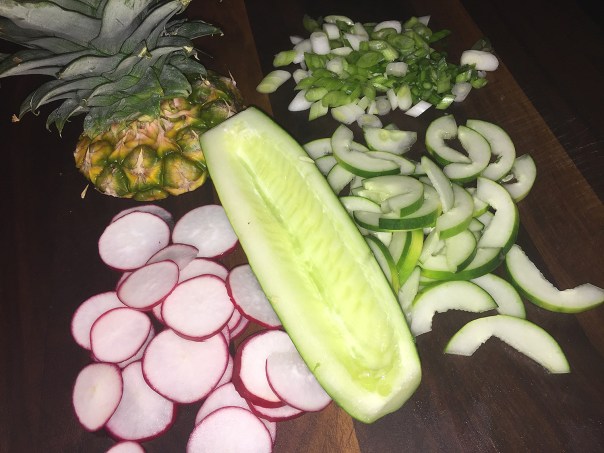
Another step-saver? To avoid having to scoop out the cucumber seeds, buy a seedless variety. For just the two of us, one head of Bibb lettuce and all of the rest of the ingredients made two good-sized salads with some dressing and steak leftover. So keep that in mind if intending to feed more diners…

Grilled Steak Salad with Pineapple-Ginger Dressing
Ingredients
For the dressing:
- 5 Tbs. pineapple juice
- 1 Tbs. soy sauce
- 1 Tbs. peanut oil
- 1 Tbs. Asian sesame oil
- 2 tsp. fresh lime juice
- 1/2 tsp. honey
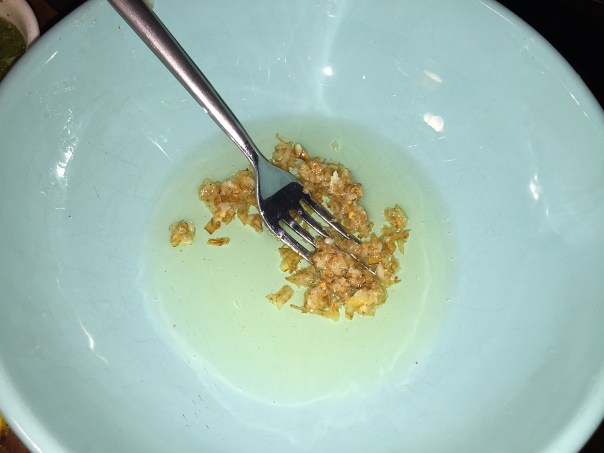
- 1/2 tsp. finely grated fresh ginger
- 1 small clove garlic, minced
- Large pinch crushed red pepper flakes
- 1/4 cup small-diced fresh pineapple
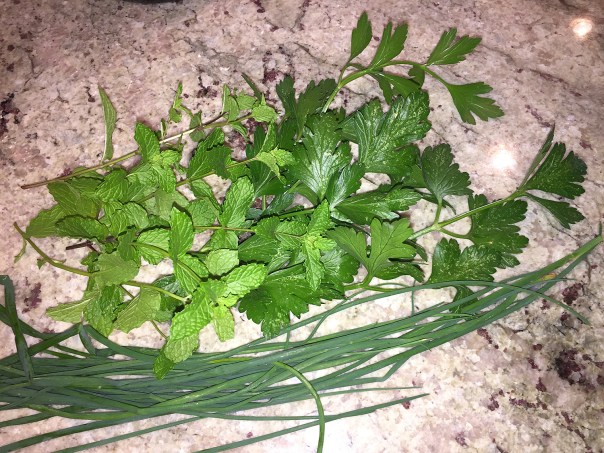
- 1 Tbs. finely chopped fresh cilantro
For the steak:
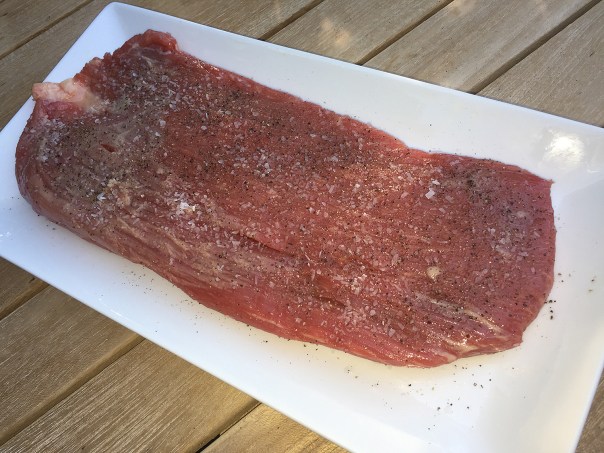
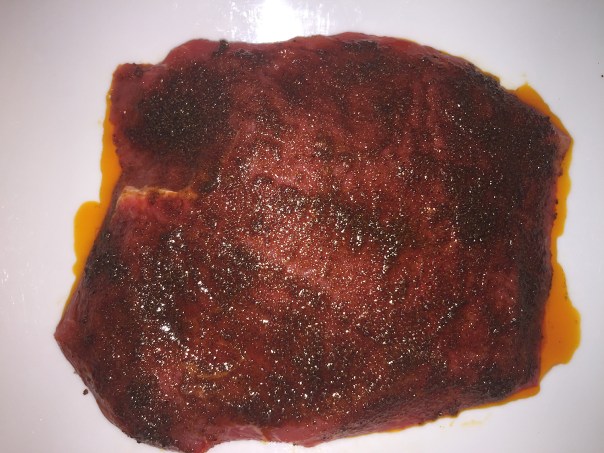
- 1 lb. flank steak
- 1-1/2 Tbs. vegetable oil; more for the grill
- Kosher salt and freshly ground black pepper
For the salad:
- 6 oz. torn butter lettuce (use 2 heads for 4 people)
- 1 medium cucumber, seeded and thinly sliced
- 3 radishes, thinly sliced
- Kosher salt and freshly ground black pepper
- 1/4 cup thinly sliced scallion (both white and light-green parts)
Directions
- Heat a gas grill to medium high.
Make the dressing:
- In a small bowl, whisk the pineapple juice, soy sauce, peanut oil, sesame oil, lime juice, honey, ginger, garlic, and pepper flakes to blend. Stir in the pineapple and cilantro.
Cook the steak:
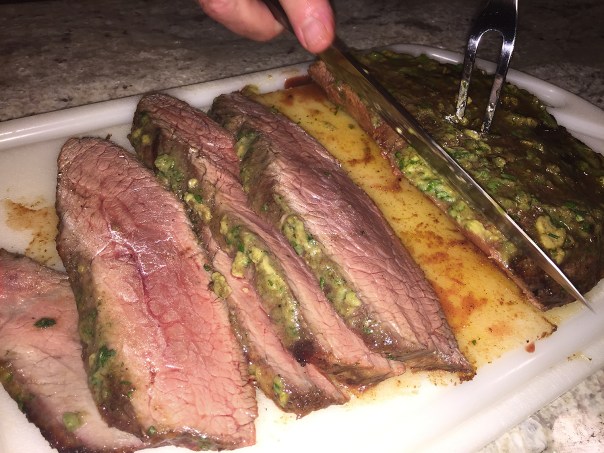
- Rub the steak with the oil and season with 1 tsp. each salt and pepper. Clean and oil the grill grates. Grill the steak, covered, until it has nice grill marks on one side, 5 to 6 minutes. Flip and reduce the heat to medium.

- Cook, covered, until done to your liking, an additional 4 to 5 minutes for medium rare. Transfer to a cutting board and let rest for 5 to 10 minutes.
Assemble the salad:
- In a large bowl, toss the lettuce, cucumber, and radishes with about half of the dressing. Season to taste with salt and pepper. Divide among 2-4 large plates.


- Thinly slice the steak at an angle across the grain and drape it over the greens.

- Drizzle some of the remaining dressing over the beef, sprinkle with the scallions, and serve.

Adapted from a recipe by Maryellen Driscoll from Fine Cooking


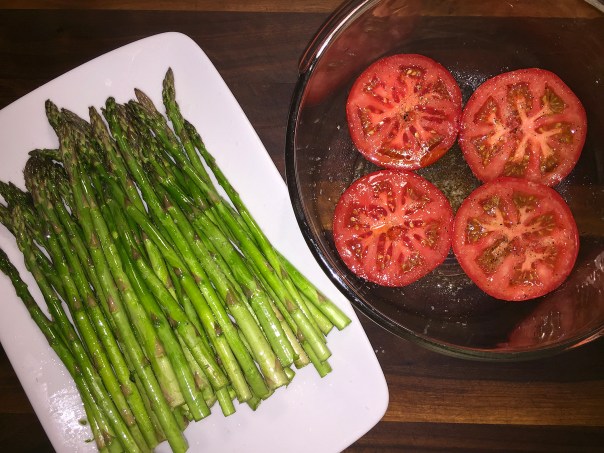
 Make a side salad of sliced heirloom tomatoes on a bed of baby arugula and a few slices of a ripe avocado dressed with
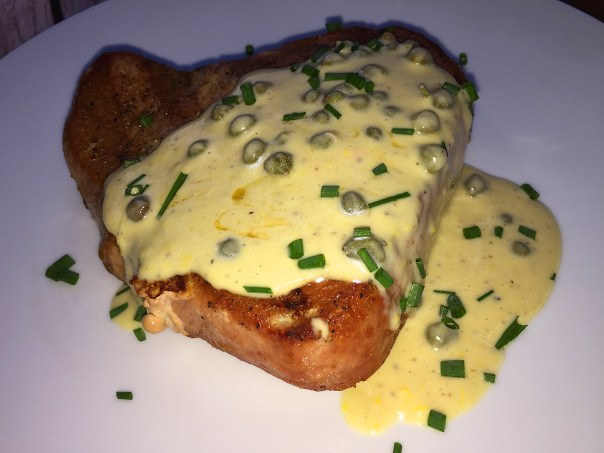


 I couldn’t help myself by adding this video and a few pics from the event. But I digress…


 Russ spends some time reviewing all of the wine offerings, orders and Italian NOE Montepulciano D’Abruzzo, then I enjoy a sip…

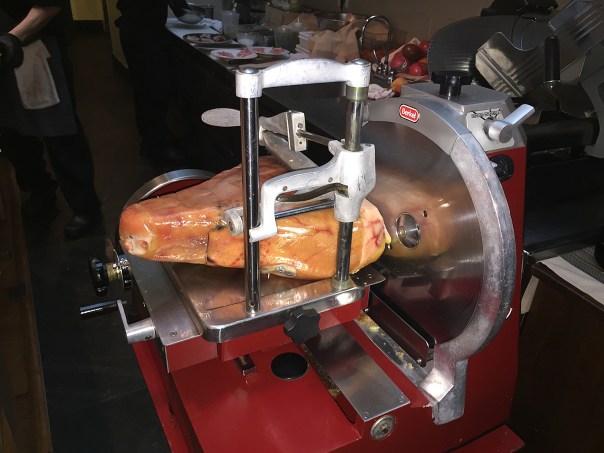
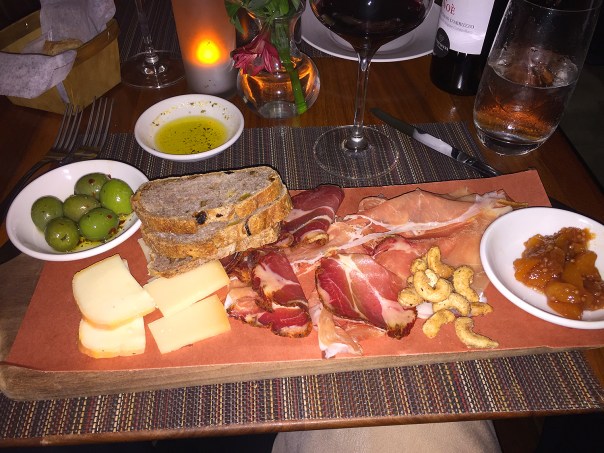 … Russ chose the Piccolo which allowed for four choices from the meat and cheese offerings, letting our very Italian waiter make the selections for him. Along with marinated Castelvetrano olives, also on the wooden plank platter was an array of spiced cashews, a fruit spread, walnut raisin bread slices, and melt-in-your-mouth Prosciutto di Parma and Coppa meats, and creamy cheeses Taleggio and 24-month Parmigianno. A meal in itself!
 Our next hurdle was choosing from the Antipasti & Insalate or the Primi categories, so we went with one from each. Russ chose the San Marzano Lamb Meatballs, with four golf ball-sized mounds of meat smothered in the house’s bright, tangy roasted tomato sauce atop Anson Mills polenta, with shaved Pecorino and parsley.
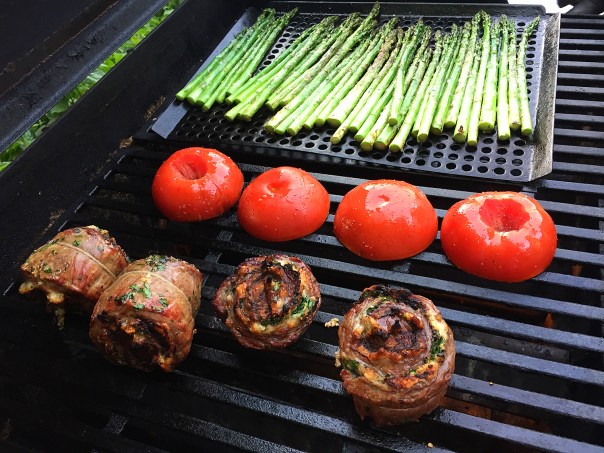
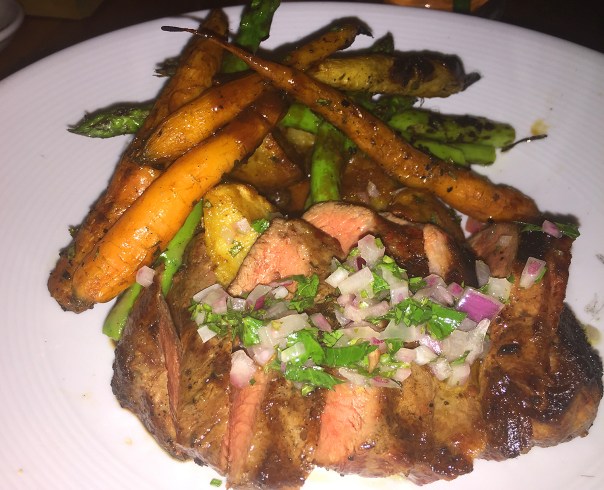 For his main dish, Russ zeroed in on the Niman Ranch Flat Iron Steak grilled to a perfect medium-rare and accompanied by grilled asparagus, nantes carrots, rock potato and dressed with a clinging red wine jus. He absolutely marveled at how fantastic the vegetables were, especially the potatoes with their crisp exterior and creamy soft interiors. I had a taste and couldn’t have agreed more.


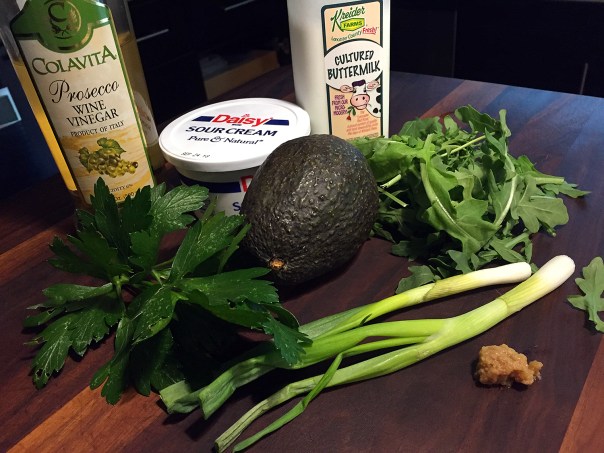


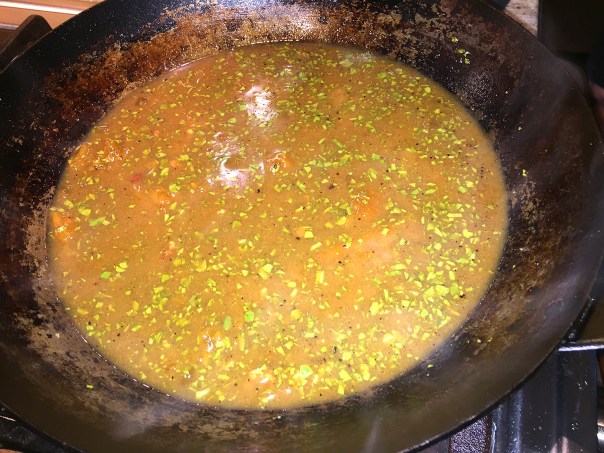
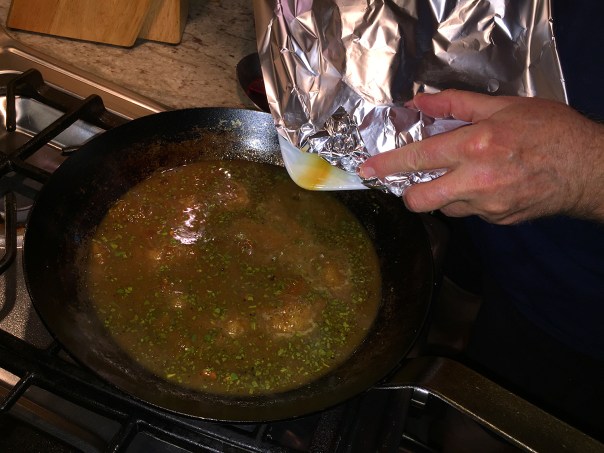
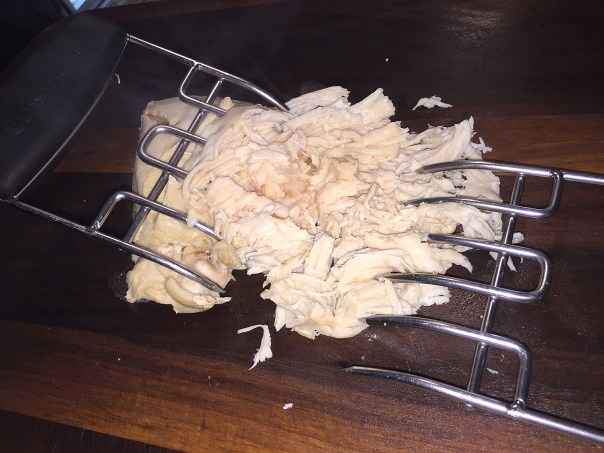
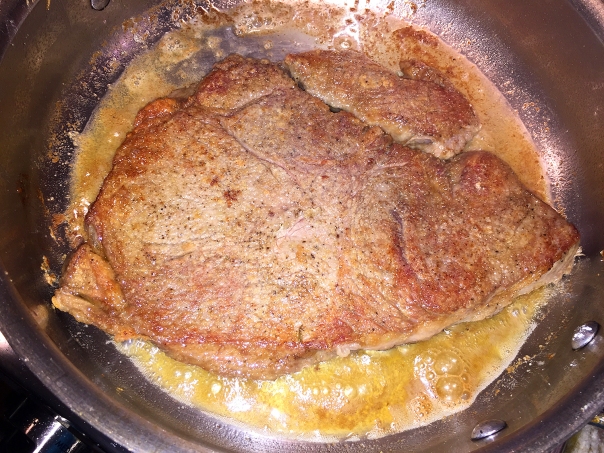
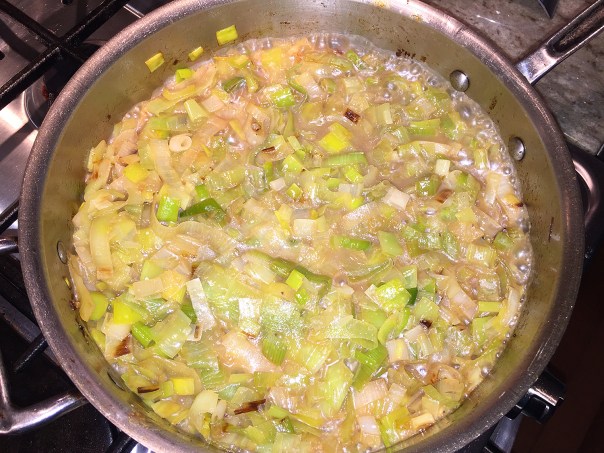
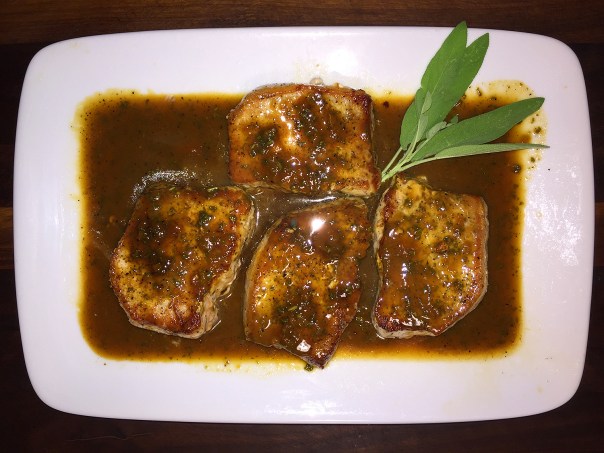 Pork chop recipe by Lynne Curry from Fine Cooking


 The Blue Danube sits at the corner of Elm and Adeline streets off of Broad.


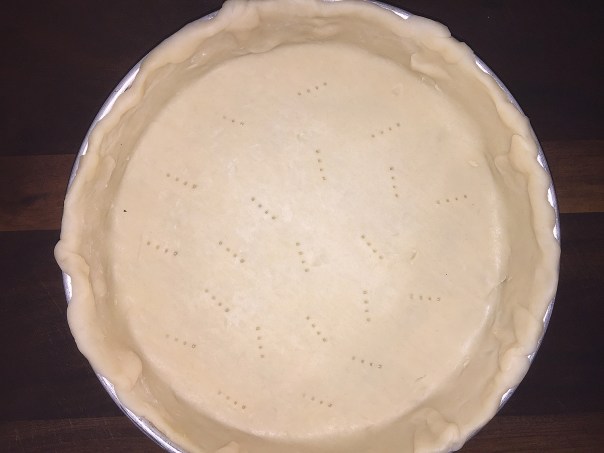
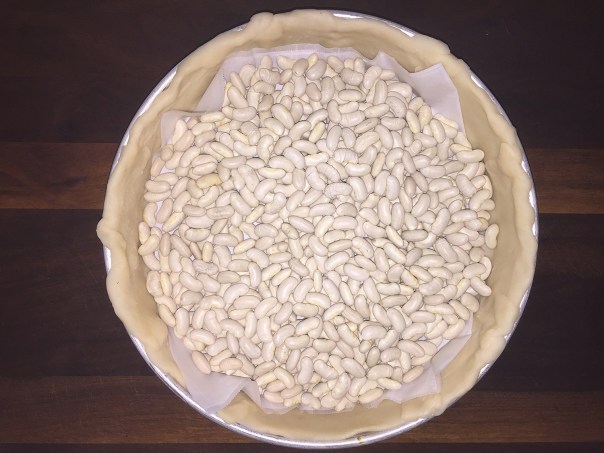
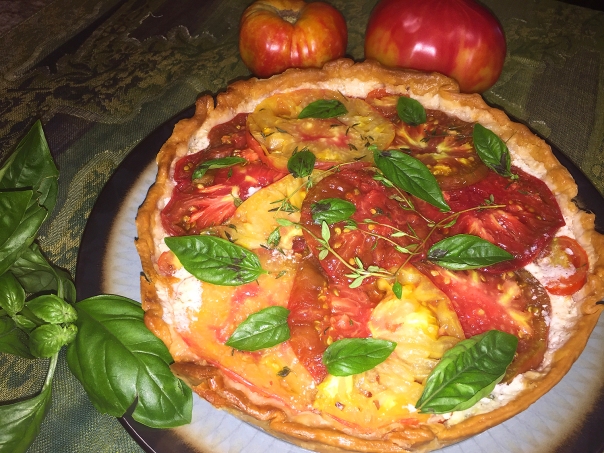
 After removing parchment and pie weights, bake 5-7 minutes or until bottom is golden and set. Cool on wire rack.
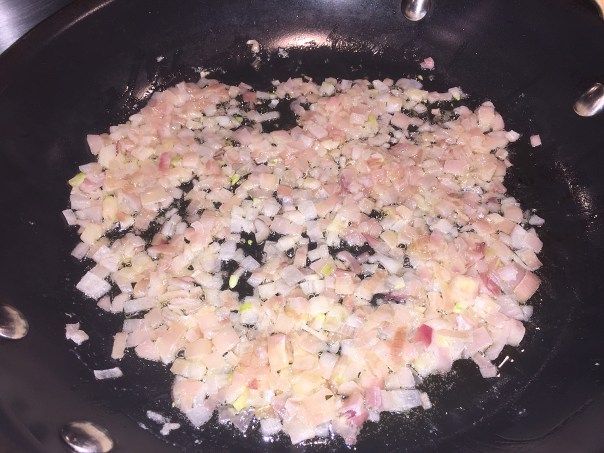
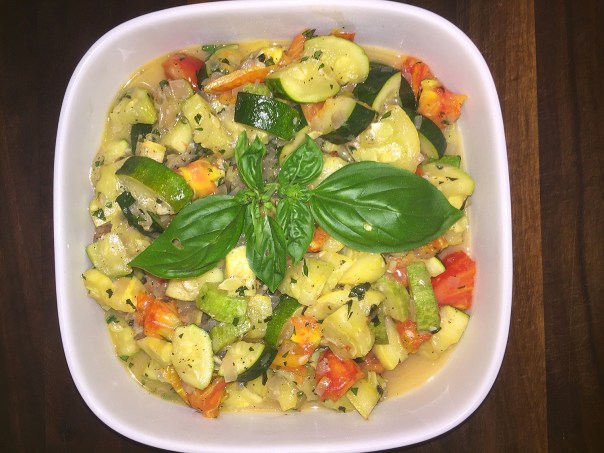
 Arrange tomato slices in a single layer over several sheets of paper towel, and sprinkle lightly with salt. I find it best to tilt the rimmed baking sheet so any extra liquid drains away from the tomatoes. You may also need to use a few paper towels on top to remove as much moisture as possible.