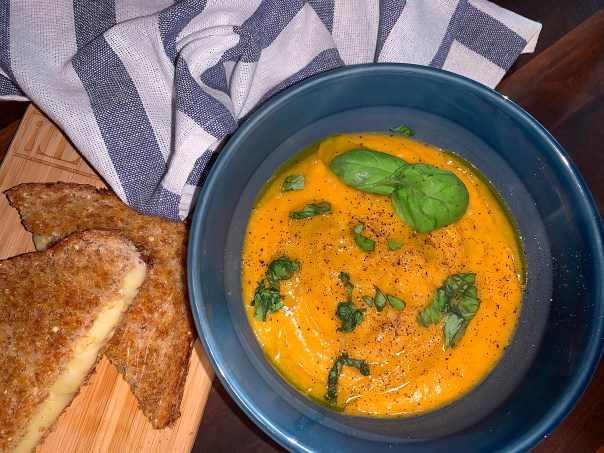
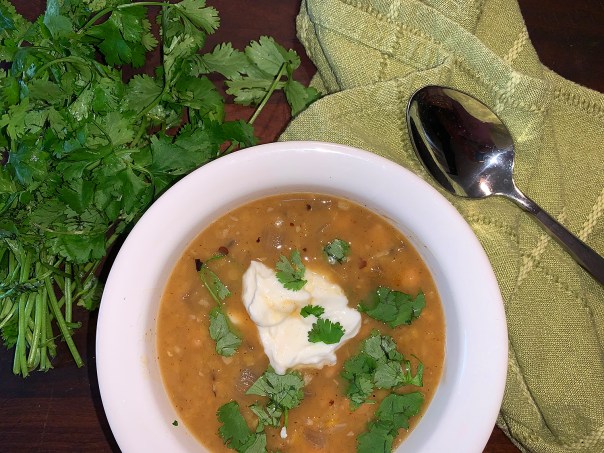
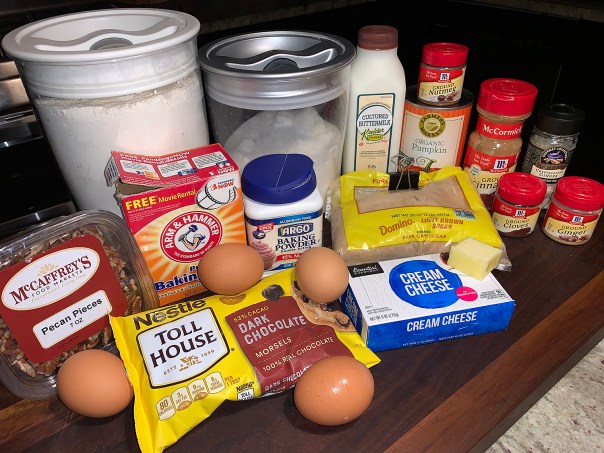
Here’s a vegetarian stew that is so simple to make and takes only a half hour or less to complete before you eat! The humble look of this stew belies its complex flavor: a mix of spicy heat and earthy legumes, topped with a cooling, creamy lemon-flecked yogurt.
If you’re not concerned with the dish being vegetarian, as we weren’t, I highly suggest using a homemade chicken stock instead of a commercial veggie broth—it adds a whole new dimension to the flavor profile. And don’t omit the topping because that zing of lemon adds a welcome bright note.
Whenever recipes call for a 15-ounce can of chickpeas, we inevitably buy the 19-ounce can. Also known as garbanzo beans, they have a buttery, nutty flavor and creamy texture, and are a great source of healthy fiber in addition to being rich in protein, folate and iron.
Now let’s talk about those lentils. Of all the colors of lentils—orange, green, yellow, black and brown—the red lentil proves sweeter and nuttier than its brethren. That’s saying a lot, given that there are hundreds of lentil varieties. Be aware that they tend to become slightly mushy when cooked down, so this variety is often used for thickening soups, purees, and stews. Bingo, that’s what gives this stew its thick base!
It doesn’t make a large amount, so if you intend to stretch it to four servings, serve over steamed rice accompanied by warm naan.

Spicy Red Lentil and Chickpea Stew
Ingredients
- 2 Tbs. olive oil
- 1 tsp. ground cumin
- 1/2 tsp. crushed red pepper flakes
- 1 medium yellow onion, chopped
- 2 medium cloves garlic, minced
- 1 15.5-oz. can chickpeas, drained and rinsed
- 1 cup red lentils, rinsed
- 4 cups vegetable broth
- Kosher salt and freshly ground black pepper
- 1/2 cup plain Greek yogurt
- 1/2 tsp. finely grated lemon zest
- 2 Tbs. fresh lemon juice
- Chopped fresh flat-leaf parsley, cilantro or sliced chives, for garnish
Directions
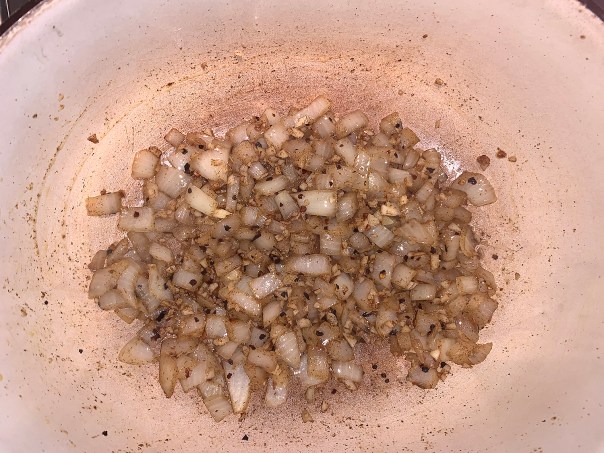
- Heat the oil in a 4-quart saucepan over medium-high heat. Add the cumin and pepper flakes and cook, stirring, for 1 minute.

- Add the onion and garlic, and cook, stirring often, until starting to soften, about 3 minutes.
- Add the chickpeas and lentils, and stir to coat.
- Add the broth, bring to a boil, reduce to a simmer, and cook until the lentils are tender and falling apart, 10 to 15 minutes. Season to taste with salt and pepper.
- Meanwhile, combine the yogurt and lemon zest and juice in a small bowl. Season to taste with salt and pepper.
- Serve the stew topped with a dollop of the yogurt and garnished with the parsley, cilantro or chives.
Recipe by Erica Clark from Fine Cooking


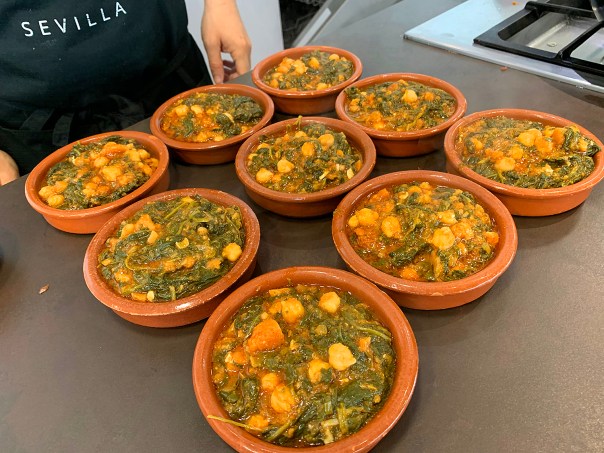
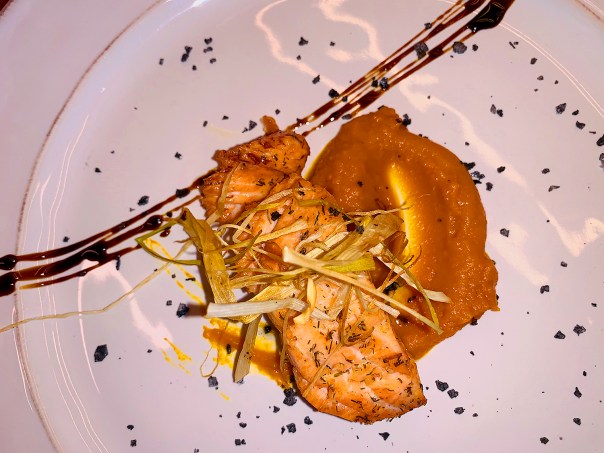 Pork Cheeks with Creamy Pumpkin Soup and its Seeds
 Fusilli Pasta with Sauce of Iberian Streaky Bacon and Payoyo Cheese
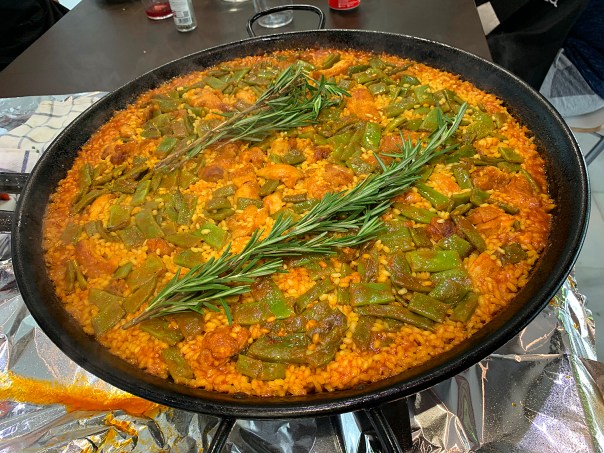
 Creamy Rice with Crispy Duck and Fried Crunchy Onion


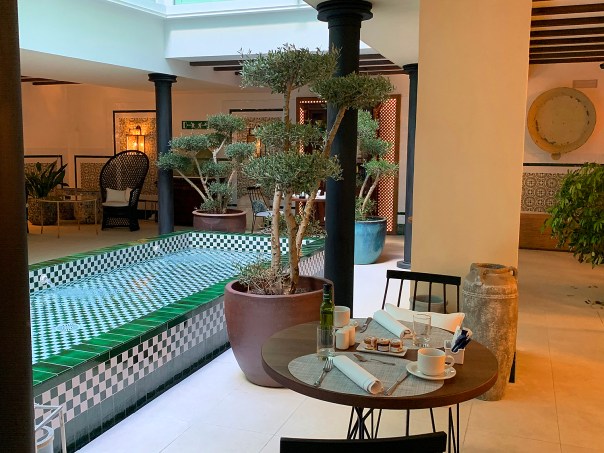
 Clare explains the different types of olive oils. Spain is the world capital of olive groves boasting about 866 million trees.

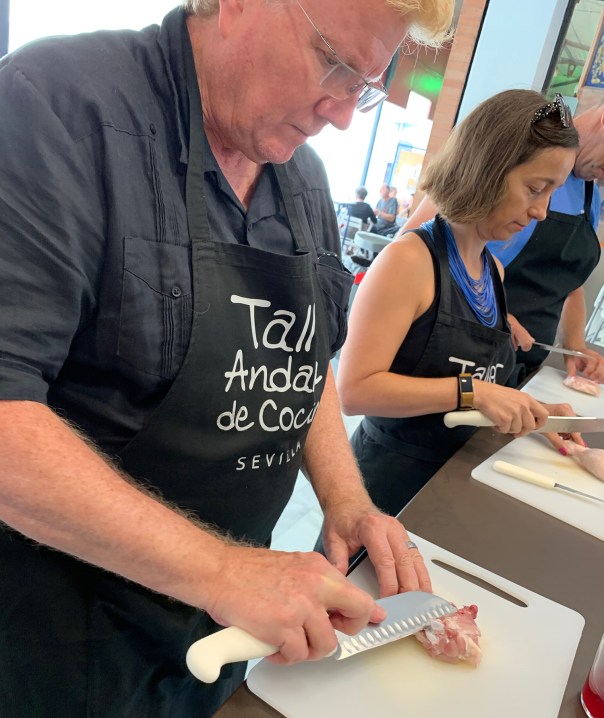
 Juan Pedro demonstrates the best way to chop an onion.
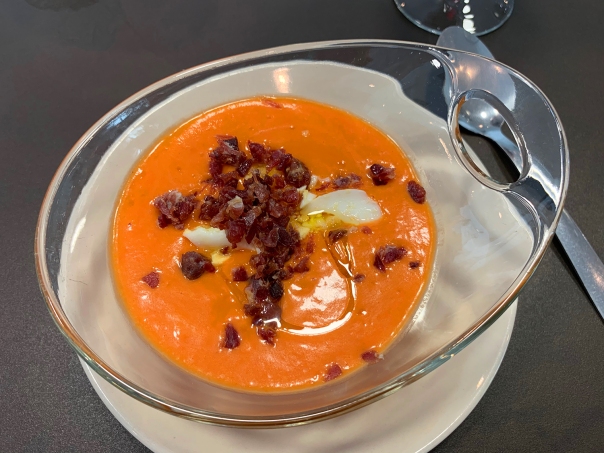 Salmorejo shown as a close-up above, and set before us below.


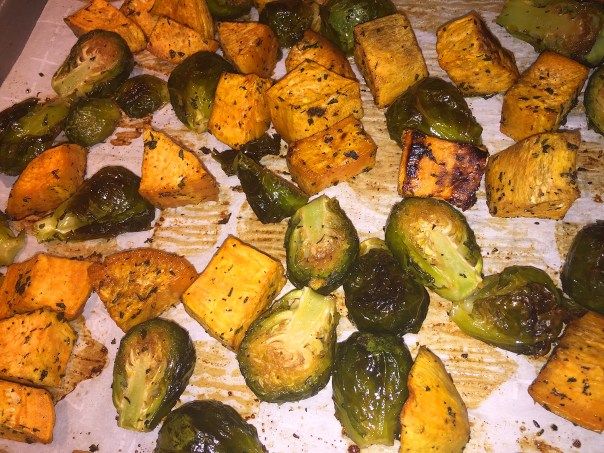
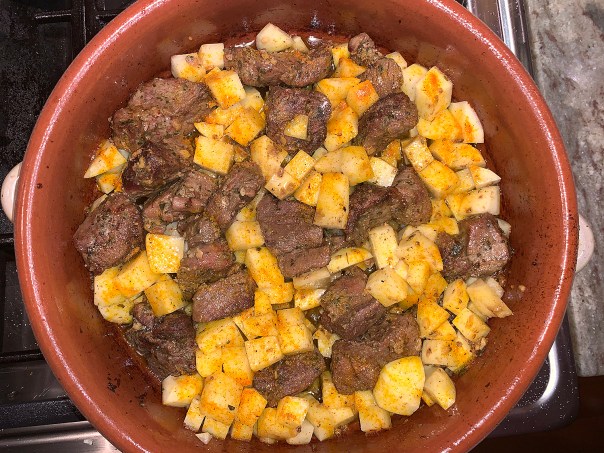
 The first night we served ours with parm-infused polenta and roasted Brussels sprouts and garlic.
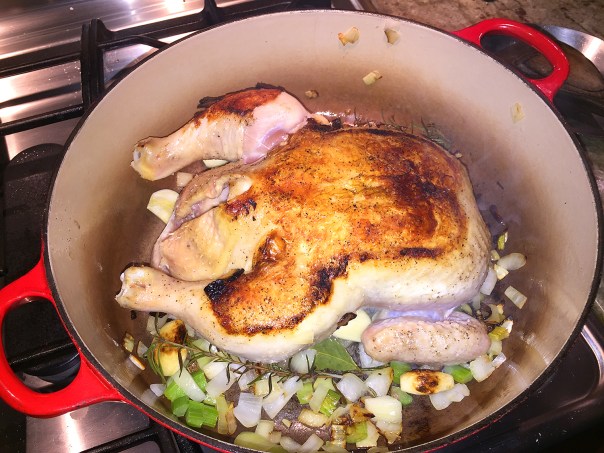
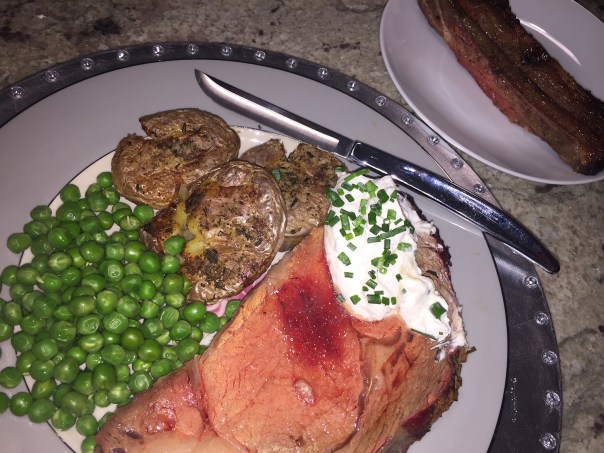
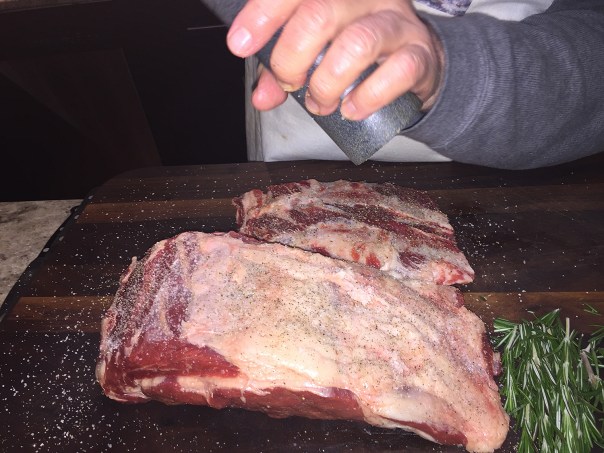
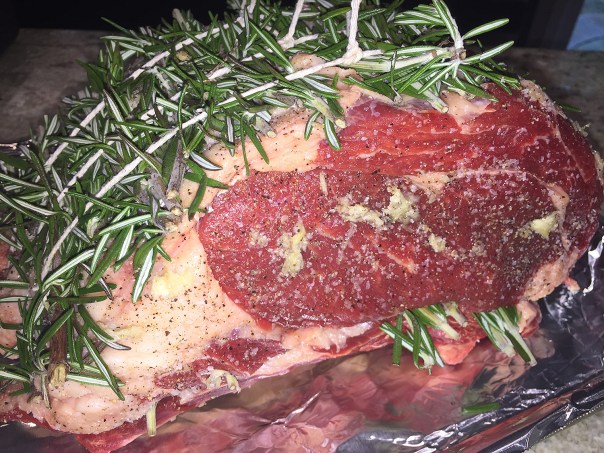
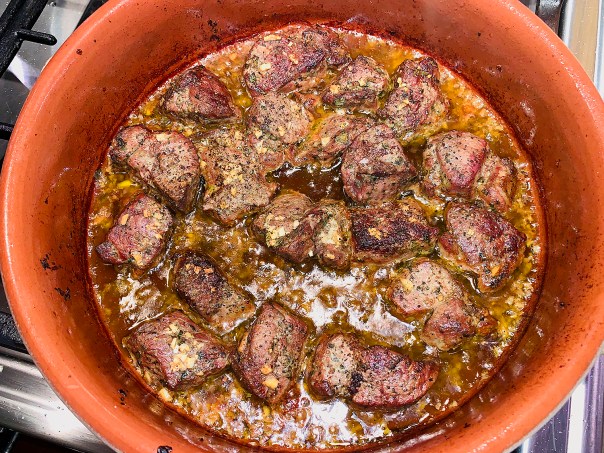
 Because that’s what we had in the freezer, we used 5.5 lbs. of boneless short ribs, which have more consistent marbling and less chunks of fat throughout than chuck roast.


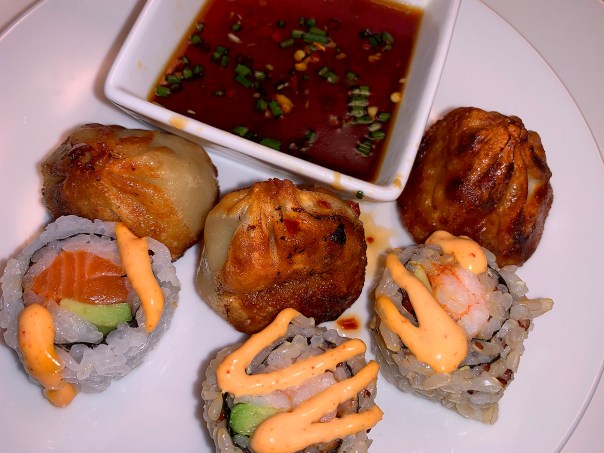
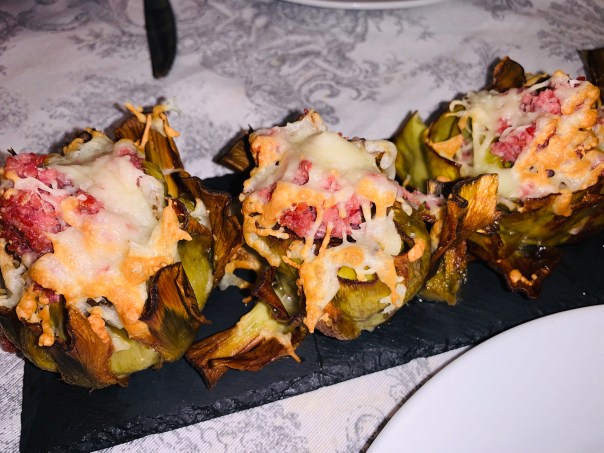
 Both the pork bun dumplings and the green veggie dumplings were pan-fried for a crisp exterior.