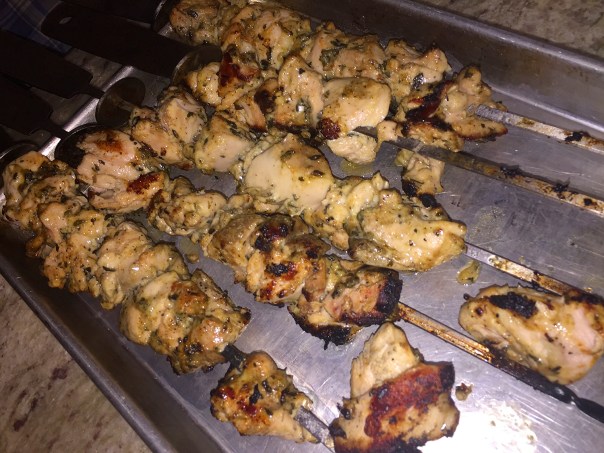
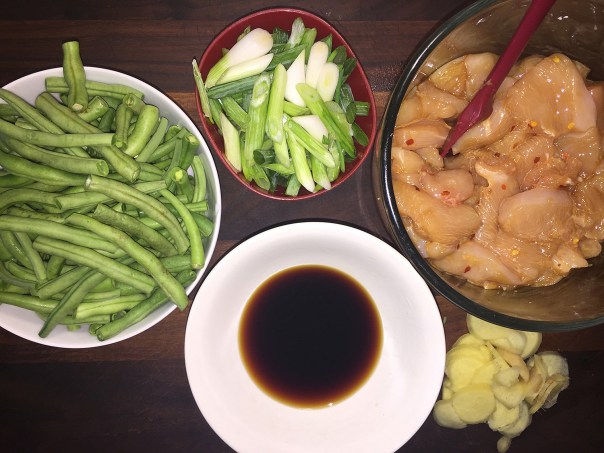
Marinating chicken pieces in a tangy blend of yogurt, olive oil, garlic, and herbs tenderizes the poultry and adds valuable flavor—as long as the chicken only marinates for 3 to 6 hours. Don’t skimp on the marinating time though; any less than 3 hours and the chicken won’t be as flavorful or tender. Conversely, marinating for more than 6 hours will make the chicken mushy—also not a desired outcome.
To help prevent the kebabs from sticking to the grill (even when you oil the grates), spray them with a neutral oil just before placing them on the grill. Yes, you can use chicken breasts instead of thighs, however the white meat tends to dry out quicker and is not as juicy or full of flavor.
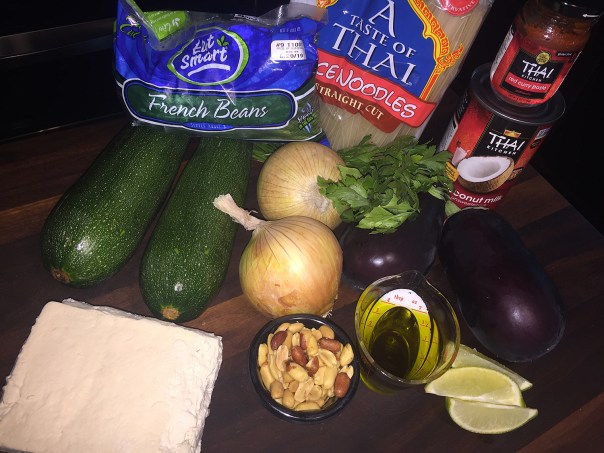
For the vegetable component of the meal, we also grilled a marinated medley of mixed vegetables with garlic cloves and fresh rosemary in a good extra virgin olive oil for several hours. In this instance, we used a red bell pepper, cremini mushrooms, red onion, baby eggplant, summer squash and zucchini all cut into bite-sized pieces.
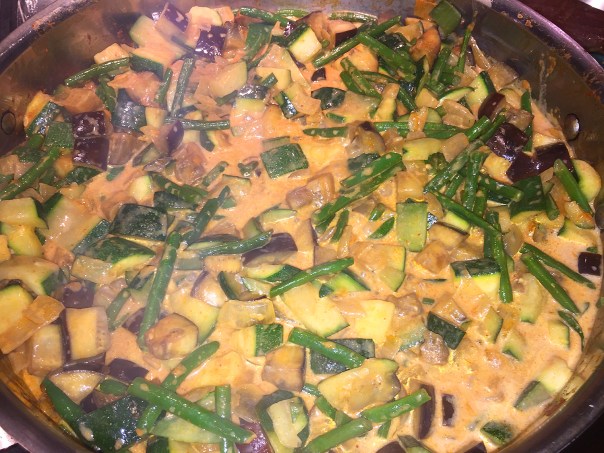
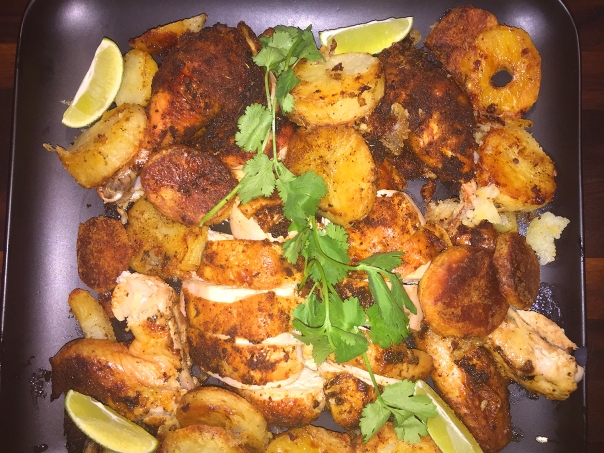
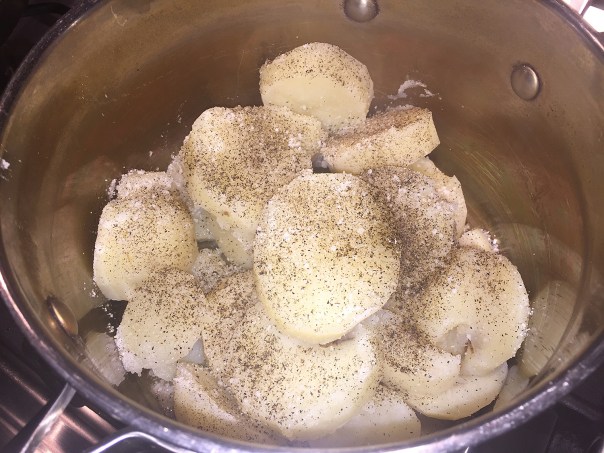
Place the veggies in a grill basket, turning every so often for about 20 minutes over medium heat until slightly softened and charred here and there. We also included a side of Spanish Potatoes with Olive Oil which I blogged about recently. They were so good, we wanted to impress our guest, who BTW, was duly impressed!
Yogurt Marinated Chicken Kebabs
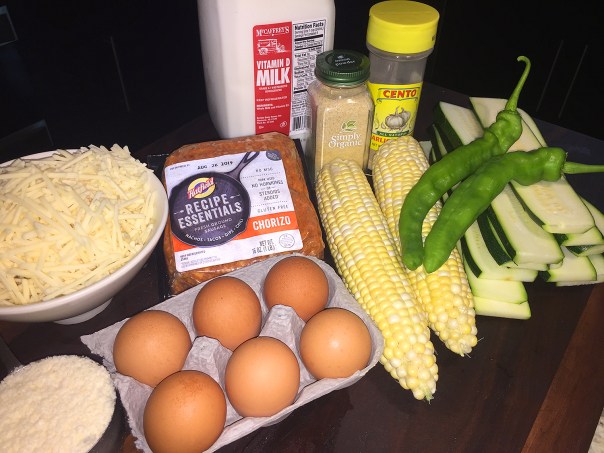
Ingredients
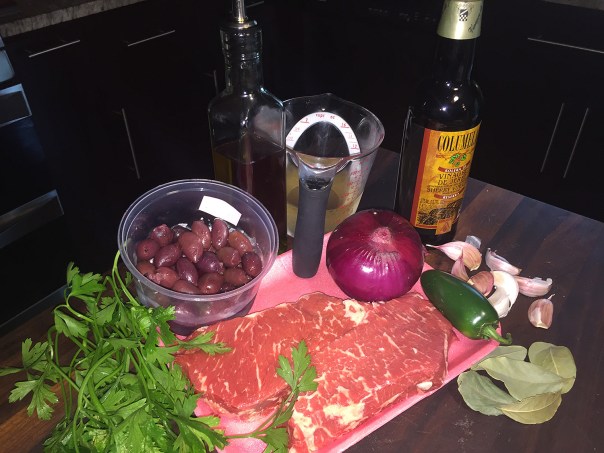
- ½ cup plain yogurt
- ¼ cup
- 1 Tbsp. roasted garlic paste OR 4 cloves garlic, finely minced
- 2 teaspoons dried thyme
- 2 teaspoons dried oregano
- 1 teaspoon table salt
- 1 teaspoon ground black pepper
- ¼ teaspoon cayenne pepper
- 2 lbs. , cut into approximately 2-inch pieces
- Vegetable oil (for grates); spray oil (for kebabs)
Directions
- Whisk yogurt, olive oil, garlic, thyme, oregano, salt, pepper, and cayenne in large bowl. Stir in chicken. Cover with plastic wrap and refrigerate 3 to 6 hours.


- Remove chicken from yogurt marinade; discard marinade. Divvy up the chicken and thread each skewer with even amounts of meat. You will have to fold over pieces so that nothing hangs down.

- Preheat the grill for 10-15 minutes until very hot. Brush the grates with vegetable oil. Mist the kebabs with a neutral cooking spray.
- Grill the skewers over high heat until chicken is charred around edges on all four sides and cooked through, about ?? minutes total.


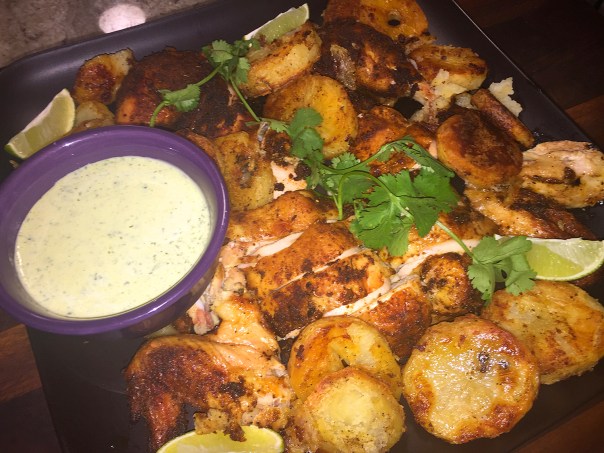
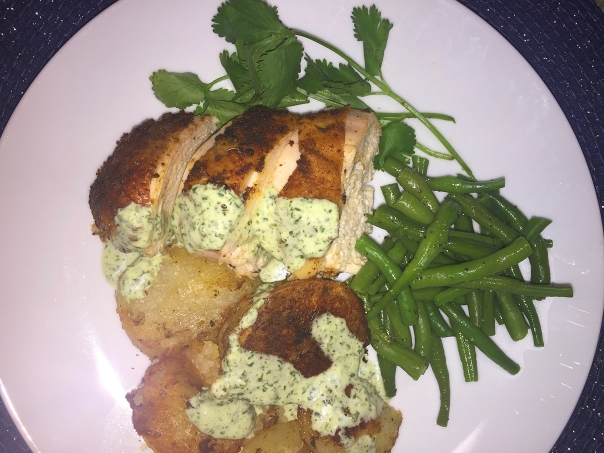
- Transfer to platter and serve immediately with your choice of sides.

Adapted from a similar recipe from Cook’s Country


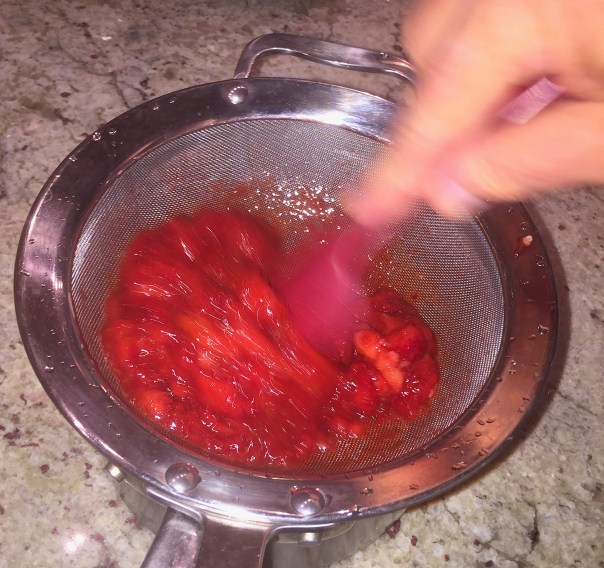
 Russ and Lisa watch David insert the fruit. Lisa said one of her favorite ingredients is frozen cherries.
 Above, the machine is assembled and ready for action. Below is a video showing the Yonanas in use.
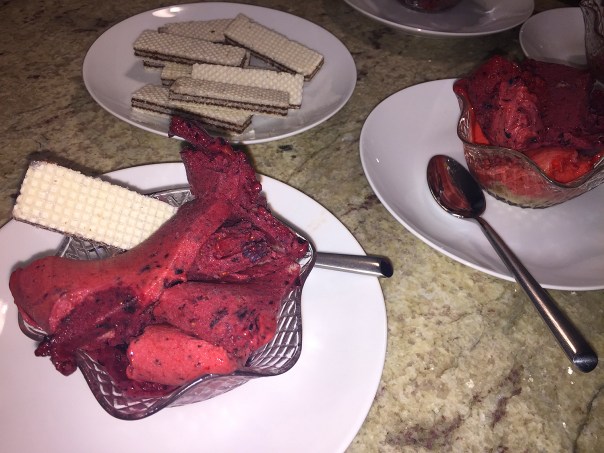 Dessert is ready to serve with a side of gluten-free chocolate wafers.


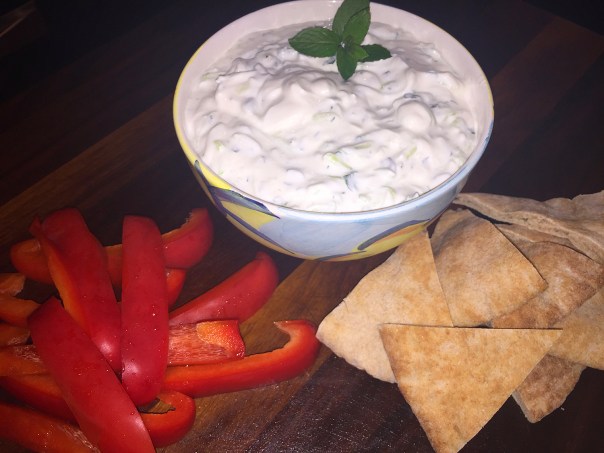
 Add a sprig of chocolate mint for a pop of color.