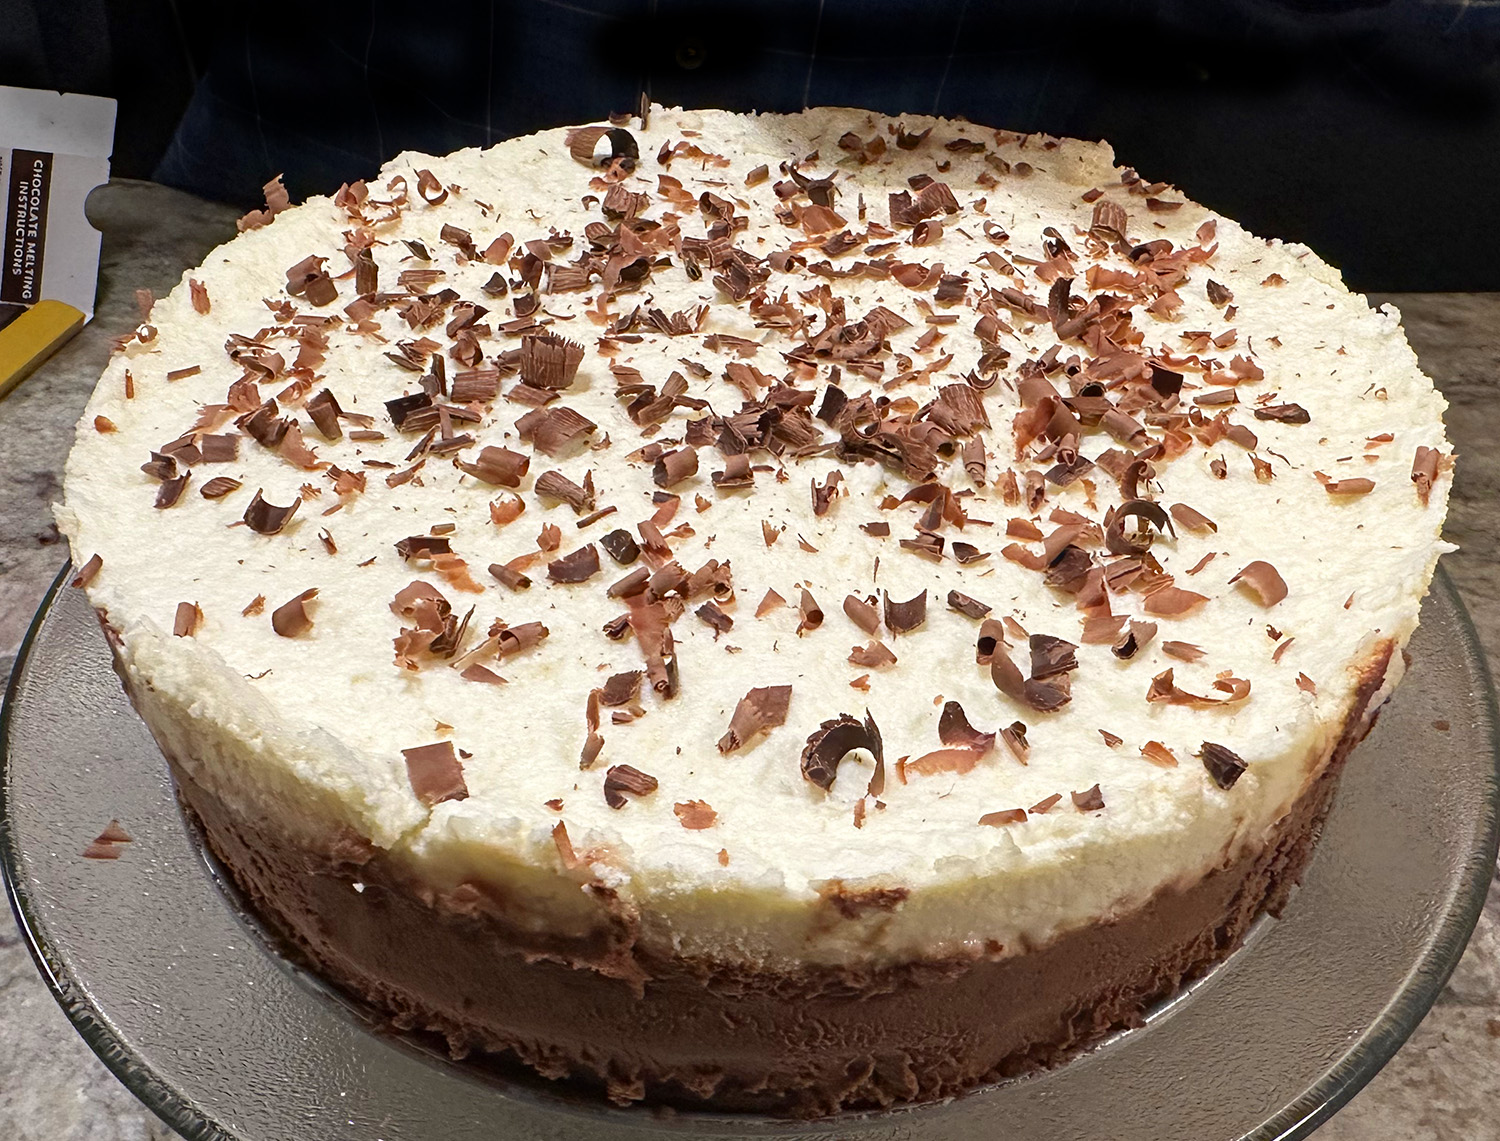
This Triple Chocolate Mousse Cake is definitely labor-intensive, but is a truly decadent dessert, and OH SO WORTH IT! It is bakery-quality and has that wow factor that will have your guests talking about it for years to come!
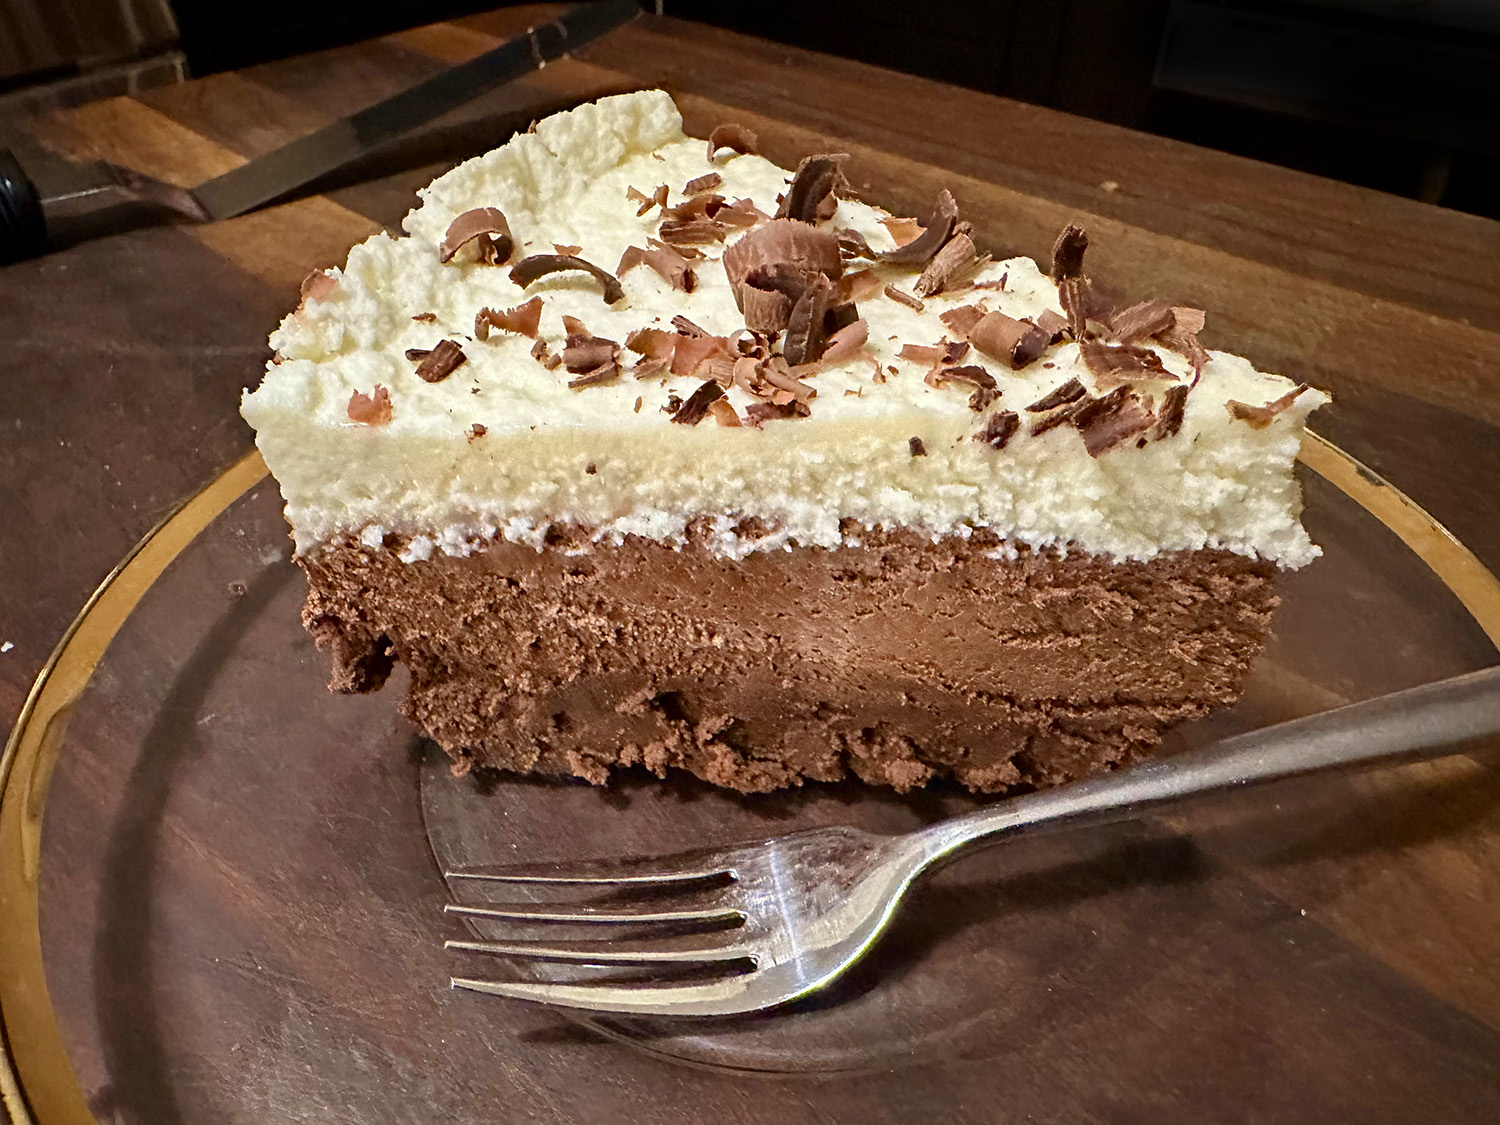
Here, America’s Test Kitchen (ATK) set out to tweak this showy confection. By finessing one layer at a time, starting with the dark chocolate base and building to the top white chocolate tier, ATK aimed to create a triple-decker that was incrementally lighter in texture than normal—and richness.

For simplicity’s sake, ATK decided to build the whole dessert, layer by layer, in the same springform pan. For a base layer that had the heft to support the upper two tiers, flourless chocolate cake was chosen instead of the typical mousse. Folding egg whites into the batter helped lighten the cake without affecting its structural integrity.
For the middle layer, the eggs were removed and the chocolate was cut back a bit—this resulted in a lighter, creamier layer. And for the crowning layer to the cake, ATK made an easy white chocolate mousse by folding whipped cream into melted white chocolate—and to prevent the soft mousse from oozing during slicing, a little gelatin was added to the mix.
This recipe requires a springform pan at least 3 inches high. It is imperative that each layer is made in sequential order. Cool the base completely before topping it with the middle layer. For best results, chill the mixer bowl before whipping the heavy cream. The entire cake can be made through step 8 and refrigerated up to a day in advance; leave it out at room temperature for up to 45 minutes before releasing it from the cake pan and serving. For neater slices, use a cheese wire or dip your knife in hot water before cutting each slice.

Triple-Chocolate Mousse Cake
Ingredients
Bottom Layer
- 6 Tbsp. (3/4 stick) unsalted butter, cut into 6 pieces, plus extra for greasing pan
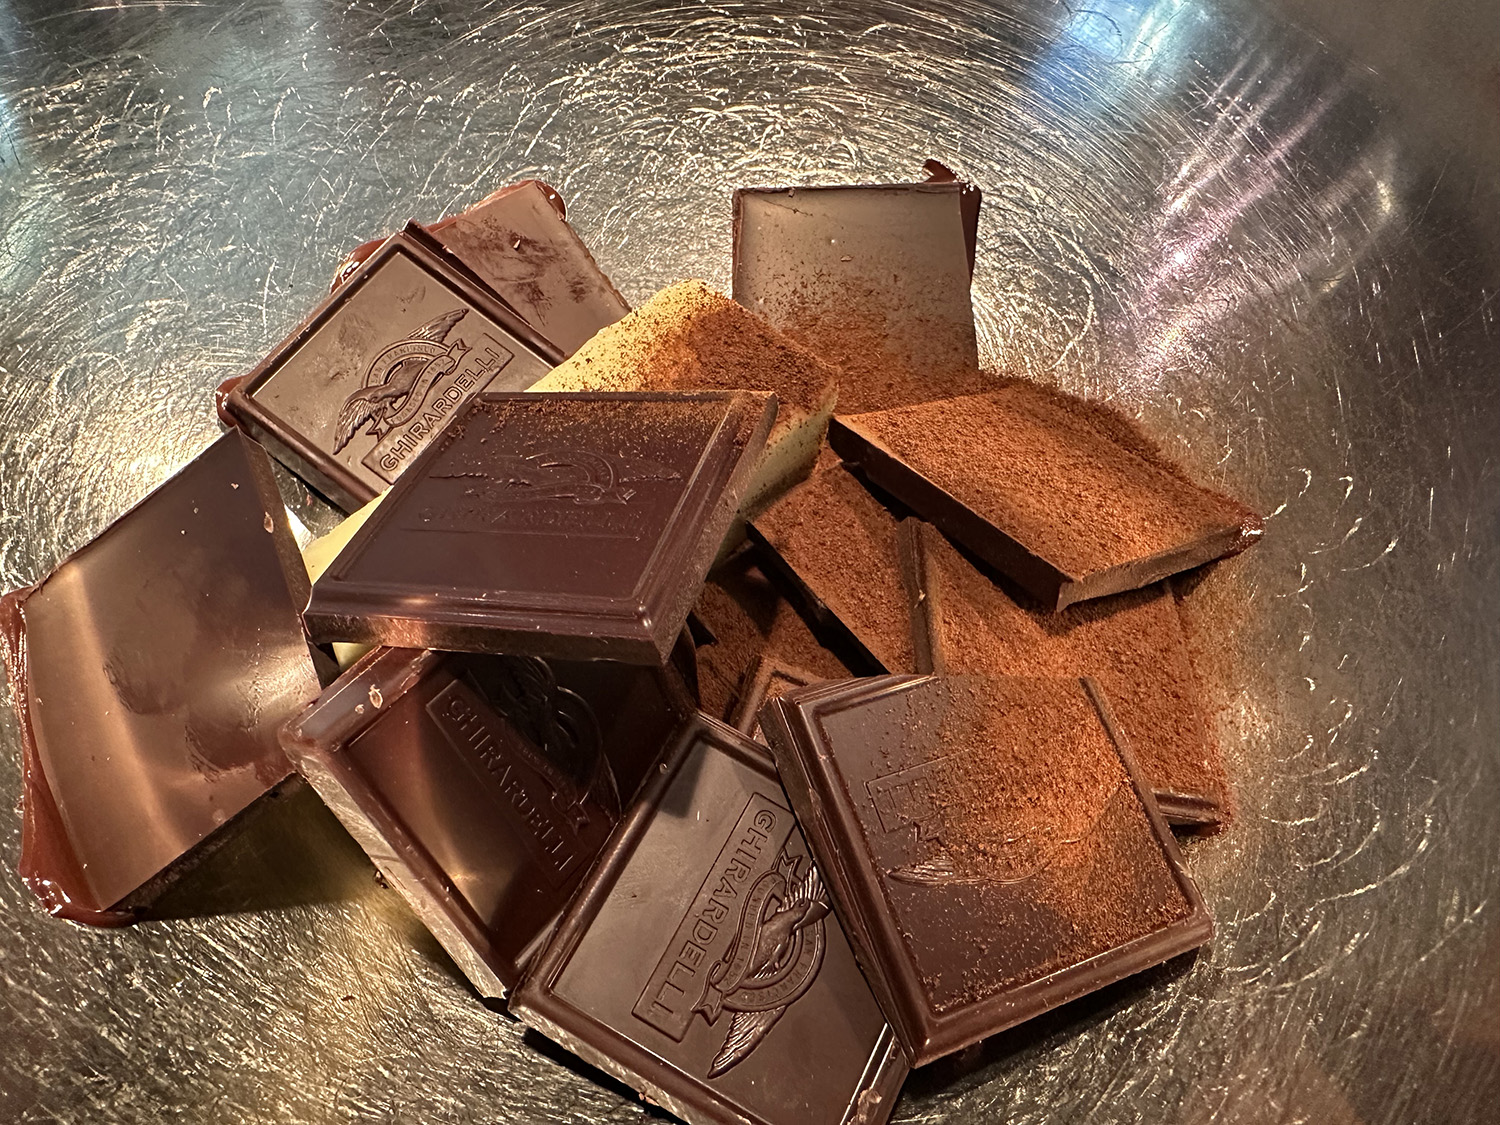
- 7 oz. bittersweet chocolate, chopped fine (see note)
- ¾ teaspoon instant espresso powder
- 1 ½ teaspoons vanilla extract
- 4 large eggs, separated
- Pinch table salt
- ⅓ cup packed (about 2 1/2 oz.) light brown sugar, crumbled with fingers to remove lumps


Middle Layer
- 2 Tbsp. cocoa powder, preferably Dutch-processed
- 5 Tbsp. hot water
- 7 oz. bittersweet chocolate, chopped fine (see note)
- 1 ½ cups cold heavy cream
- 1 Tbsp. granulated sugar
- ⅛ tsp. table salt


Top Layer
- ¾ tsp. powdered gelatin
- 1 Tbsp. water
- 6 oz. white chocolate chips (see note)
- 1 ½ cups cold heavy cream
- Shaved chocolate or cocoa powder for serving, optional (see note)


Directions
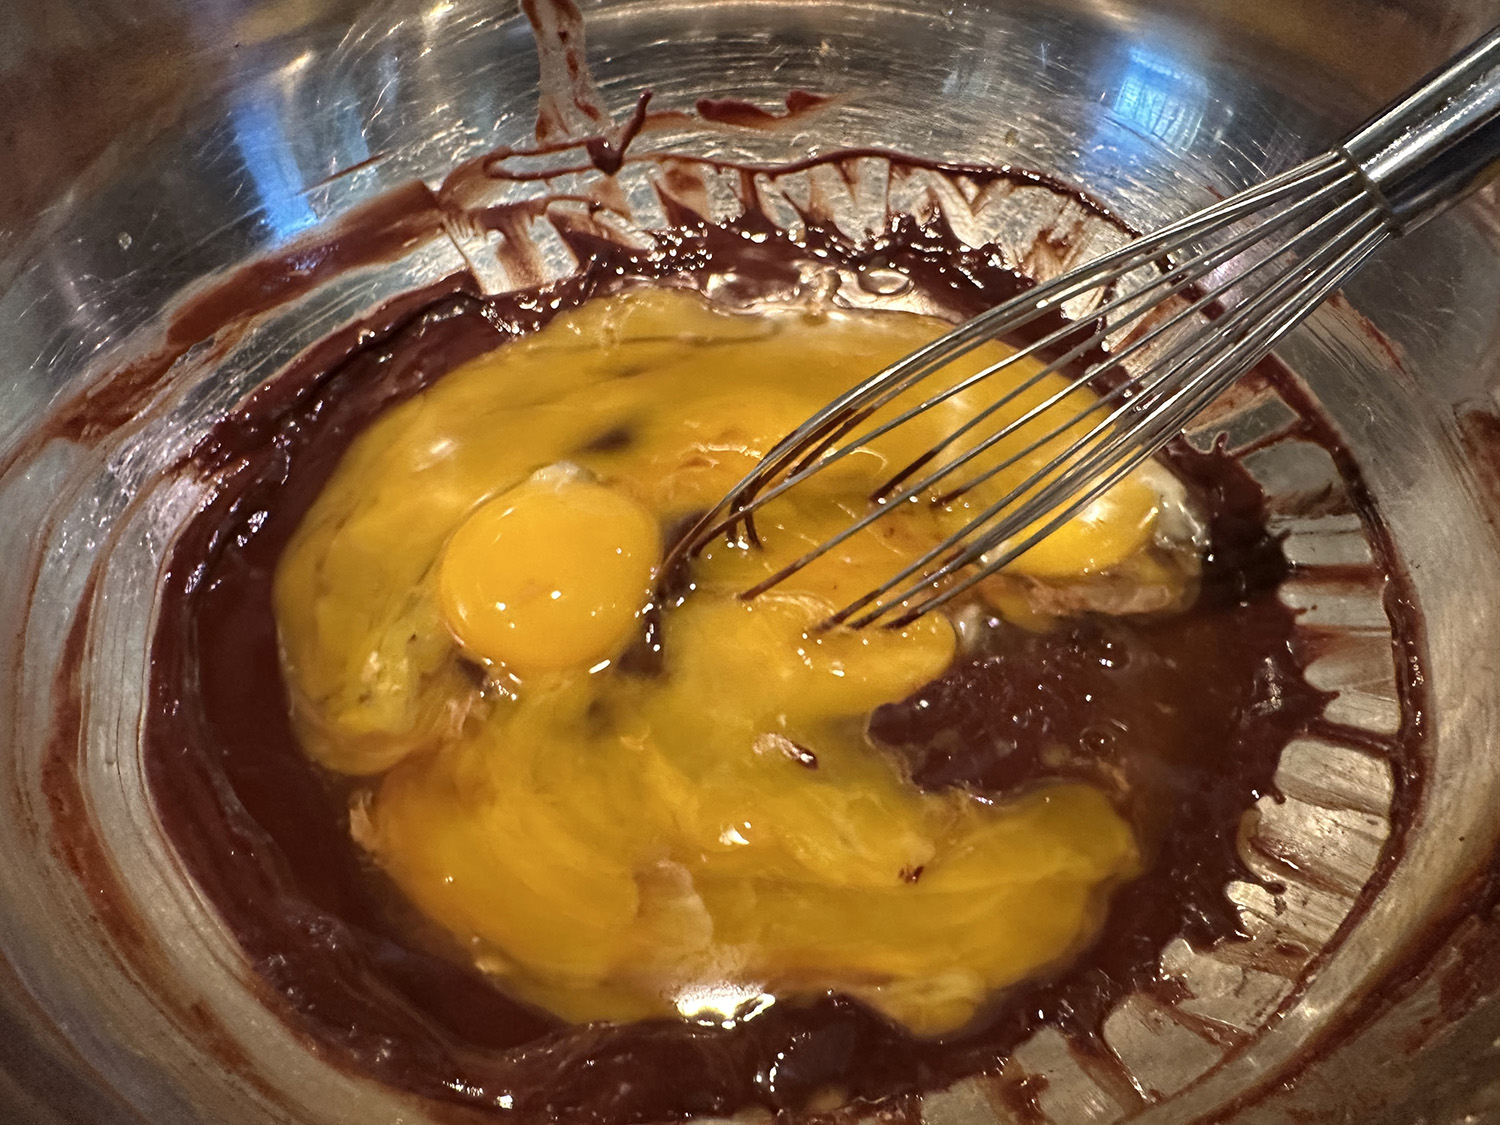
- FOR THE BOTTOM LAYER: Adjust oven rack to middle position and heat oven to 325 degrees. Butter bottom and sides of 91/2-inch springform pan. Melt butter, chocolate, and espresso powder in large heatproof bowl set over saucepan filled with 1 inch of barely simmering water, stirring occasionally until smooth. Remove from heat and cool mixture slightly, about 5 minutes. Whisk in vanilla and egg yolks; set aside.
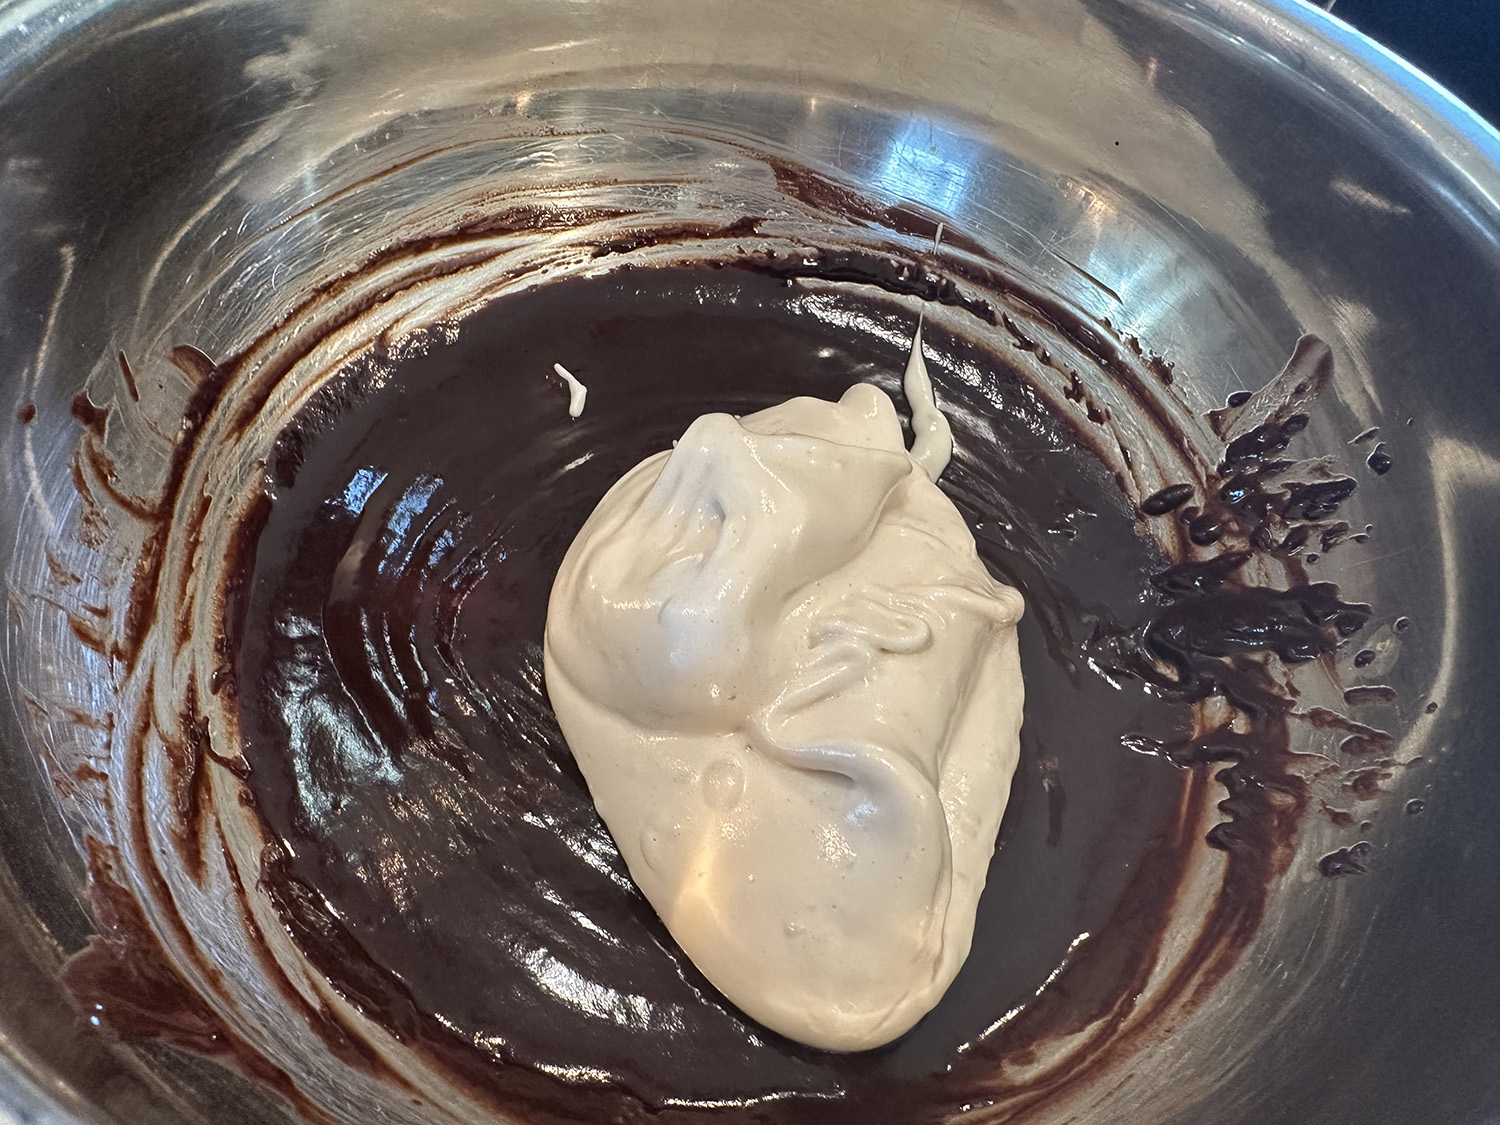
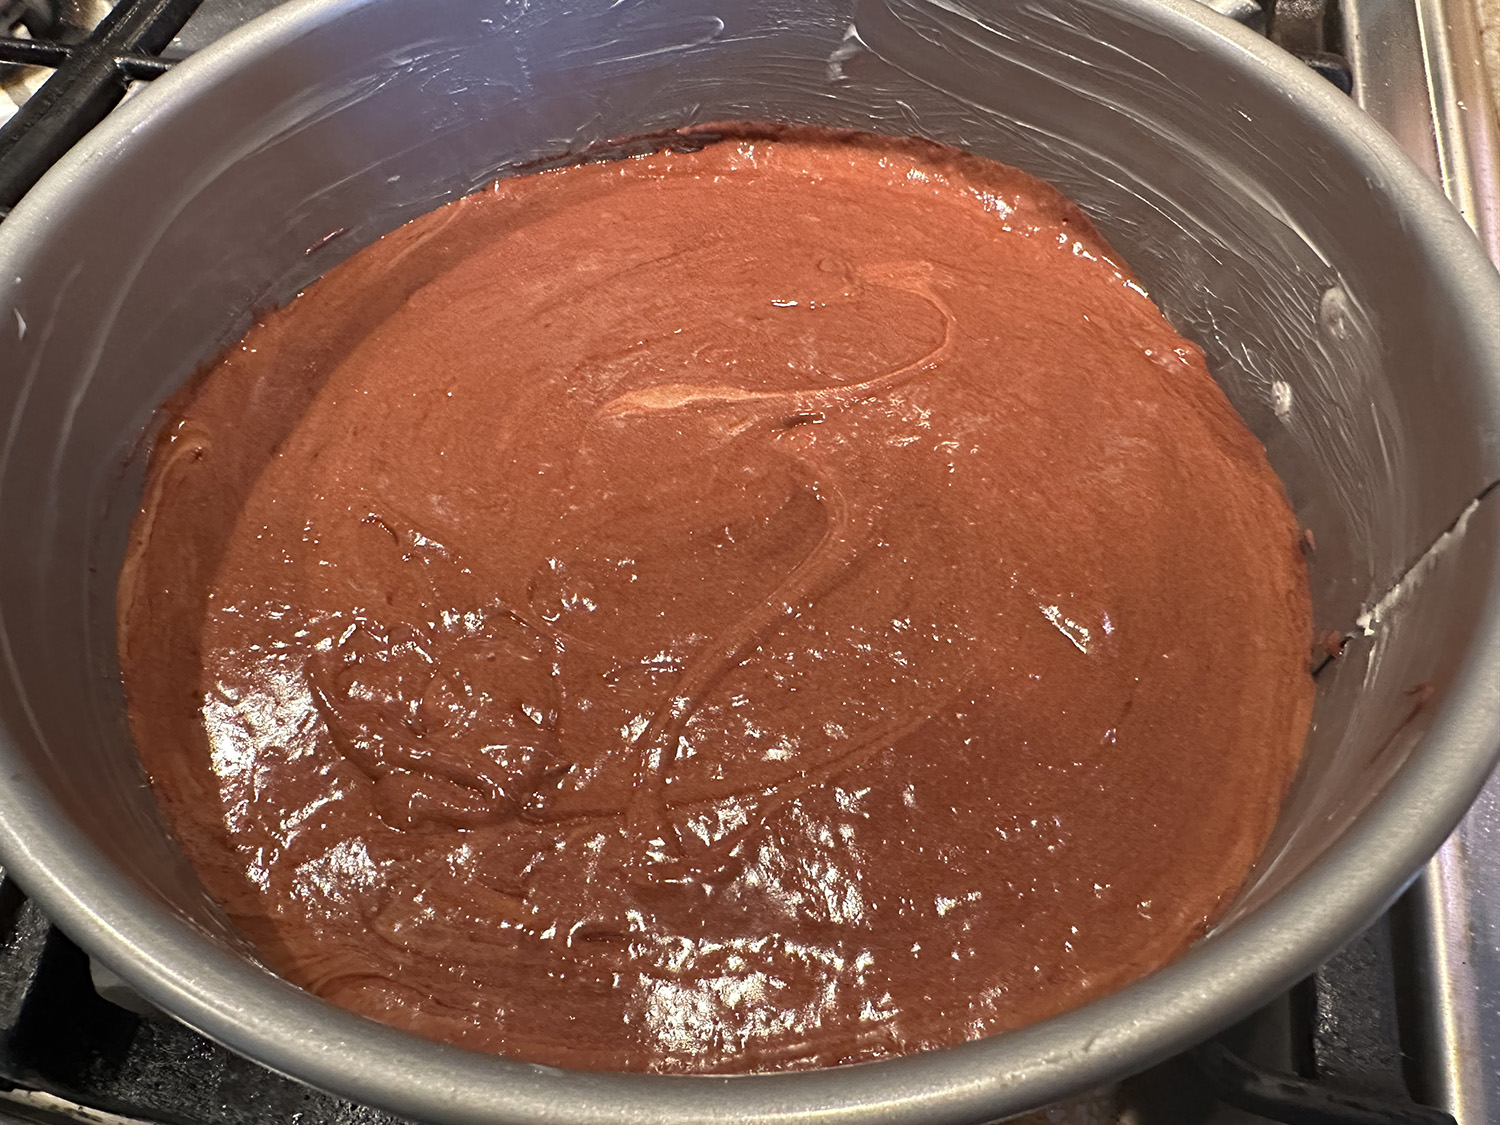
- In stand mixer fitted with whisk attachment, beat egg whites and salt at medium speed until frothy, about 30 seconds. Add half of brown sugar and beat until combined, about 15 seconds. Add remaining brown sugar and beat at high speed until soft peaks form when whisk is lifted, about 1 minute longer, scraping down sides halfway through. Using whisk, fold one-third of beaten egg whites into chocolate mixture to lighten. Using rubber spatula, fold in remaining egg whites until no white streaks remain. Carefully transfer batter to prepared springform pan, gently smoothing top with offset spatula.
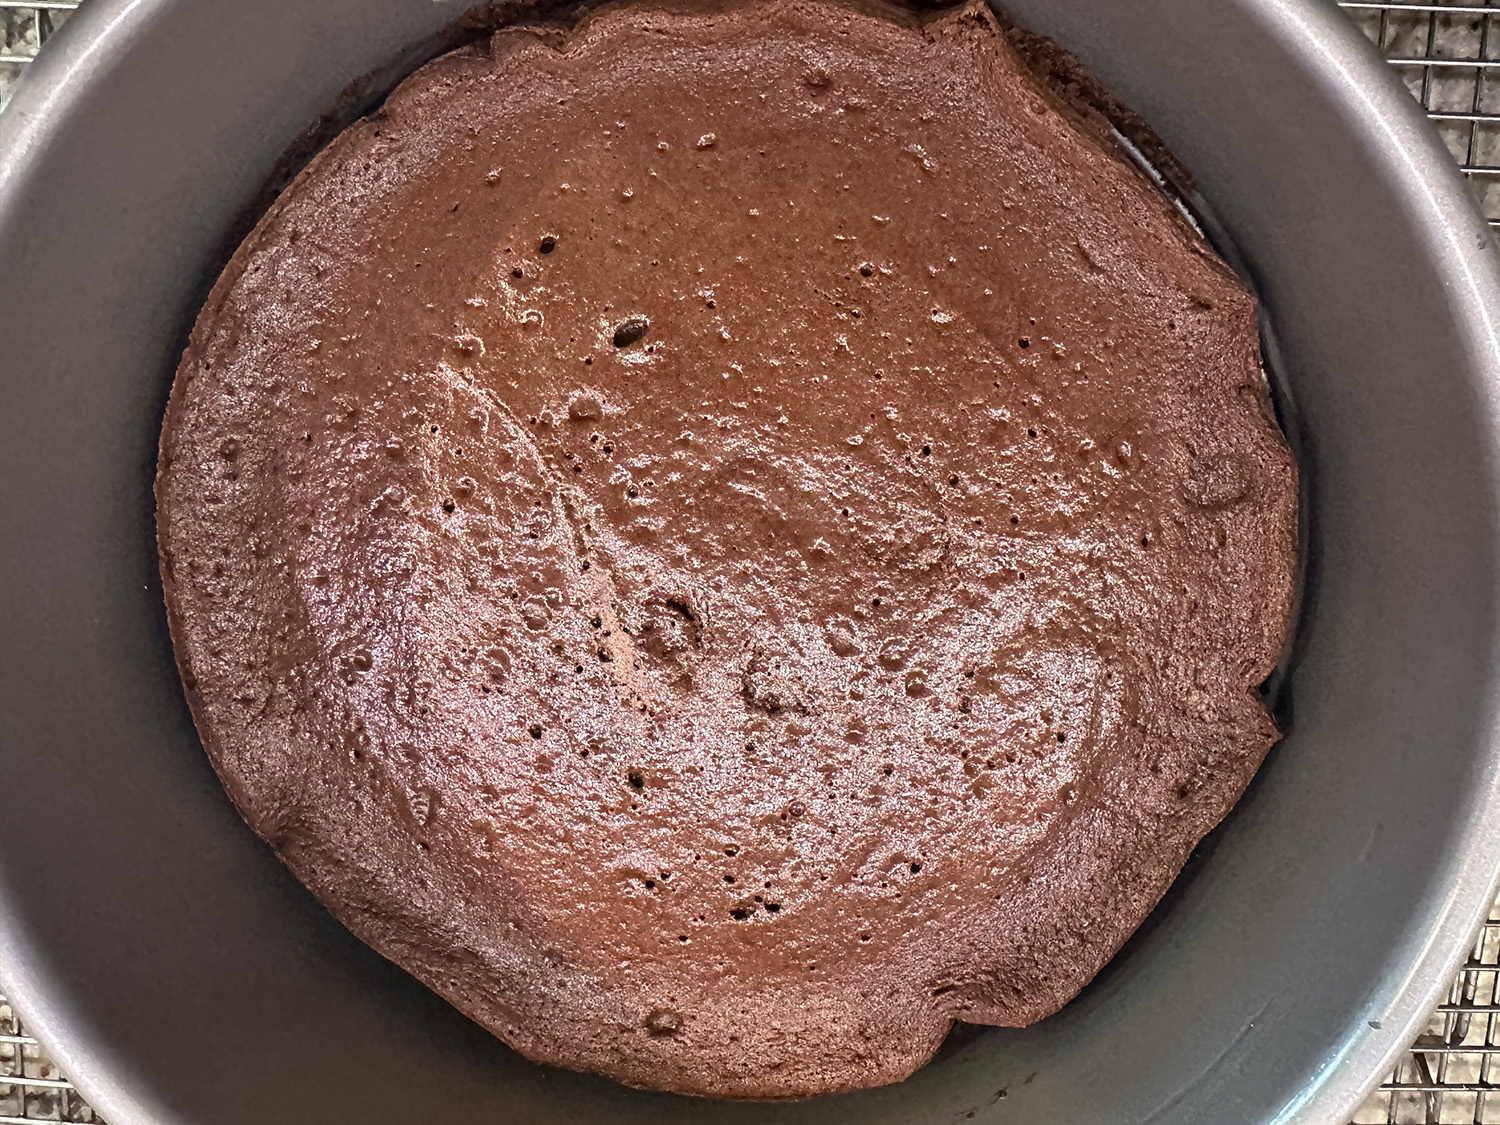
- Bake until cake has risen, is firm around edges, and center has just set but is still soft (center of cake will spring back after pressing gently with finger), 13 to 18 minutes. Transfer cake to wire rack to cool completely, about 1 hour. (Cake will collapse as it cools.) Do not remove cake from pan.
- FOR THE MIDDLE LAYER: Combine cocoa powder and hot water in small bowl; set aside. Melt chocolate in large heatproof bowl set over saucepan filled with 1 inch of barely simmering water, stirring occasionally until smooth. Remove from heat and cool slightly, 2 to 5 minutes.
- In clean bowl of stand mixer fitted with whisk attachment, whip cream, granulated sugar, and salt at medium speed until mixture begins to thicken, about 30 seconds. Increase speed to high and whip until soft peaks form when whisk is lifted, 15 to 60 seconds.
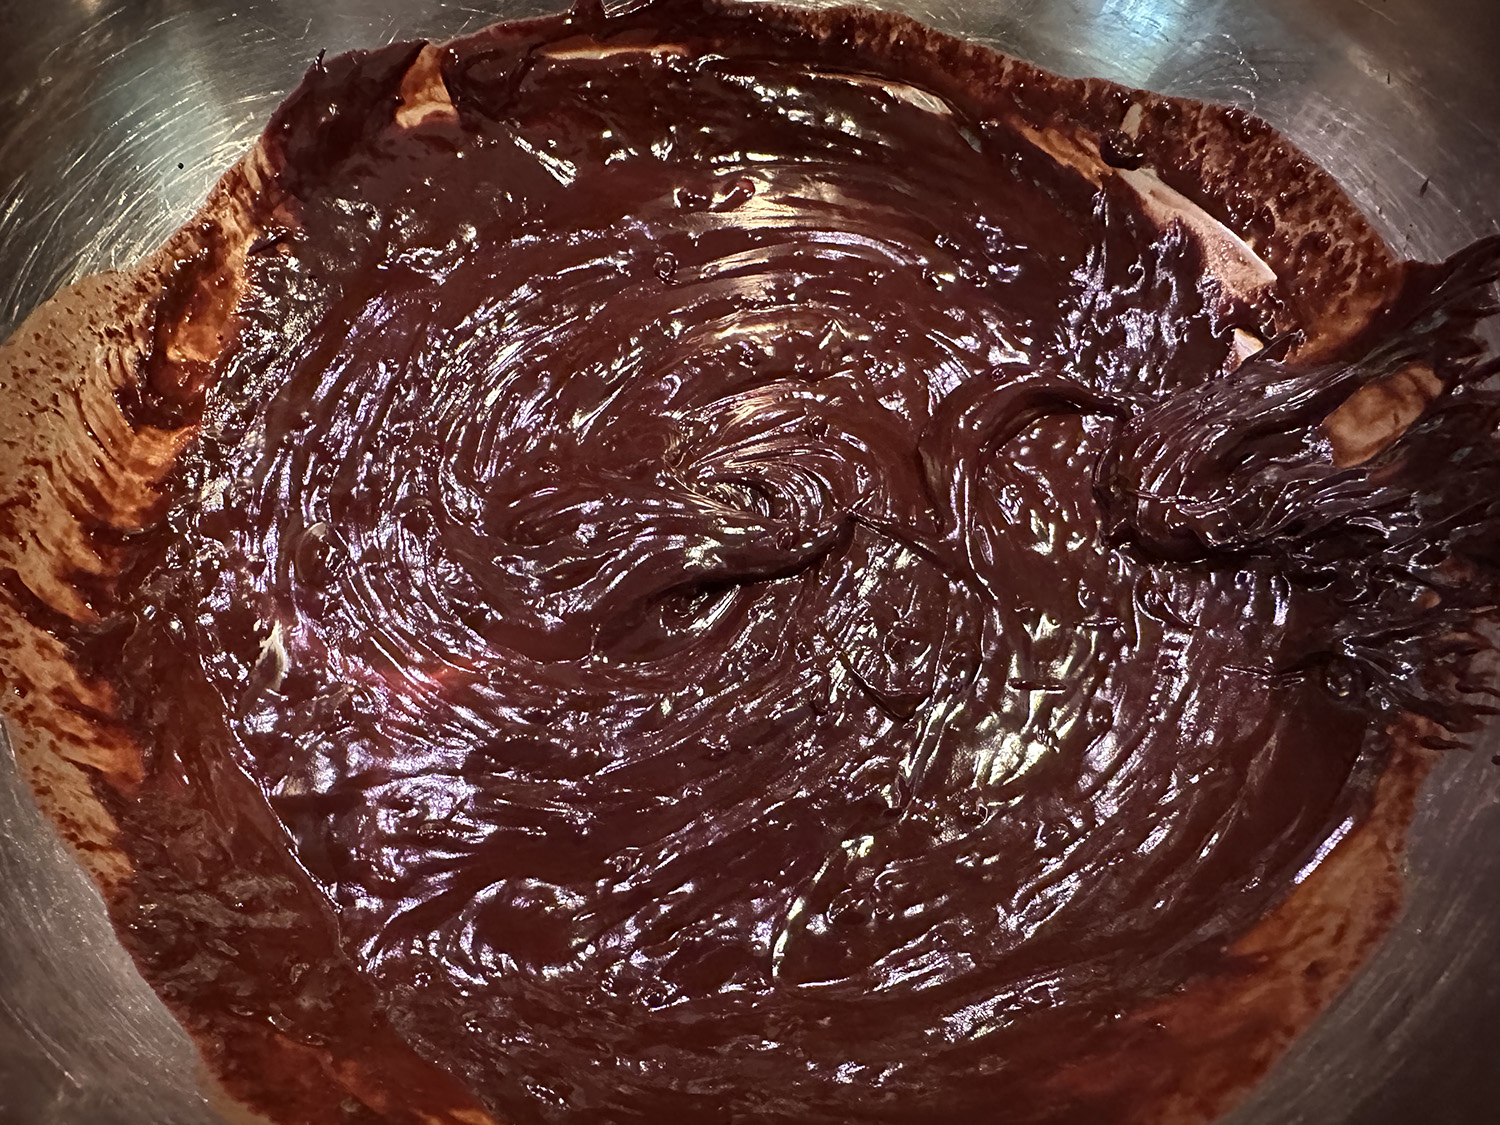
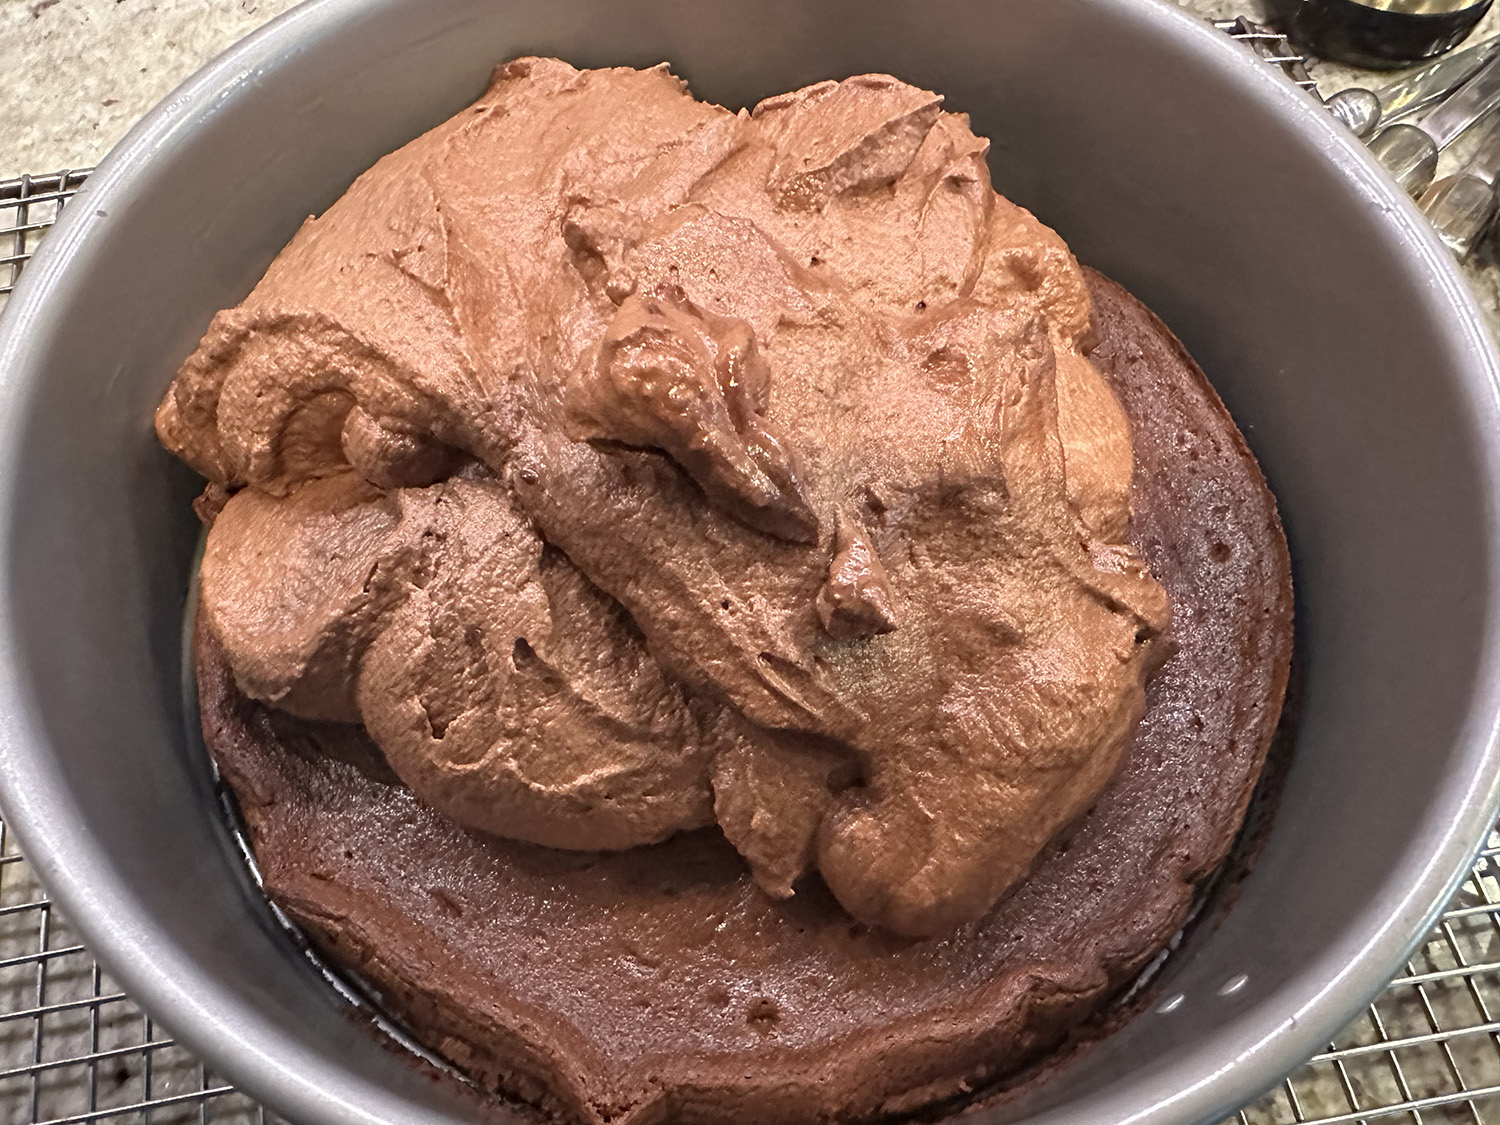
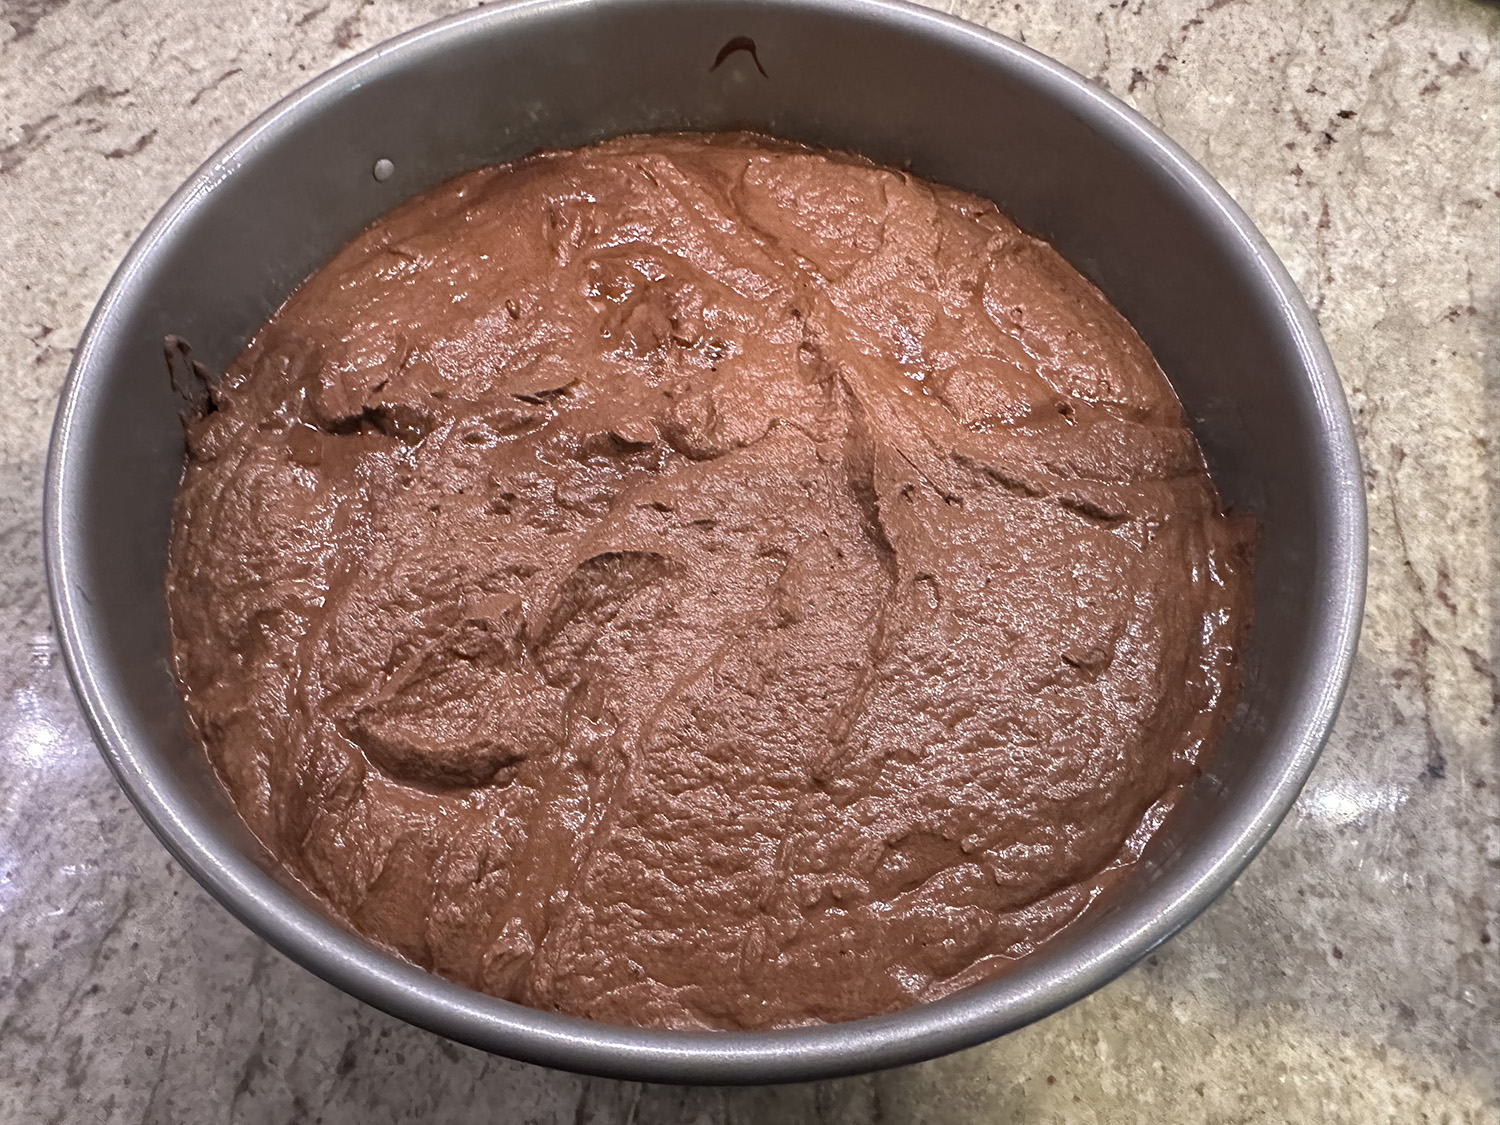
- Whisk cocoa powder mixture into melted chocolate until smooth. Using whisk, fold one-third of whipped cream into chocolate mixture to lighten. Using rubber spatula, fold in remaining whipped cream until no white streaks remain. Spoon mousse into springform pan over cooled cake and gently tap pan on counter 3 times to remove any large air bubbles; gently smooth top with offset spatula. Wipe inside edge of pan with damp cloth to remove any drips. Refrigerate cake at least 15 minutes while preparing top layer.
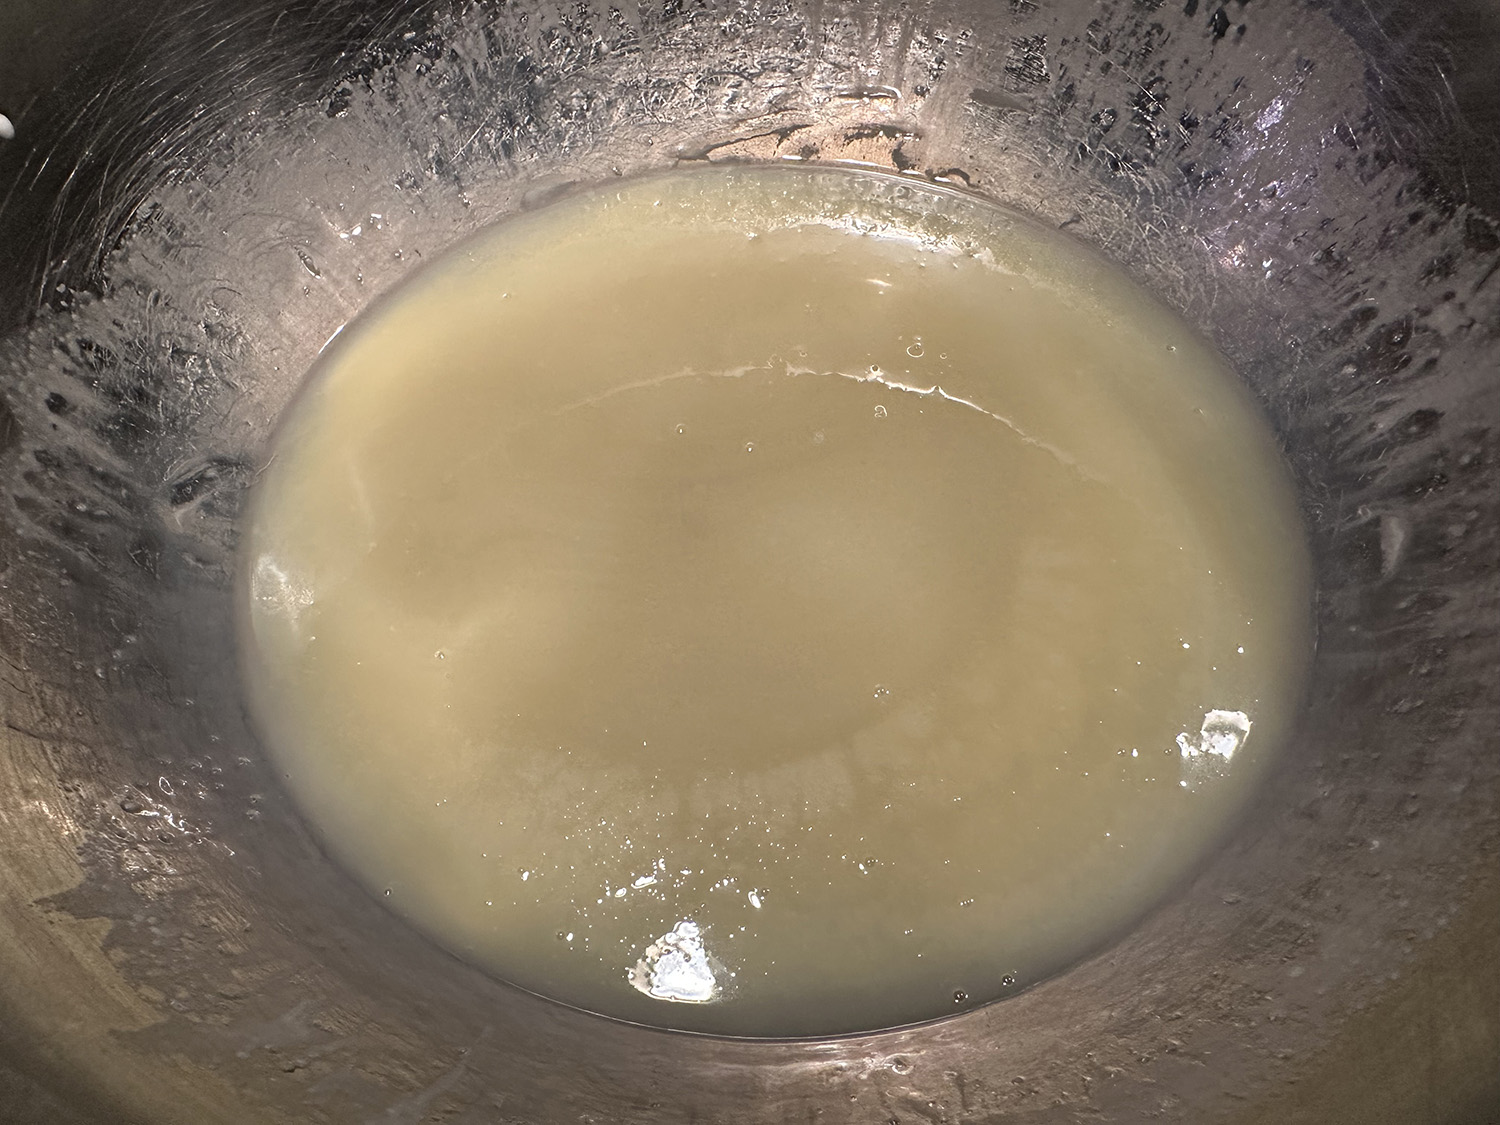
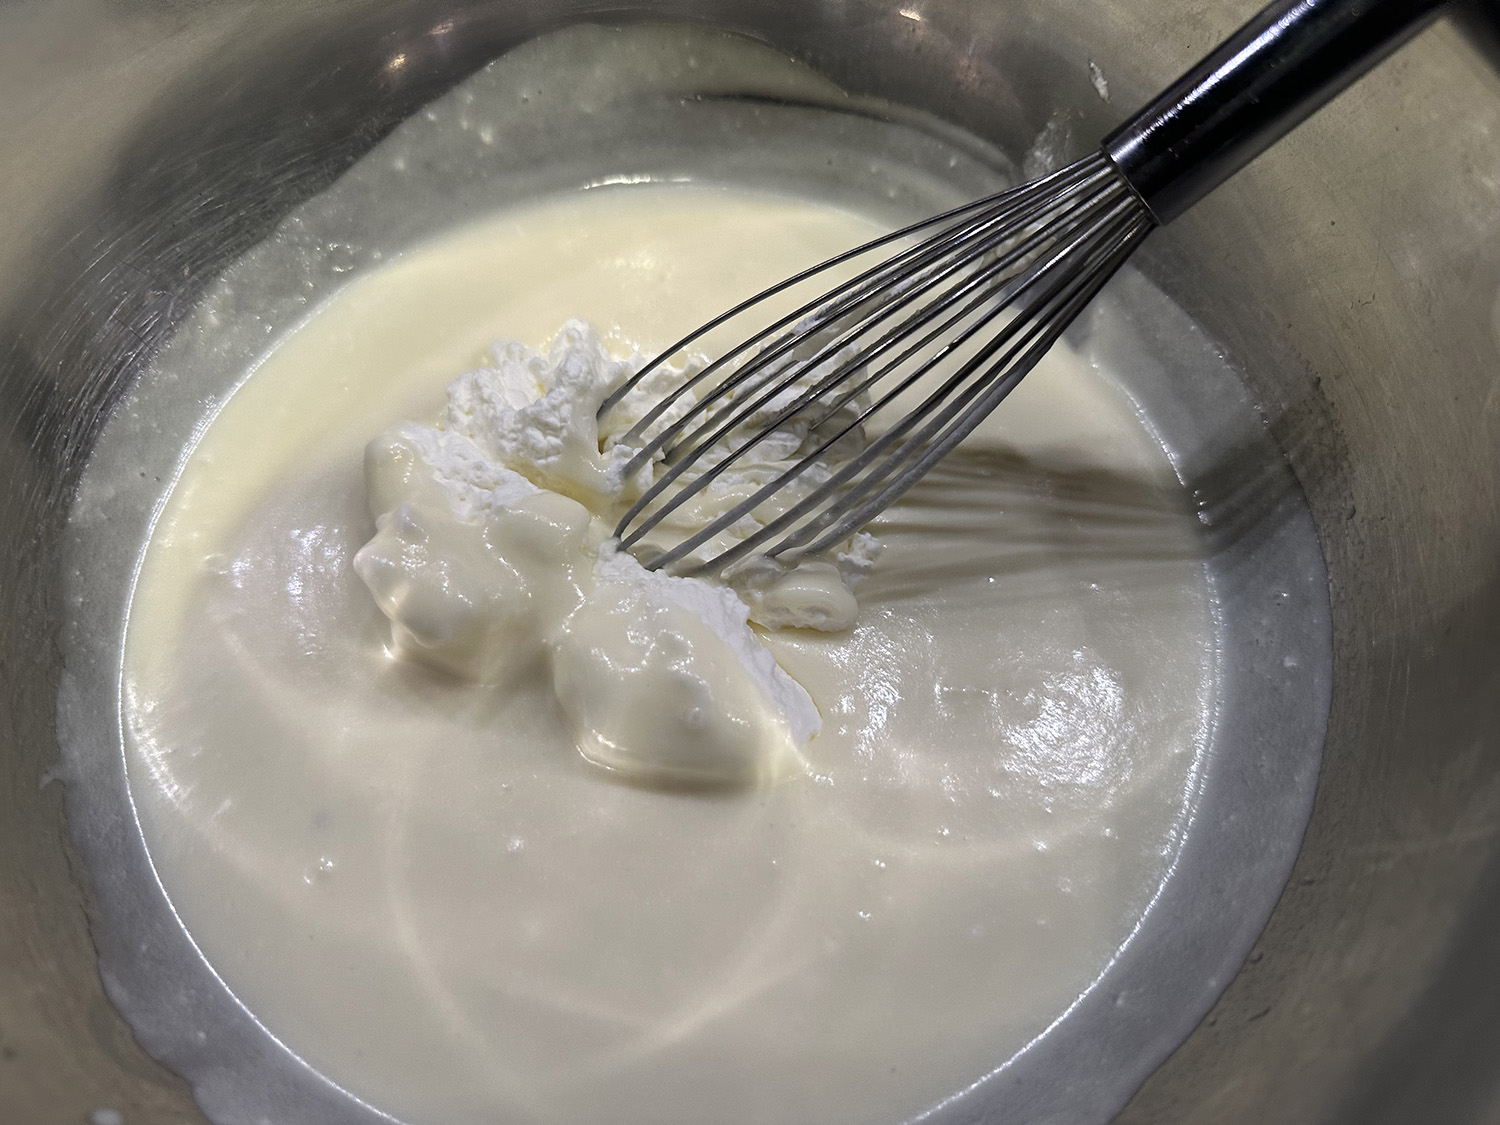
- FOR THE TOP LAYER: In small bowl, sprinkle gelatin over water; let stand at least 5 minutes. Place white chocolate in medium bowl. Bring ½ cup cream to simmer in small saucepan over medium-high heat. Remove from heat; add gelatin mixture and stir until fully dissolved. Pour cream mixture over white chocolate and whisk until chocolate is melted and mixture is smooth, about 30 seconds. Cool to room temperature, stirring occasionally, 5 to 8 minutes (mixture will thicken slightly).
- In clean bowl of stand mixer fitted with whisk attachment, whip remaining cup cream at medium speed until it begins to thicken, about 30 seconds. Increase speed to high and whip until soft peaks form when whisk is lifted, 15 to 60 seconds. Using whisk, fold one-third of whipped cream into white chocolate mixture to lighten. Using rubber spatula, fold remaining whipped cream into white chocolate mixture until no white streaks remain. Spoon white chocolate mousse into pan over middle layer. Smooth top with offset spatula. Return cake to refrigerator and chill until set, at least 2½ hours.
- TO SERVE: If using, garnish top of cake with chocolate curls or dust with cocoa. Run thin knife between cake and side of springform pan; remove side of pan. Run cleaned knife along outside of cake to smooth sides. Cut into slices and serve.
Recipe from America’s Test Kitchen