
Come summer, the Spanish flock to the water with the determination of fish (which makes me think that maybe I do have a few Spanish genes lurking in me somewhere.) As clam shacks are to New England, Spanish beach goers have humble seaside establishments called “chiringuitos” awaiting them. And almost always, they will offer an irresistible Mixed Seafood Paella, like the one Russ made (shown below) one Sunday summer evening.

Did we tell you we love paella? We are now the proud owners of four—yes four—paella pans, and it was the maiden voyage for our new 16″ variety cooked on top of our outdoor paella gas grill. After all, who wants to be stuck in the house on a beautiful summer evening slaving over a hot stove when you can assemble and cook the real deal outside on your shaded patio? Not us.
An authentic paella is a minimalist affair, often with few other ingredients besides seafood and rice. And the flavor depends on a good rich fish stock, so we recommend making your own ahead of time, or buying a real good one at a fish market. And the best rice to use is a medium grain called “bomba”, which has a nice toothy texture and can absorb lots of flavor. What you must absolutely shun is long grain rice which doesn’t develop the right texture.
The shallow, flat, dimpled carbon steel pan reacts quickly to heat fluctuation and aids in the quick evaporation of liquid. The pan also helps maximize the surface area that comes in contact with the rice. The contact, while the rice is left unstirred as it cooks, produces another paella must-have, a crispy tasty crust that sticks to the pan and is known as “socarrat”—a specialty and prized part of a great paella. Folklore has it that socarrat has aphrodisiac powers, and that is what fuels the passion of those renowned Spanish lovers. Just giving you a heads up…
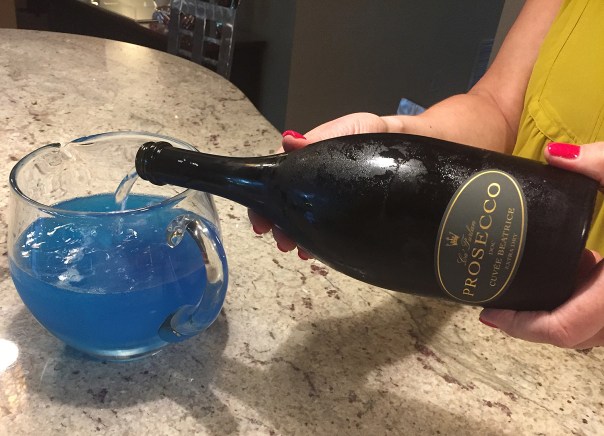
Russ makes an event out of the entire process starting with Spanish music playing both indoors as he preps, and outside as he grills. Adding to the authenticity is his choice of predinner cocktail, a glass of Spanish sherry. Then we enjoy a glass of Spanish red (Rioja or Tempranillo) as we dine on our Sunday supper—a regular custom in Spain.
It is considered proper to encourage your guests to eat directly from the pan, the traditional Spanish way of eating it, from the outer perimeter in toward the center. It’s not a custom we’re comfortable enough with even though it loses much of its impact and drama once it leaves the pan onto a dinner plate. So as not to draw attention away from the main event, serve simply with a side salad and wine, with perhaps some crusty bread.
Mixed Seafood Paella
Ingredients
- 6 cups shrimp shell stock; OR 4 cups clam juice diluted with 2 cups water
- 1 large pinch of saffron
- 5 Tbsp. extra virgin olive oil
- Coarse salt
- 12 garlic cloves, peeled and left whole
- 1/2 sweet onion, grated on largest holes of box grater
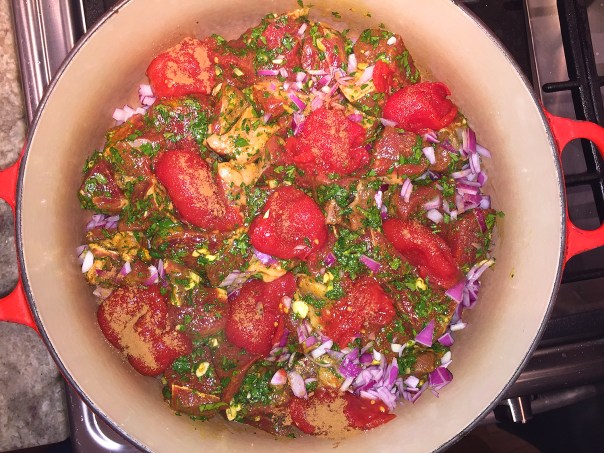
- 2 large, ripe tomatoes, cut in half and grated on a box grater, skins discarded
- 1 1/2 tsp. sweet (not smoked) paprika
- 2 cups bomba or other short to medium grain rice
- 1/2 cup minced flat leaf parsley
- 12 small littleneck clams
- 1/2 lb. jumbo shrimp, peeled and deveined
- 1/2 lb. large sea scallops, patted dry
- 2 roasted piquillo peppers, cut into 1/4″-wide long strips
- Lemon wedges
NOTE: You can also add calamari and/or mussels, but keep the overall proportions pretty much constant.
Directions
- Add the shellfish stock to a pan along with the saffron, and bring to a low simmer until ready to use.
- In a paella pan, heat the oil on high. Sauté the shrimp and scallops until just cooked through, about 2 minutes. Transfer to a plate.
- Reduce the heat to medium and sauté the onion and garlic cloves until the onion softens, about 5 minutes.
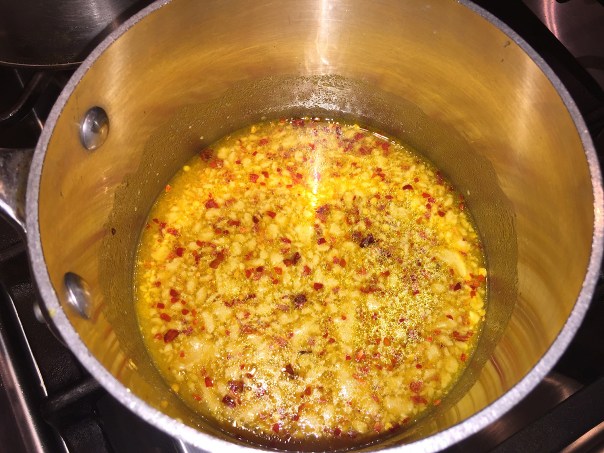
- Add the tomato, season with salt, and cook, stirring often, until the mixture has darkened to a deep burgundy and is thick like a compote, 15 to 20 minutes. Add the paprika. This is the sofrito.
- Add the rice to the pan with the sofrito, and cook about 2 minutes. Raise the heat to medium-high and pour in 6 cups of the simmering stock and shake the pan to evenly distribute the rice.
- Arrange the clams, submerging them as much as possible below the level of the liquid. From this point on, DO NOT stir the rice.
- Simmer vigorously, moving the pan as needed to distribute the heat and cook the rice as evenly as possible. After 8-10 minutes the rice should be at the same level as the liquid.
- Reduce the heat to medium-low. Continue to simmer more gently, until the liquid has been absorbed, about 10 minutes more.
- Arrange the shrimp and scallops in the pan. Increase the heat to medium-high, rotate the pan, and cook for 2 minutes until the bottom layer of rice starts to caramelize, creating the socarrat. The rice will start to crackle, but if it starts to smell burned, remove the pan from the heat immediately.
- Layer on the piquillo pepper strips. Remove from heat, and cover loosely with a clean kitchen towel, or foil, and let the paella rest for 5-10 minutes to even the cooking and let the flavors meld.
- Place the paella pan in the center of the table and either let guests scoop out portions, or eat directly from the pan. Serve with lemon wedges.
Pictorial Step-By-Step:
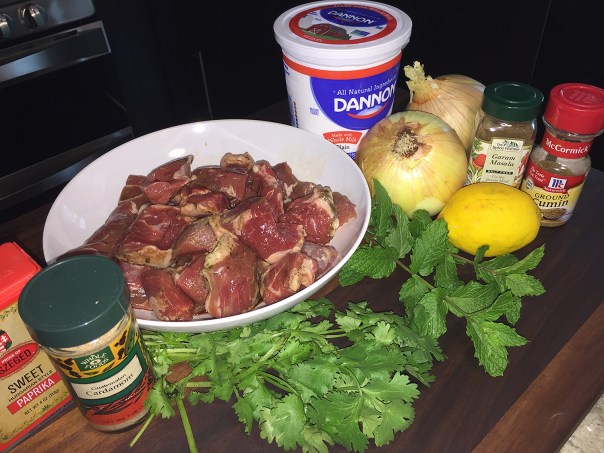
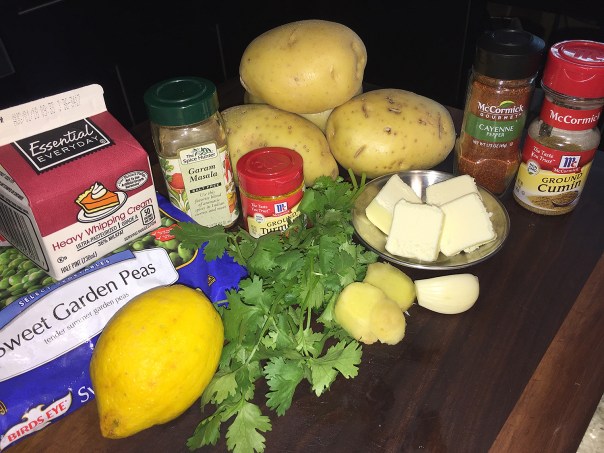
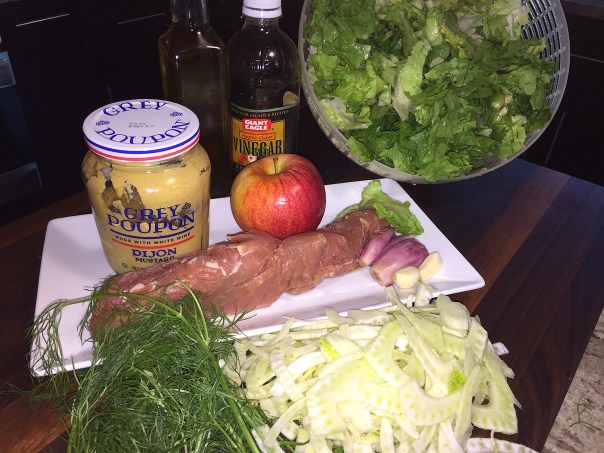
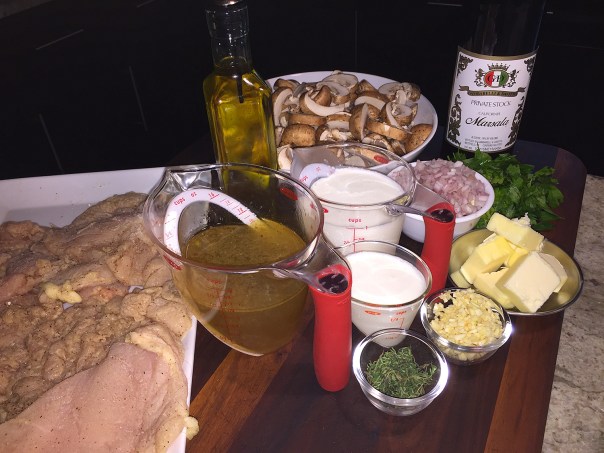
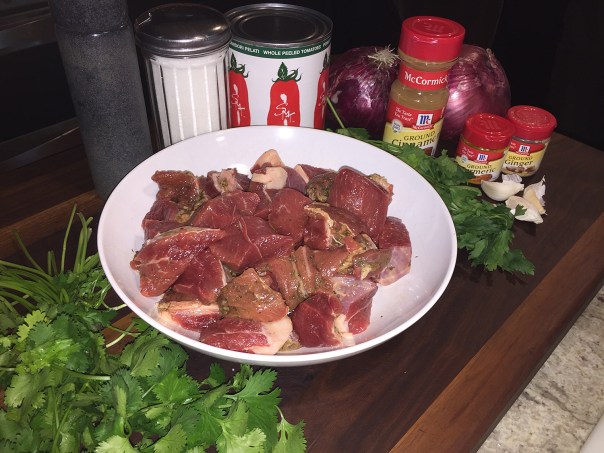
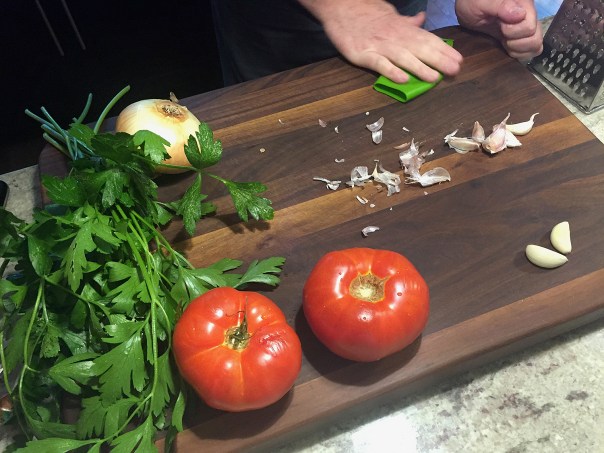 Assemble all ingredients and begin to prep.
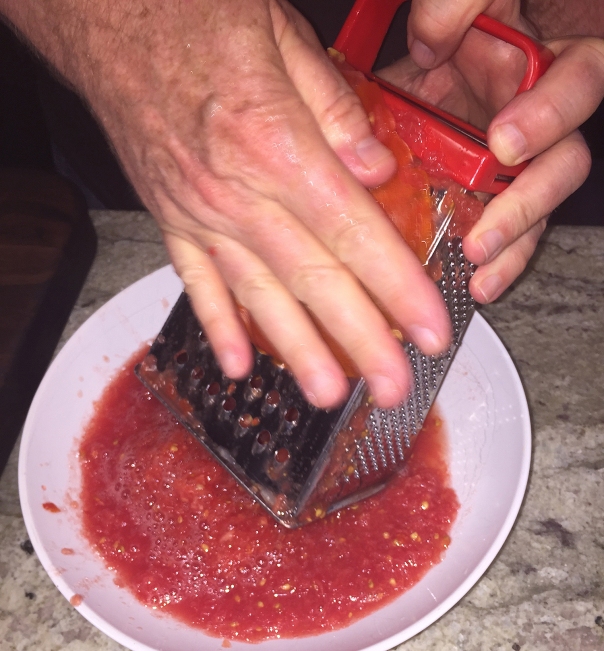 Cut the tomatoes in half and grate along a box grater, then discard skins.
 Heat your grill, and gather all prepped ingredients.
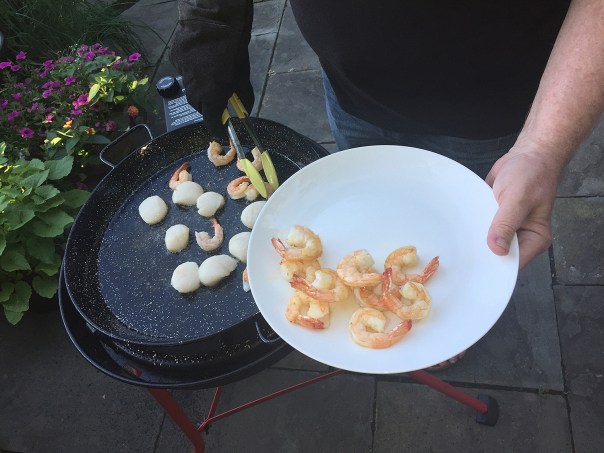
Sauté the shrimp and scallops until just cooked through…

…then transfer to a plate.

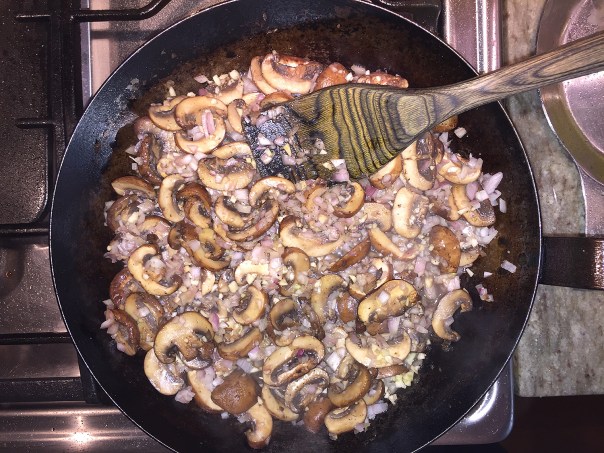
Sauté the onion and garlic cloves until the onion softens.
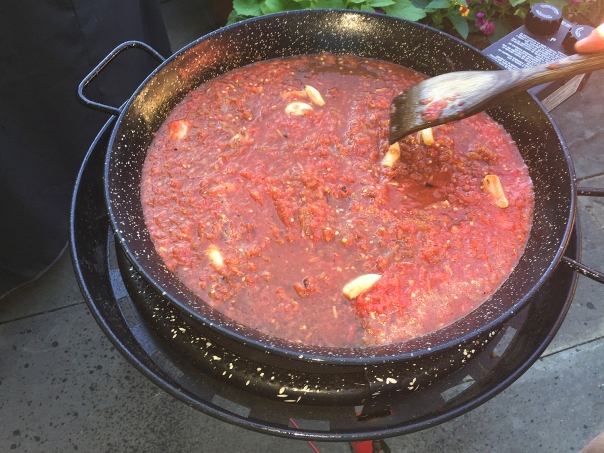
Add the tomato, season with salt, and cook, stirring often…
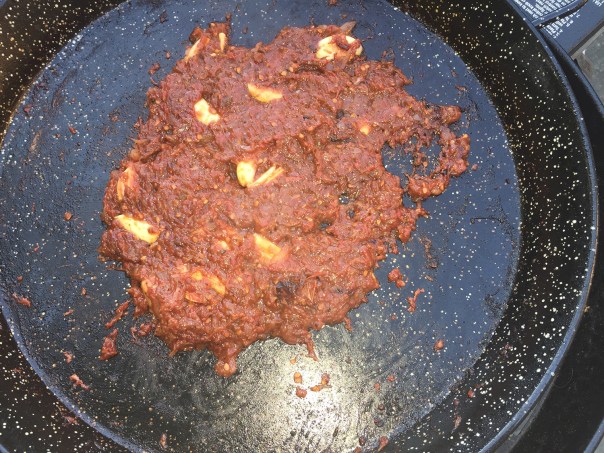 …until the mixture has darkened to a deep burgundy and is thick like a compote, 15 to 20 minutes.

Add the rice to the pan with the sofrito.

Pour in the simmering stock and shake the pan to evenly distribute the rice.

Arrange the clams, submerging them as much as possible below the level of the liquid. Most of them had already popped open in this picture.
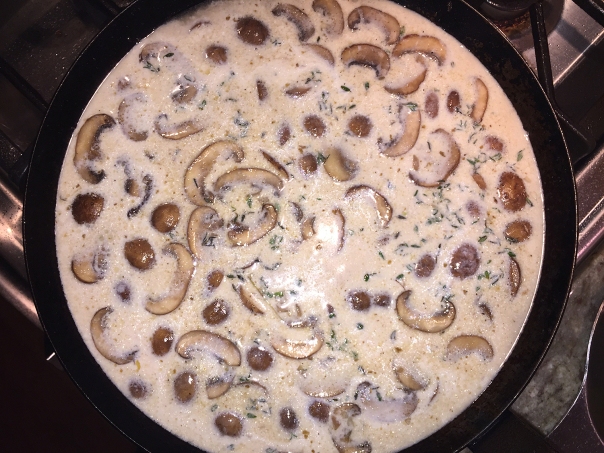
 Arrange the shrimp and scallops in the pan. Increase the heat to medium-high, rotate the pan, and cook for 2 minutes until the bottom layer of rice starts to caramelize, creating the socarrat. Layer on the piquillo pepper strips. Remove from heat, and cover loosely with a clean kitchen towel and let the paella rest for 5 minutes.


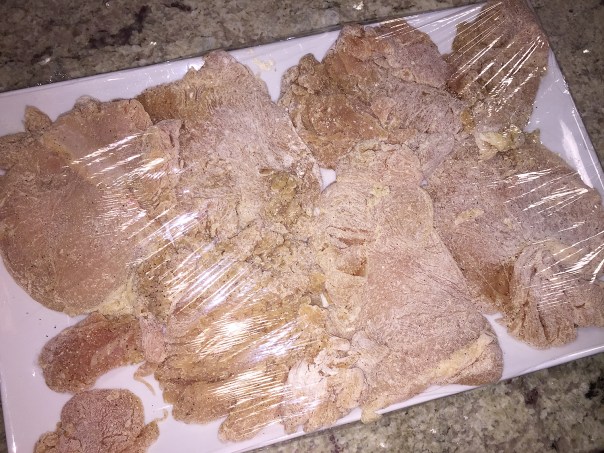
 Using a heavy duty meat cleaver makes quick work of halving the breasts.


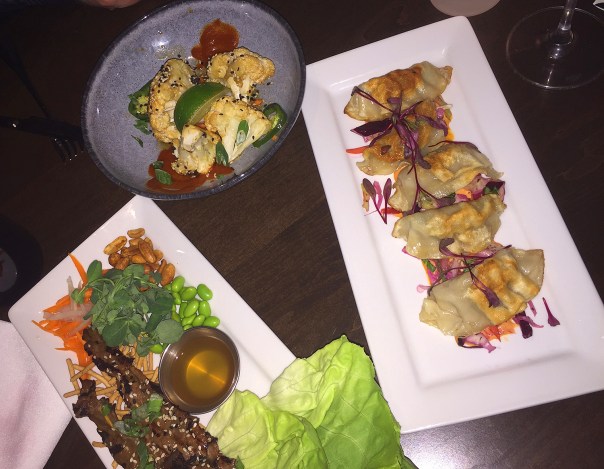 Kung Pao Cauliflower “Wings” (top left) with a ginger soy glaze, pickled carrot strips and jalapeños, sriracha, toasted sesame and scallions.
 Organic Pork Potstickers garnished with Korean pepper remoulade and Asian Vegetable slaw.
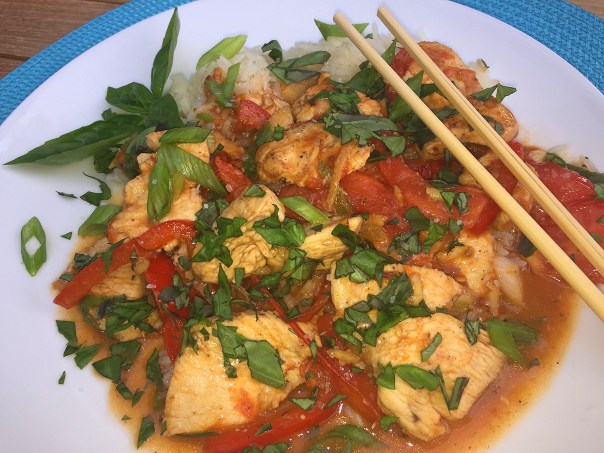
 Thai Sesame Beef Lettuce Wraps plated with bibb lettuce, pickled carrots, daikon radishes, edamame, sriracha salted peanuts and a sweet-and-sour dipping sauce.


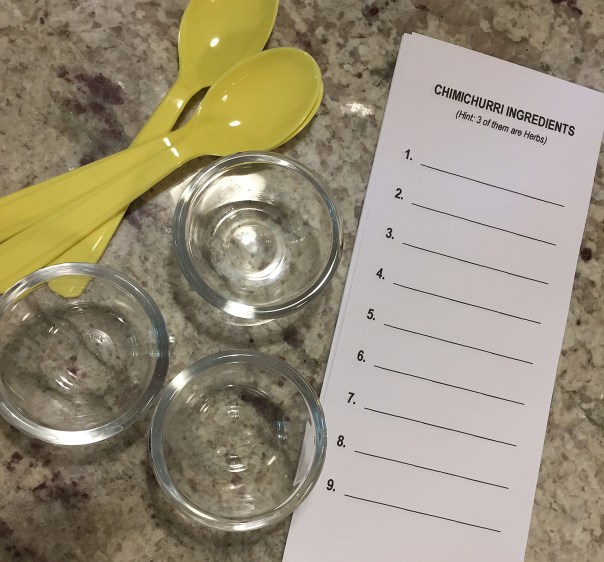
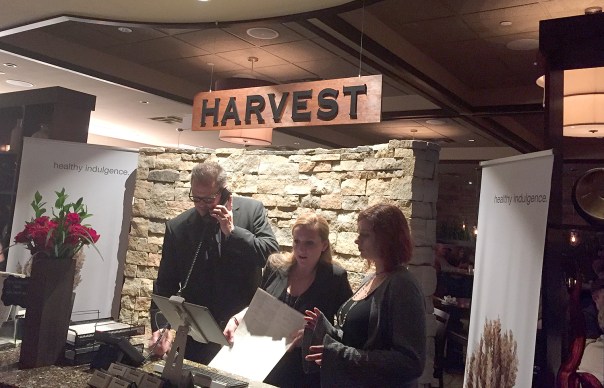
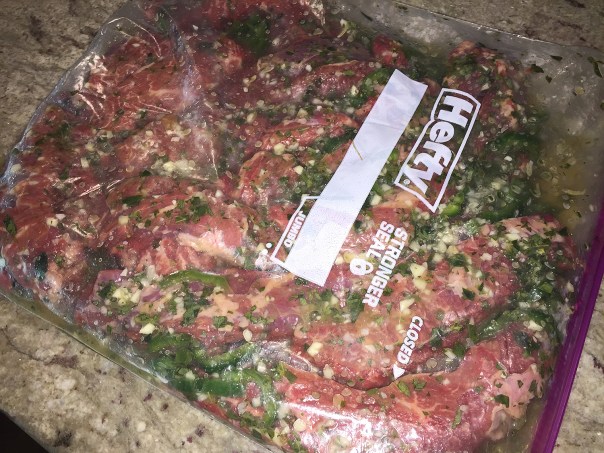
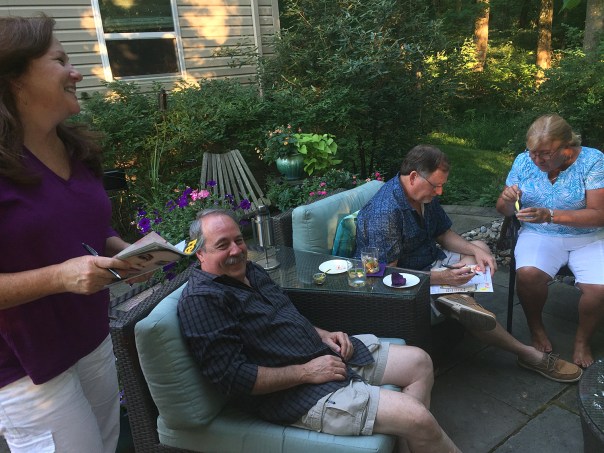 The guests are hard at work trying to decipher exactly what the chimichurri consists of.
 Barb and Brad
 Fran and Grant
 Rosanne and Gary


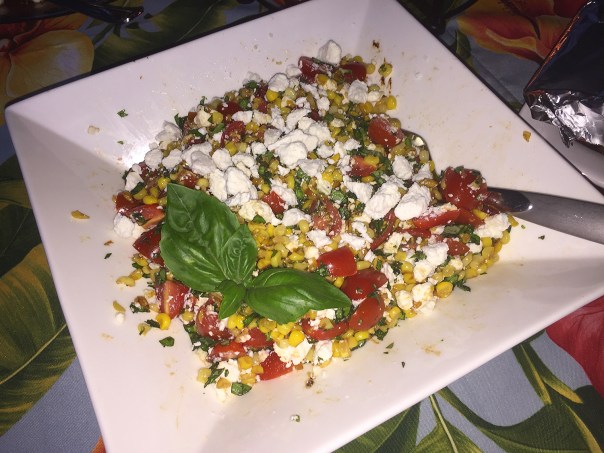
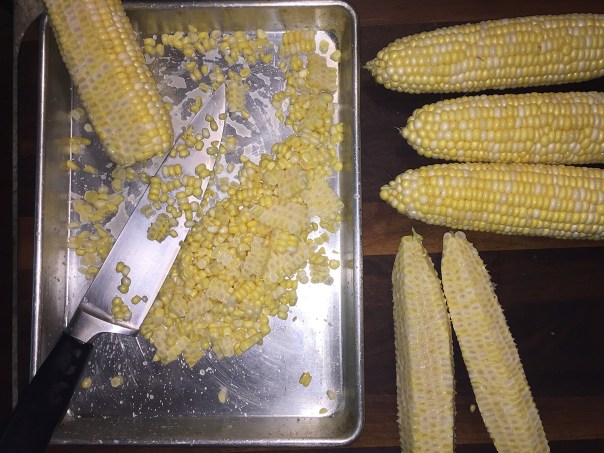 I find it helpful to cut the kernels off the cob over a small rimmed baking sheet.


 David and Lisa Greenspan smile for the camera.
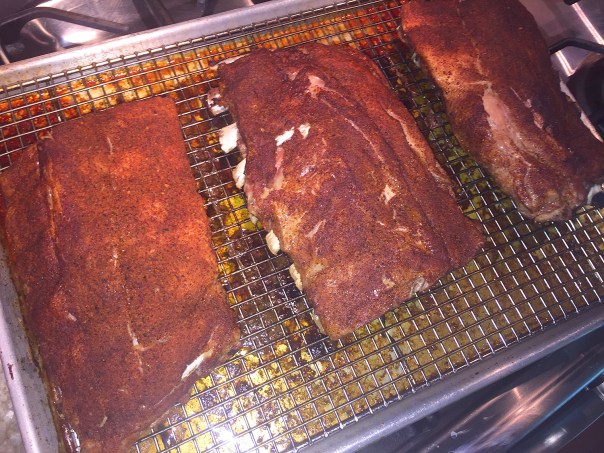 The ribs after cooking in the oven for 2 1/2 hours.
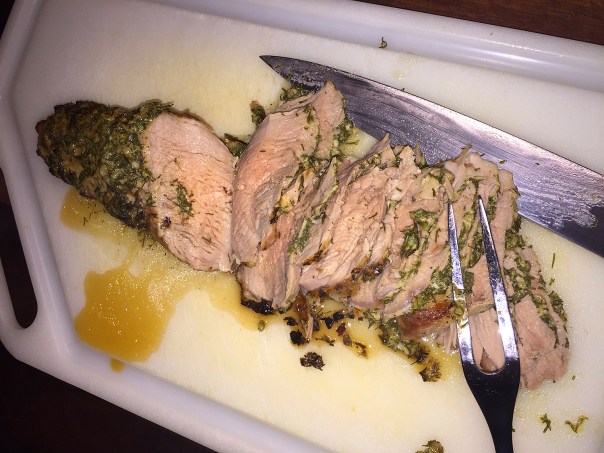
 After grilling and basting the racks, they are moved to a platter and sliced into sections.

 Russ readies the tray for the patio to cook the rice dish.


 Note, there are no bulging middles to these babies.
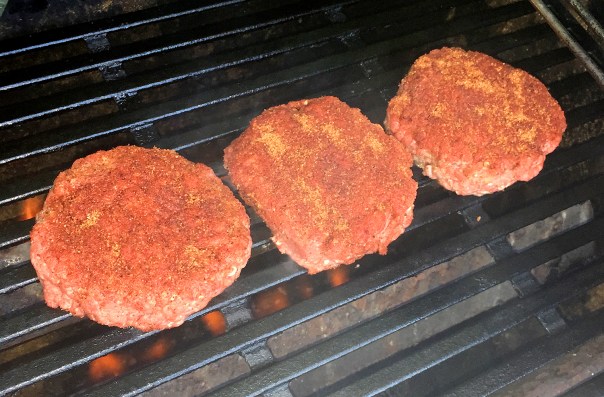
 The burger will be charred on the outside, but still juicy and moist on the inside if you don’t squish the juices out.
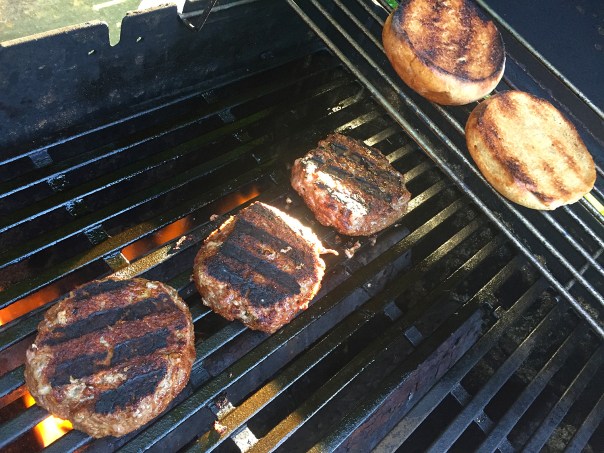


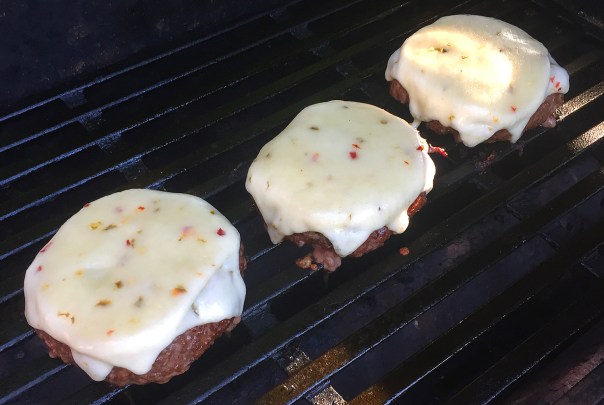
 All of the photos show the fixings for 3 burgers, but the recipe below is for four servings.


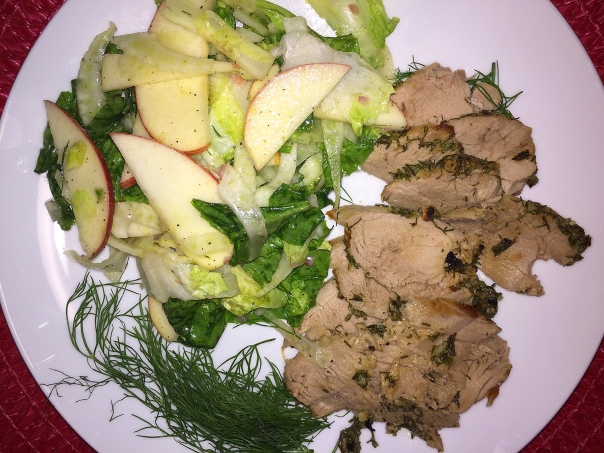
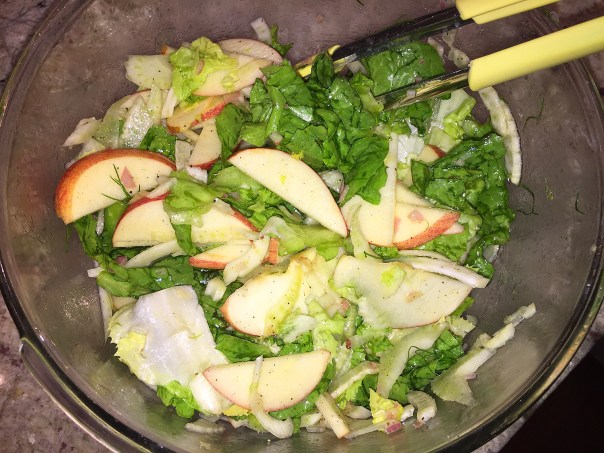
 We served ours with a simple side salad to add color and fiber.


 Serve over a bed of couscous.
