For most of my 32 years working at Mercer County Community College, I have belonged to a fabulous organization, the National Council for Marketing and Public Relations (NCMPR). Over those decades I have met some amazingly creative people especially from District 1 which includes a large swath of the Northeastern U.S. and beyond: Connecticut, Delaware, District of Columbia, Maine, Maryland, Massachusetts, New Hampshire, New Jersey, New York, Pennsylvania, Rhode Island, Vermont, the Canadian Provinces of New Brunswick, Newfoundland, Nova Scotia, Prince Edward Island, Quebec, and the United Kingdom.
Each Fall, District 1 varies the location of the regional conference and this year, the aptly titled “Innovation by the Sea” was held on Goat Island, a tiny, 20-acre island in Narragansett Bay of Newport, Rhode Island. With the distinction of being the only resort-style hotel in Newport, the Hyatt Regency Newport Hotel & Spa features three unique restaurants with indoor and outdoor food and drink service including the nationally recognized Pineapples on the Bay. (Great fodder for a food blog—if only it hadn’t been closed for the season 😦 )

Not only do I get to reconnect with colleagues from afar, the symposium sponsors an awards dinner affair that honors outstanding achievement in two-year college marketing, PR and communications. This year our inspirational theme centered on the Roaring Twenties/Gatsby era and many members donned period costume—including Yours Truly. Pictures follow, but I’m getting ahead of myself…
Our hotel was only a 15-minute stroll from the city’s cobblestone streets, bustling harbor, unique shopping, art galleries, and waterfront dining. The area is ripe with culture and our event kicked off with an afternoon tour of the famous Vanderbilt mansion, The Breakers, the grandest of Newport’s seaside summer “cottages,” depicting a world of exceptional elegance and inspiration in architecture, art, interior design and landscape. With aspirations of becoming a Master Gardner in retirement, I can only imagine their gardens must be phenomenal in the height of growing season!

I’m awaiting entry onto the grounds of The Breakers mansion—a symbol of the Vanderbilt family’s social and financial preeminence in turn of the century America.

The Breakers facade, a 70-room Italian Renaissance-style palazzo. Today, the house is designated a National Historic Landmark.

Inspired by the 16th century palaces of Genoa and Turin, Allard and Sons of Paris assisted Richard Morris Hunt with furnishings and fixtures. Shown above and below is the music room.
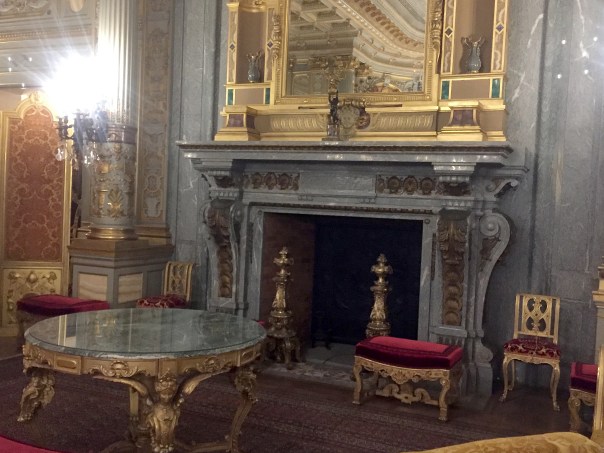

A close-up of one of the many thick slab marble fireplaces throughout the mansion.
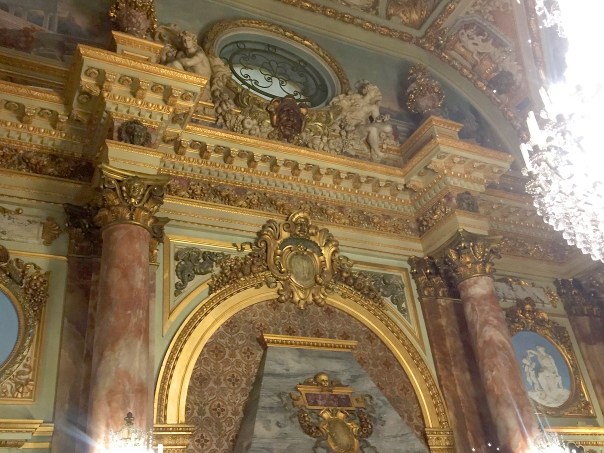
Intricate details and gold leaf above the marble fireplace in the grand dining room.
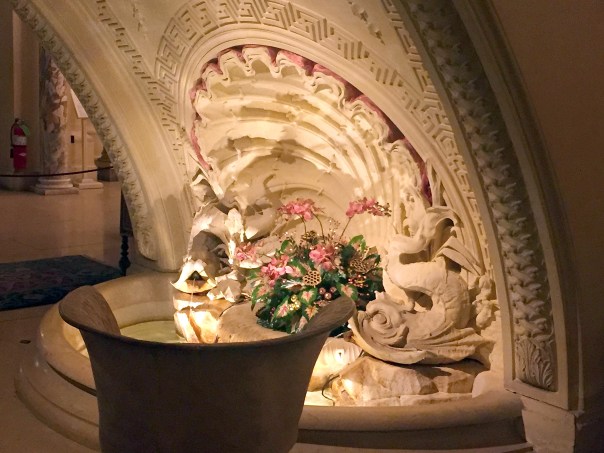
Carvings and fountain under the stairway where the children loved to play.

The kitchen features a 21-foot long cooking top without burners that heats the entire way across.

Date unknown, a French menu depicts a typical luncheon. Chaud means “hot ” while Froid is French for “cold.”
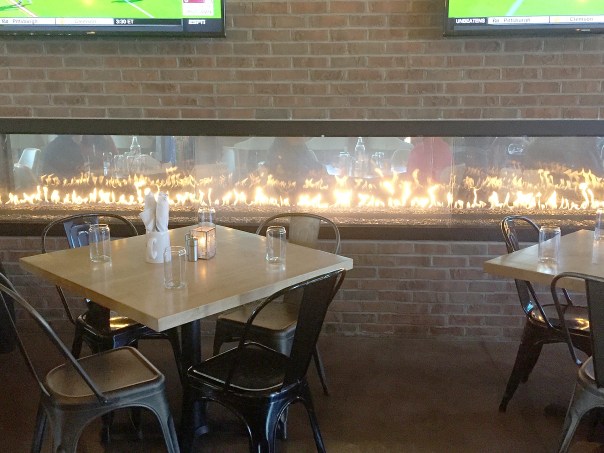
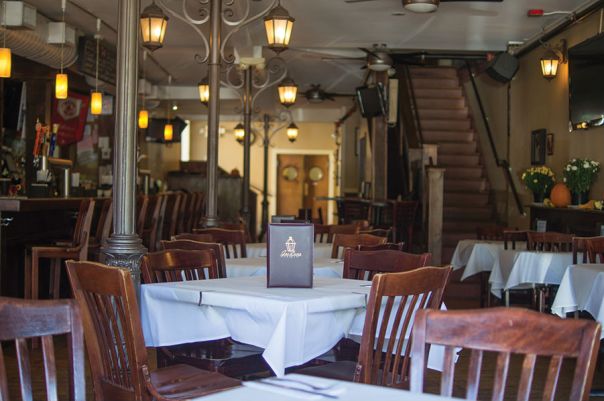
Segueing to the food portion of this blog… The afternoon excursion was followed by a bus trip to an off-site dinner on Thames Street at the Lamp Gas Grille (shown below) outfitted in an American pub vibe with street lamp decor. We had the entire upstairs to ourselves, but because we arrived earlier than the restaurant expected, we were “forced” to order “giggle water” and mingle. Our buffet was nothing extraordinary and included chicken and mushrooms, fish fillet, roasted potatoes and undercooked carrots—but the camaraderie was great and it was fun to meet some new members.

Which brings us to the main focus of my blog—our dining experience at the Hyatt Regency Newport Hotel & Spa. Let me just say, it was top-notch for both the service and the food for every meal. We had breakfast twice and lunch once during the course of the conference, all of which were buffets that I thought offered a myriad of tasty choices meeting most dietary restrictions. The quality was excellent despite the fact it was served buffet style to a large group. I only heard one complaint, and that was that the Tomato Basil Soup, although tasty, was not hot enough.
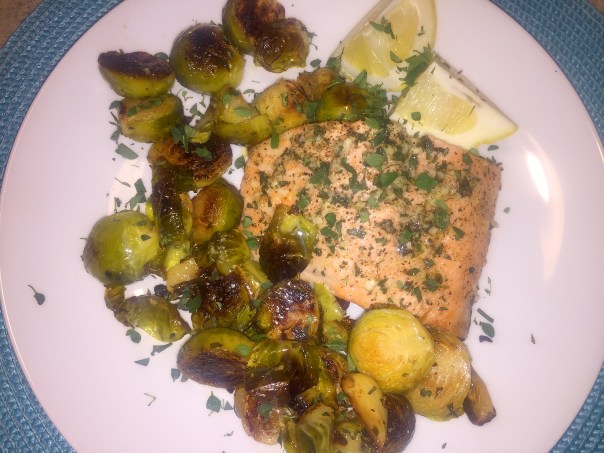
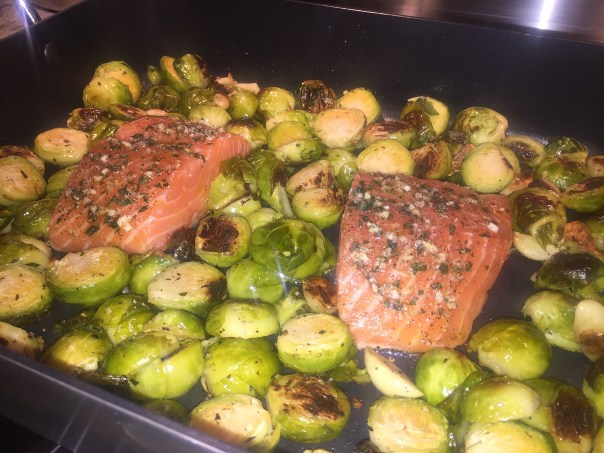
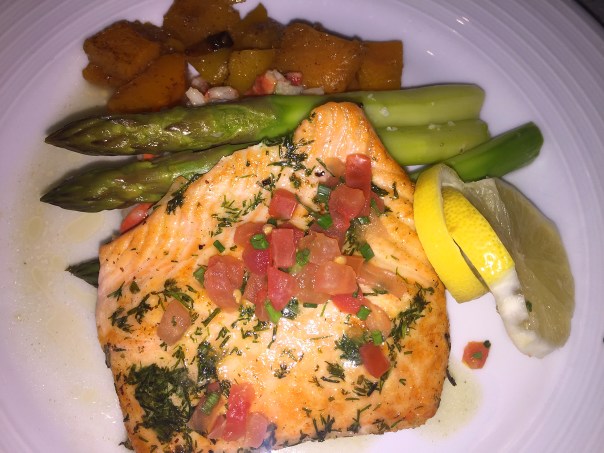
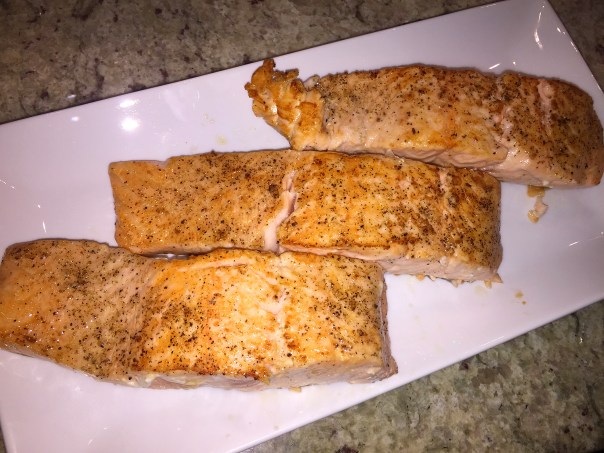
For our Medallion Awards night dinner, members had to select their preferences prior to the symposium: Salmon for me and Prime Rib for Russ. But first we were served a New England Clam “Chowdah” which is not usually a favorite of mine because I’m not fond of clams, nor of cream-based soups. But I surprised myself, and Russ, when I ate the entire bowl—it was that good!

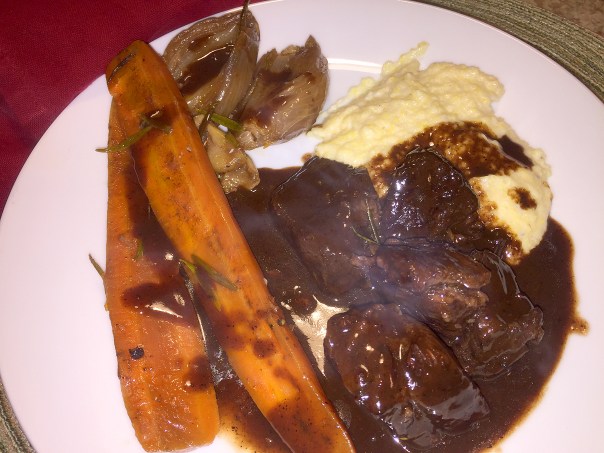
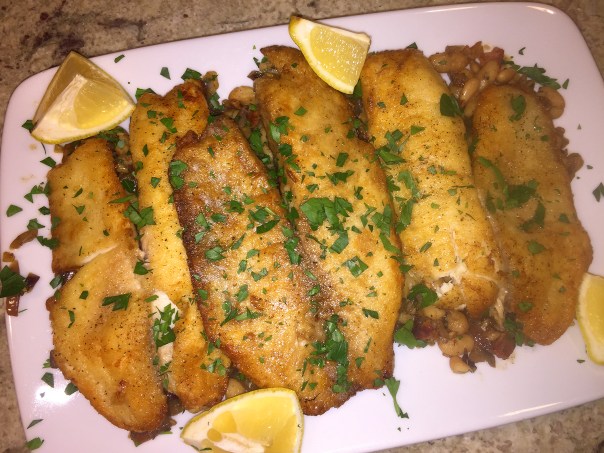
The seafood entrée came plated with stalks of crisp-tender asparagus atop a bed of luscious lobster risotto and a side of seasoned roasted potatoes. A generous slab of perfectly cooked prime rib sat in a warm pool of au jus and was also accompanied by the same vegetables. It was interesting to note, all of the eight women at our table dined on the salmon, while the two gentleman both chose beef.

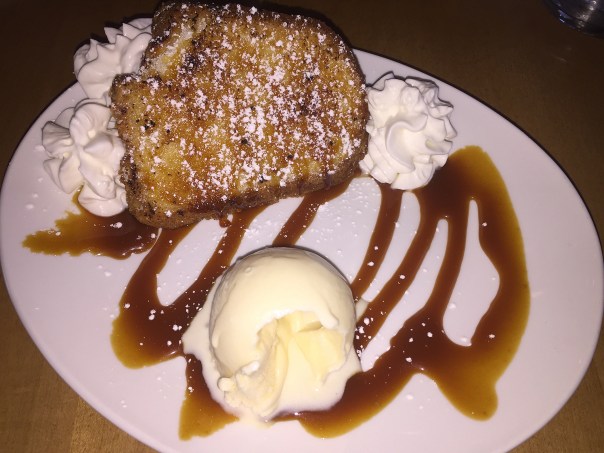
Not being a dessert eater, I can’t vouch for the quality, but by the looks of all of the empty dessert plates, I’d venture to guess it was also a success. And I overheard that the cookies served during our conference breaks were top notch! All-in-all, I think this was one of the best food experiences at an NCMPR conference that I can remember, and I’ve been going to them for 30+ years!
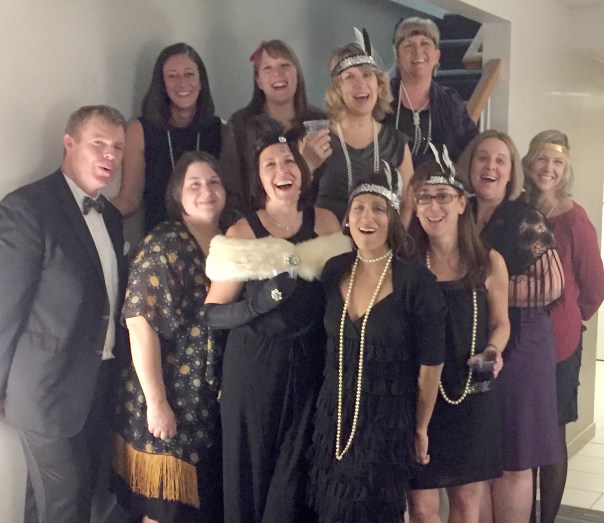
Most of the District 1 committee dressed in Gatsby-era costume gathered together prior to the awards dinner.
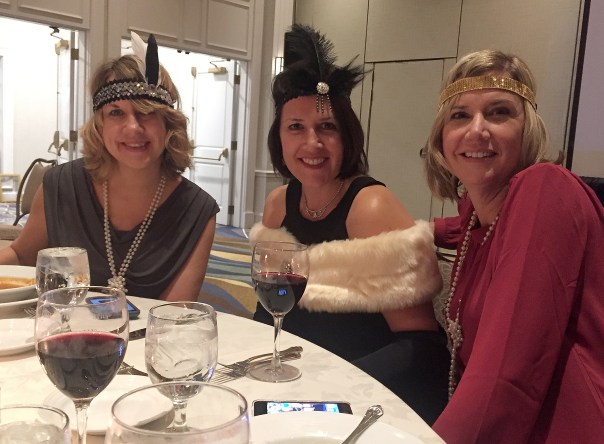
Waiting for the dinner to begin are from left: Laurie Farrell, current district director; Jodi Neal, Medallions co-chair and Maryland state rep; and Mary DeLuca, past district director.

Also joining us and standing out in the crowd are Sally Chapman Cameron (red hat) and Kathy Corbalis (red boa), both previously very involved with NCMPR and now retired. I bet you can tell no one was having any fun…

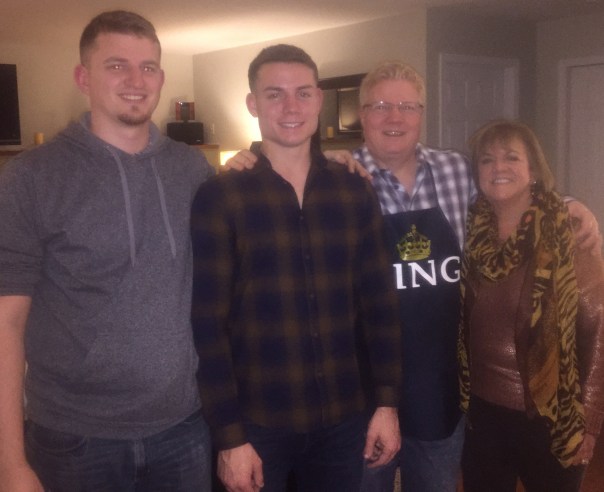
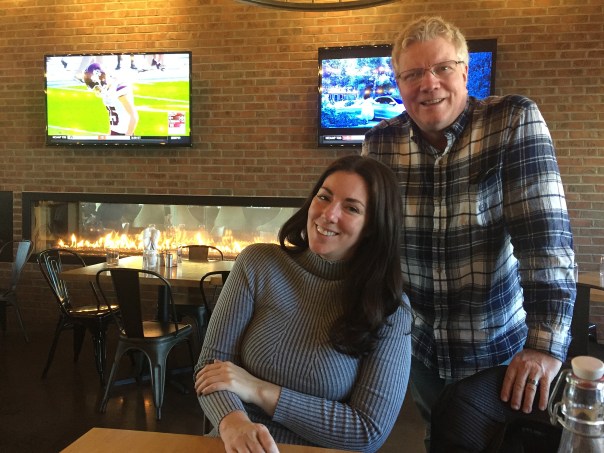
Lynn and Russ hamming it up after the awards ceremony ended.
If you’ve never been, I suggest trying to book a long weekend in Newport, RI. It’s a great coastal town with lots of shopping (though I didn’t get the opportunity to do anything in that category), tons of restaurants, brewery and mansion tours, museums, cliff walks, and even an International Tennis Hall of Fame.
“It sure is the berries!”


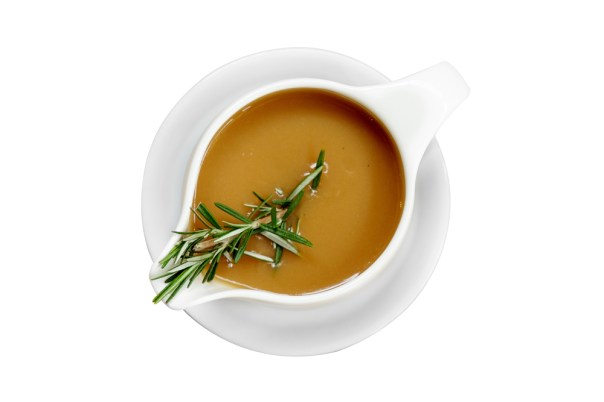
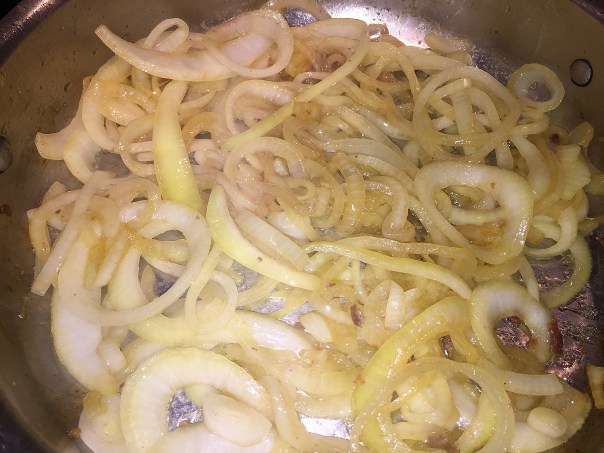
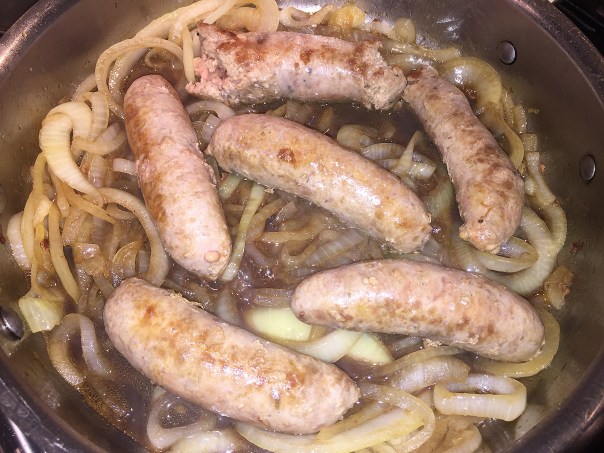
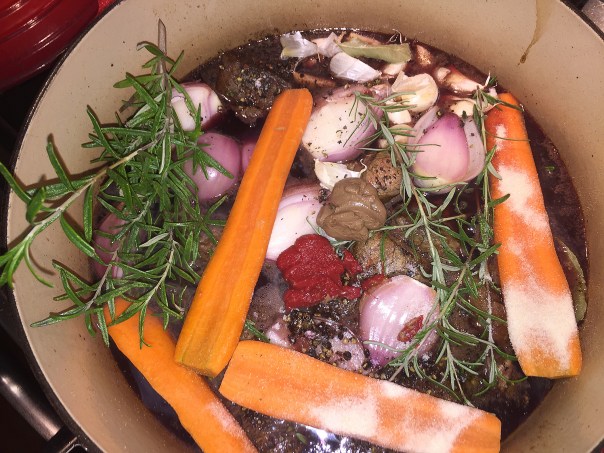
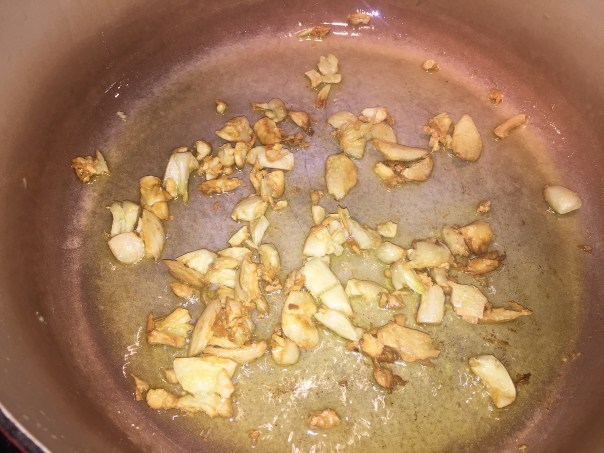
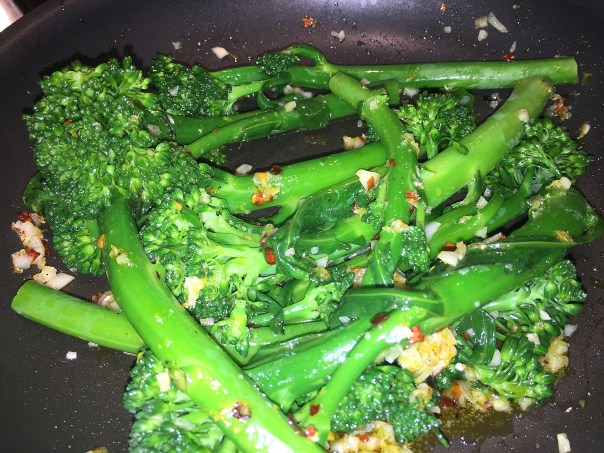
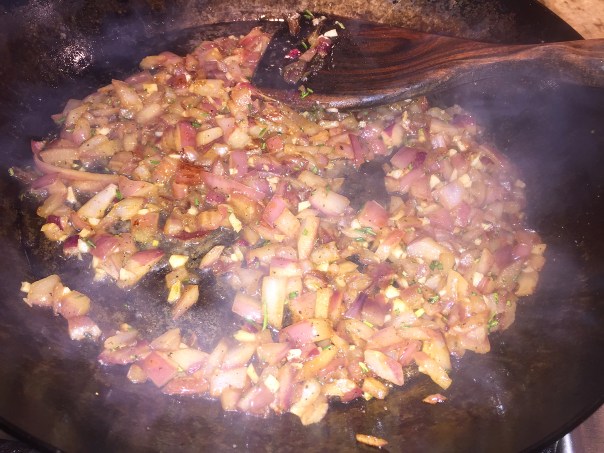 Rosemary and garlic are added to the softened onions.
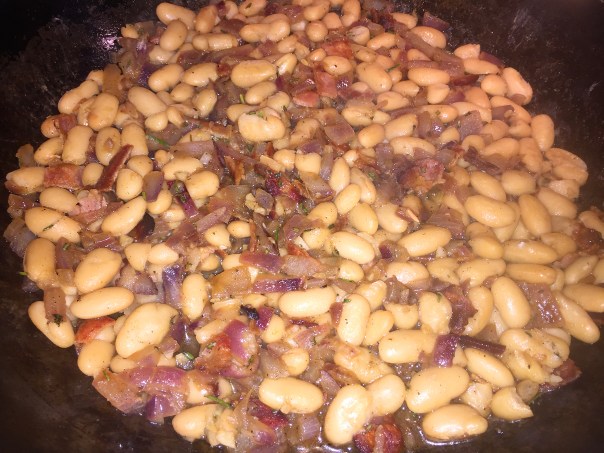 Next, the beans, broth, and bacon are cooked for 5 minutes to let the flavors meld.


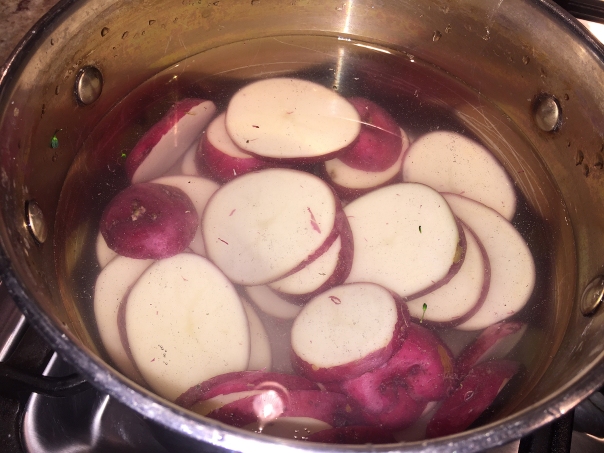


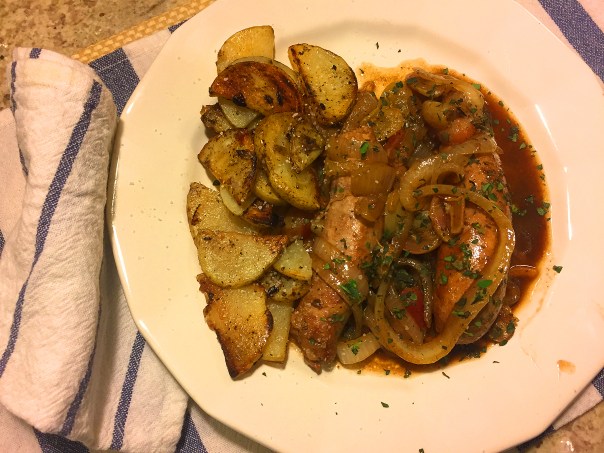
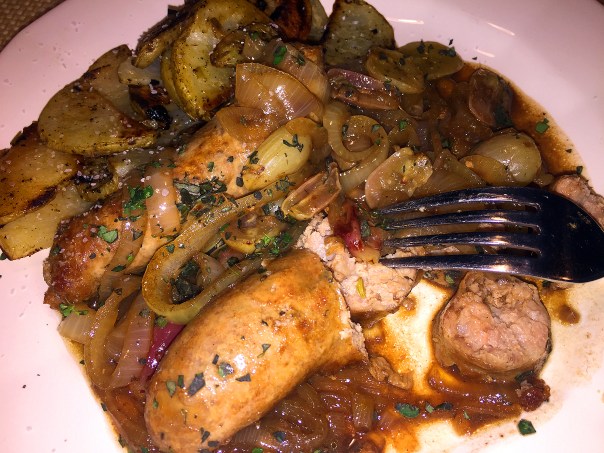
 After the potatoes are returned and cooked in the pan for several minutes, add the olives, parsley, balsamic vinegar, and a pinch of salt and pepper and stir gently to heat.