Here’s a great Butter Chicken recipe that uses very little butter but actually makes a creamier chicken. How’s that? Boneless chicken thighs are briefly marinated in yogurt and spices, then broiled until lightly charred. You will then make a separate sauce into which the chicken is stirred.
As you know, in many recipes for butter chicken, copious amounts of butter and heavy cream supply richness, but with this recipe, as in India, cashews are pureed with a small amount of water until smooth. The nut puree adds creaminess without making the dish heavy. Brilliant!
Butter Chicken
We were shy almost 1 tablespoon of garam masala, and at our previous grocery shopping attempt, they weren’t carrying any. I decided to go ahead with the lesser amount because there were so many other flavor ingredients, I didn’t think it would be missed (it wasn’t). There are online recipes to make the spice yourself, if you are interested, but it’s best made from toasted seeds.
Don’t scrape the marinade off the chicken before broiling. The yogurt and honey help the chicken brown and char under the broiler. Serve this with steamed basmati rice for soaking up the sauce—and it makes a LOT of sauce.

Classic Butter Chicken (with little dairy)
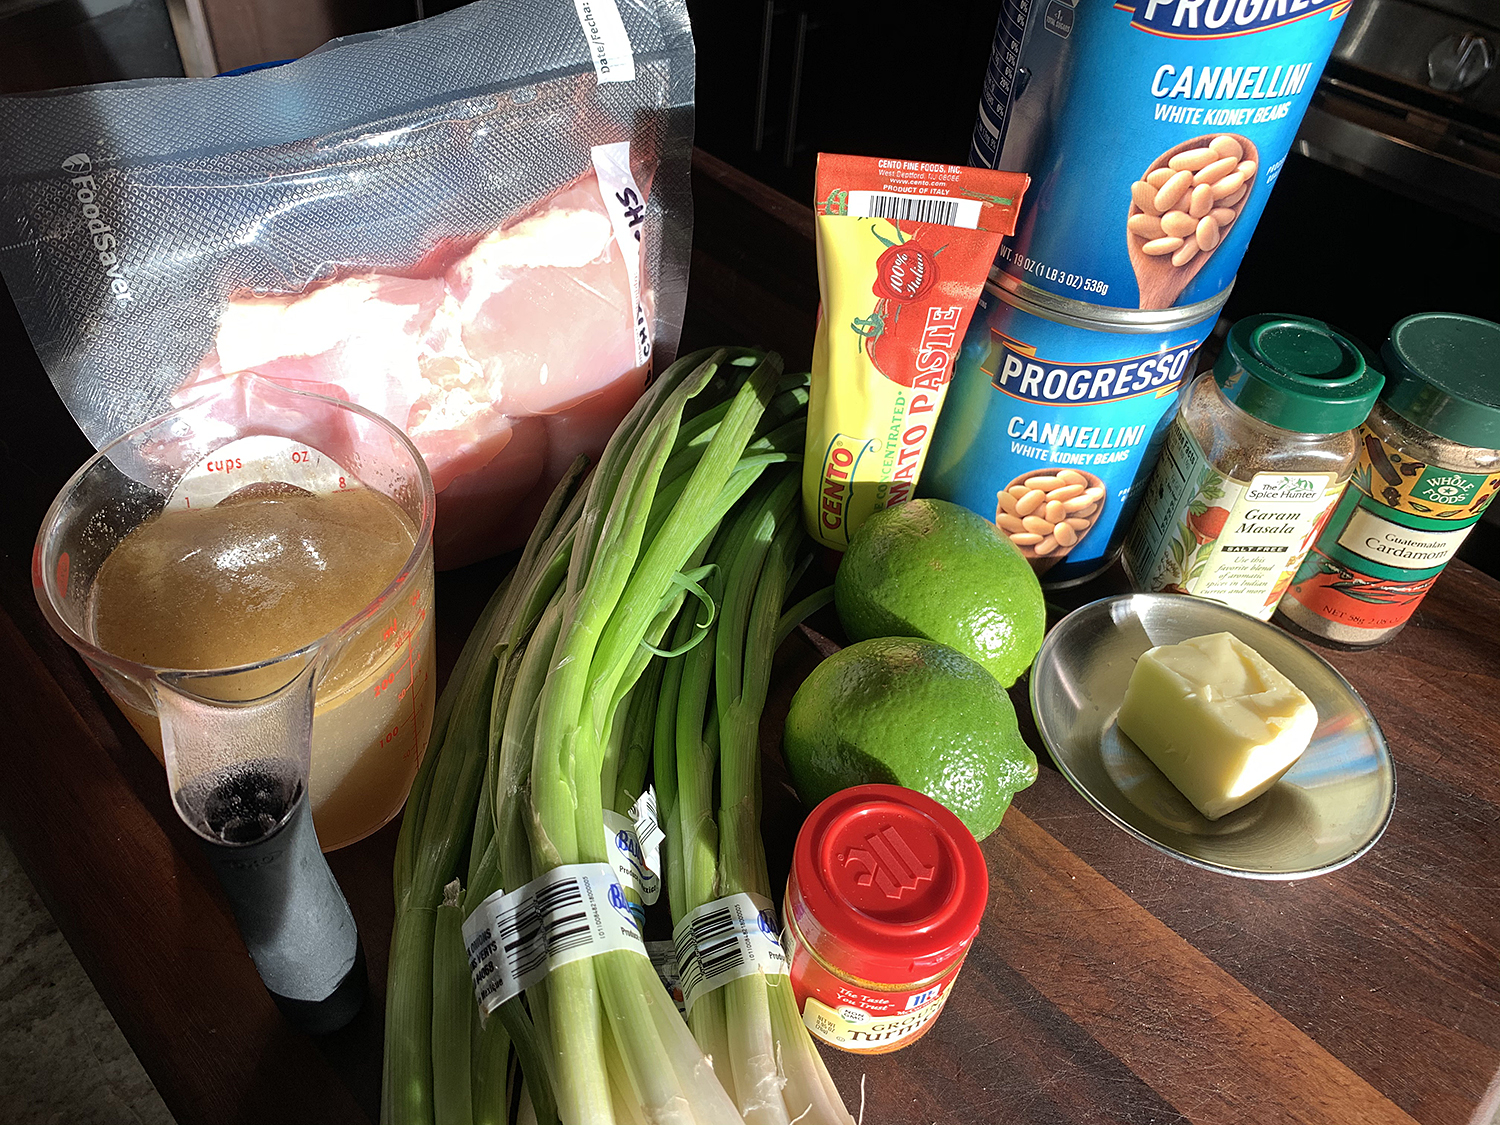
Ingredients
- 1 cup plain whole-milk yogurt
- 2 Tbsp. honey
- 1 Tbsp. sweet paprika
- ½ teaspoon cayenne pepper
- 4 Tbsp. garam masala, divided
- 2 Tbsp. ground cumin, divided
- 2 Tbsp. finely grated fresh ginger, divided
- Kosher salt and ground black pepper
- 2½ lbs. boneless, skinless chicken thighs, cut crosswise into 3 strips
- 1 cup roasted salted cashews
- 4 Tbsp. (½ stick) salted butter, cut into 2 pieces, divided
- 1 large yellow onion, finely chopped
- 6 medium garlic cloves, finely grated
- 28 oz. can crushed tomatoes
- ¼ cup finely chopped fresh cilantro
- 2 Tbsp. lime juice
Directions
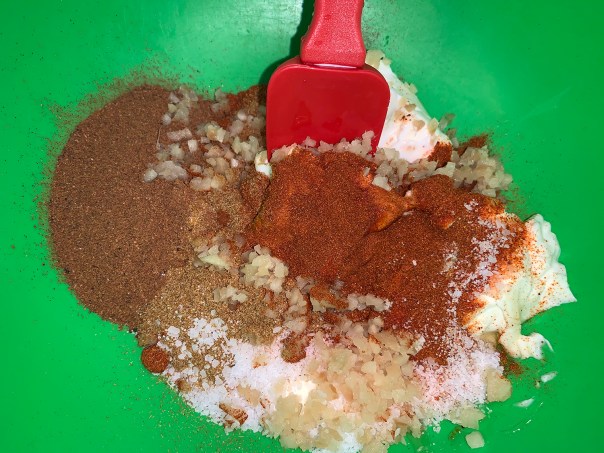
Seasonings 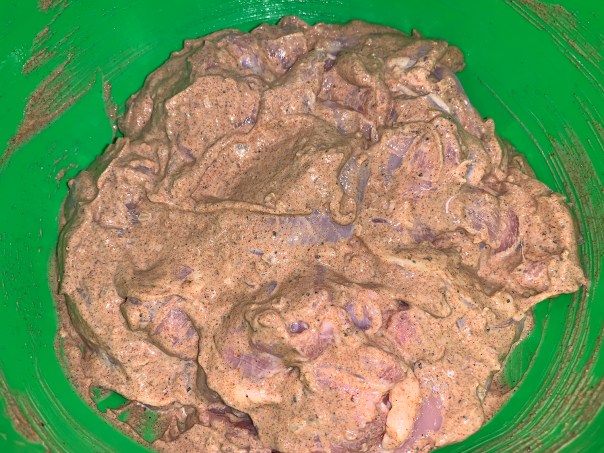
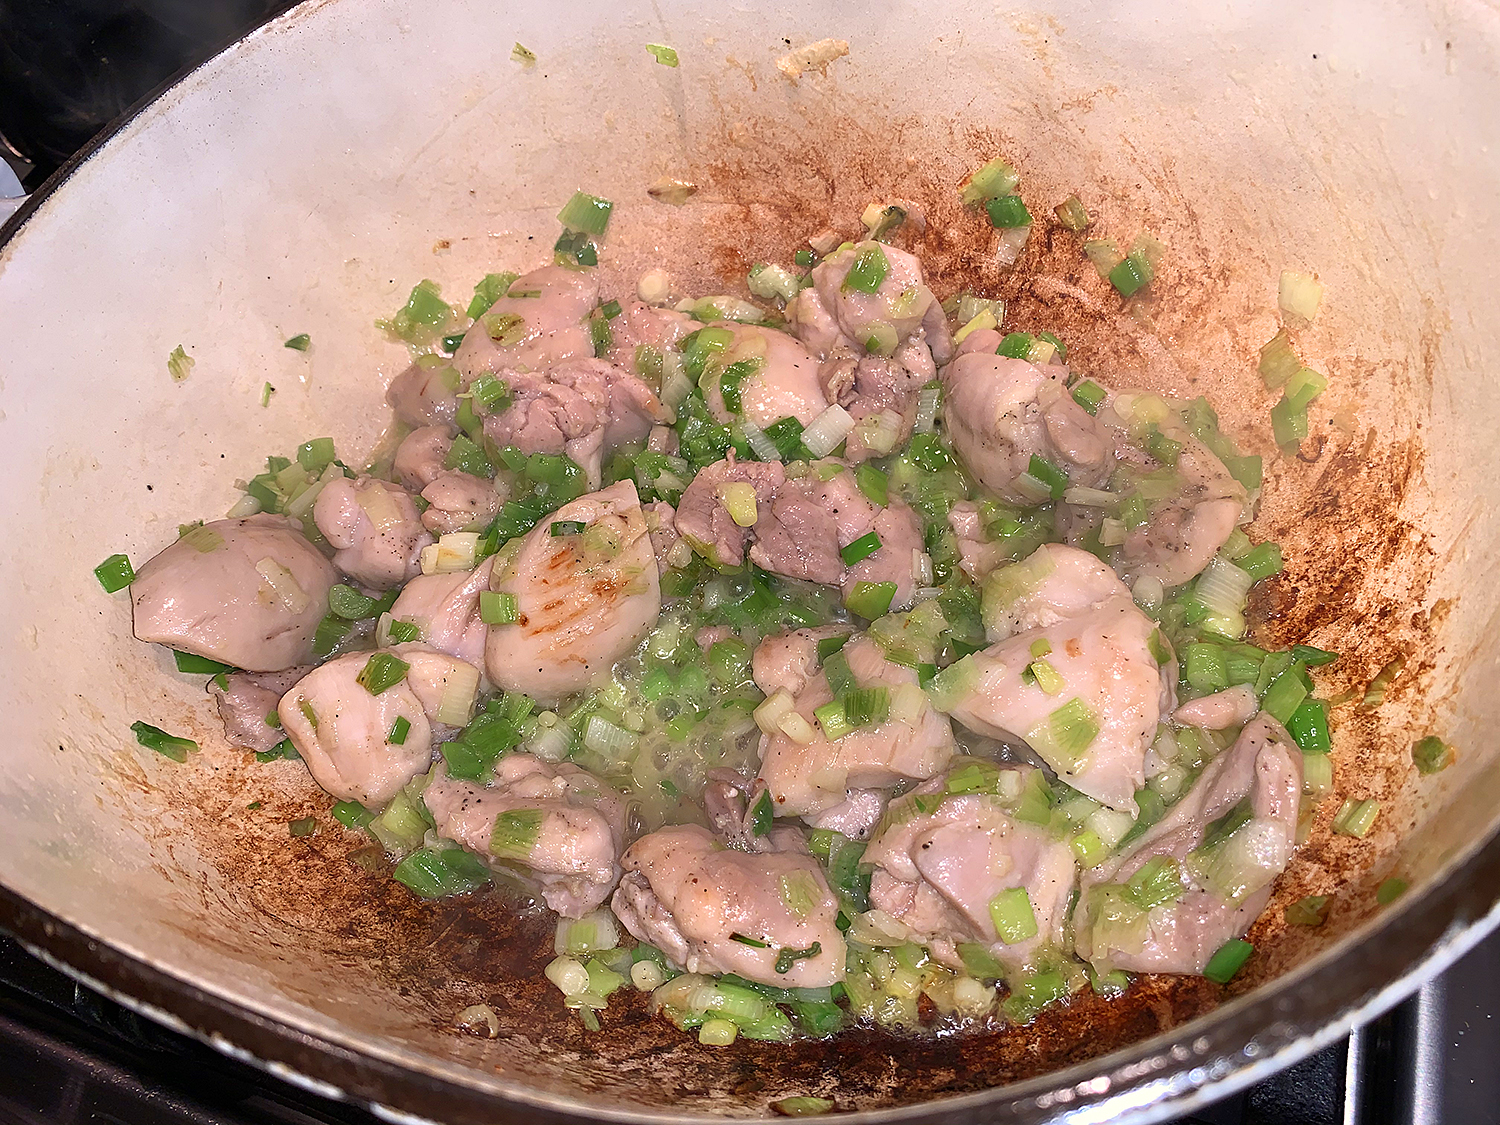
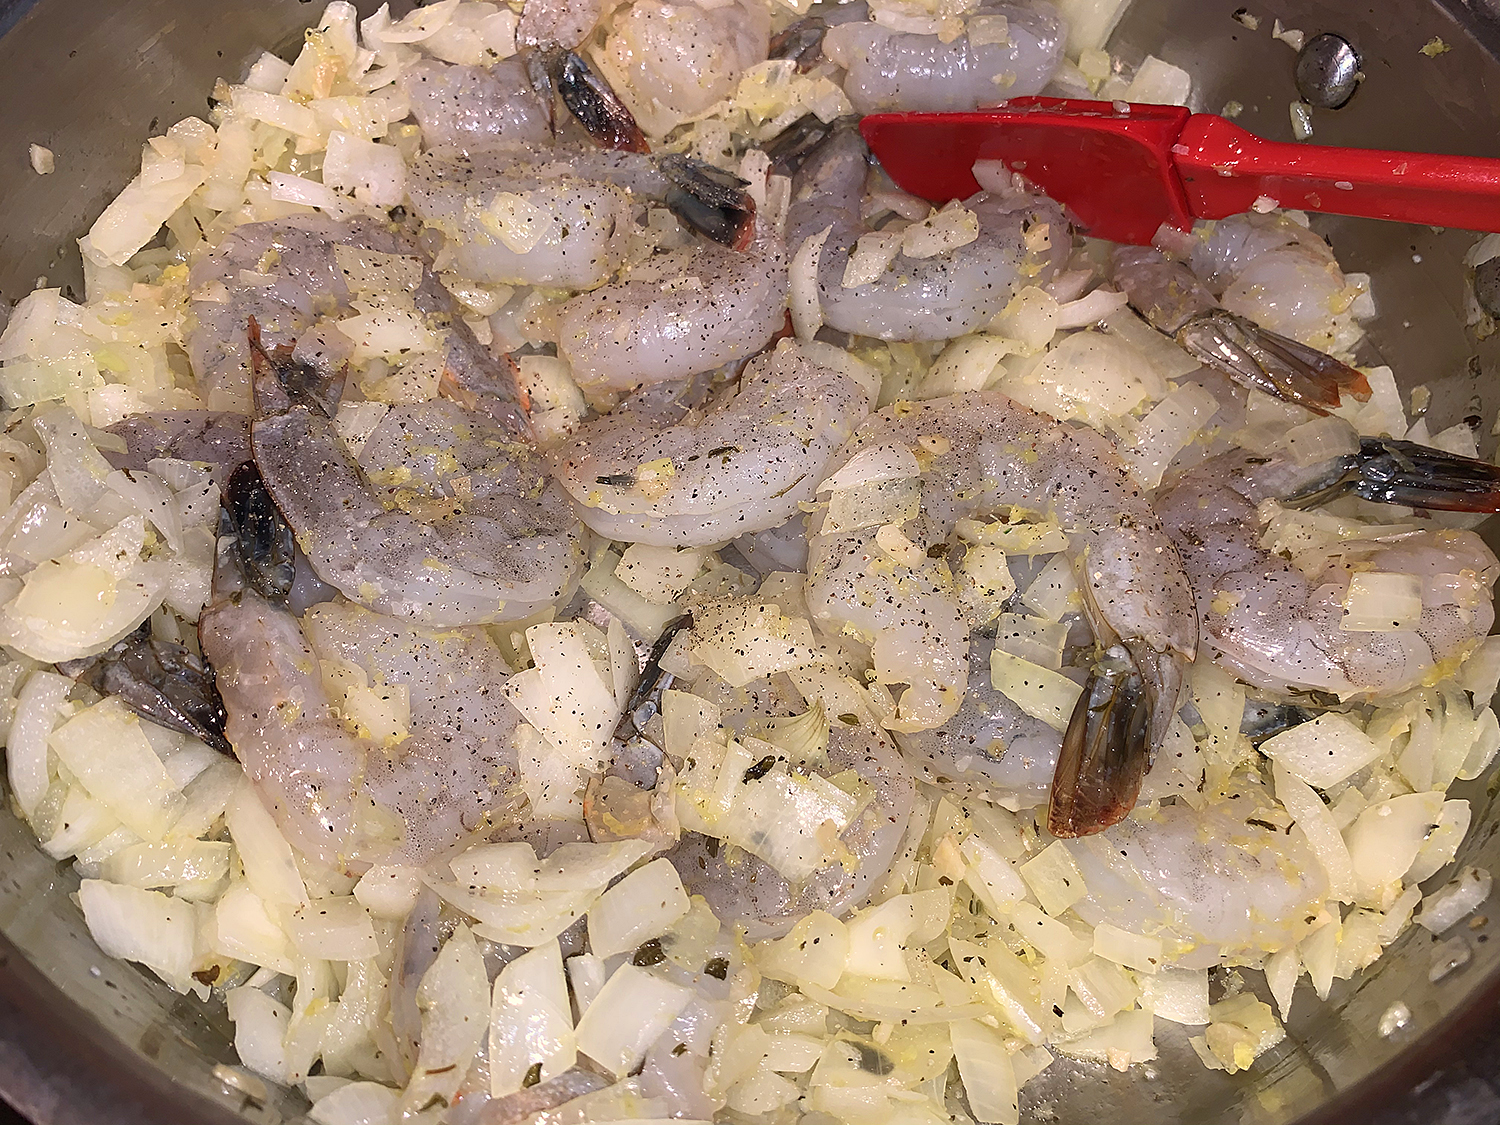
Chicken in Yogurt Mix 
Blended Cashews 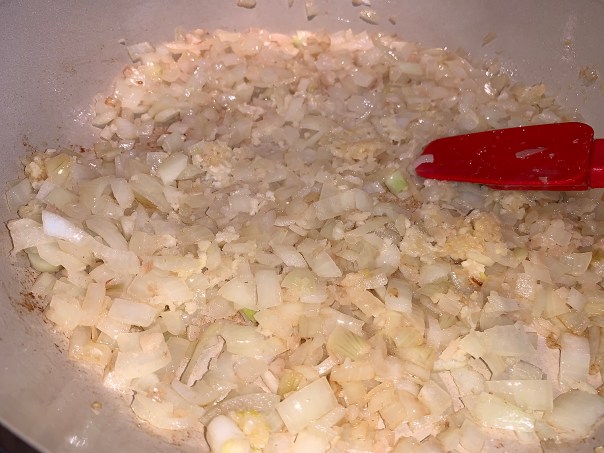
Sautéed Onions 
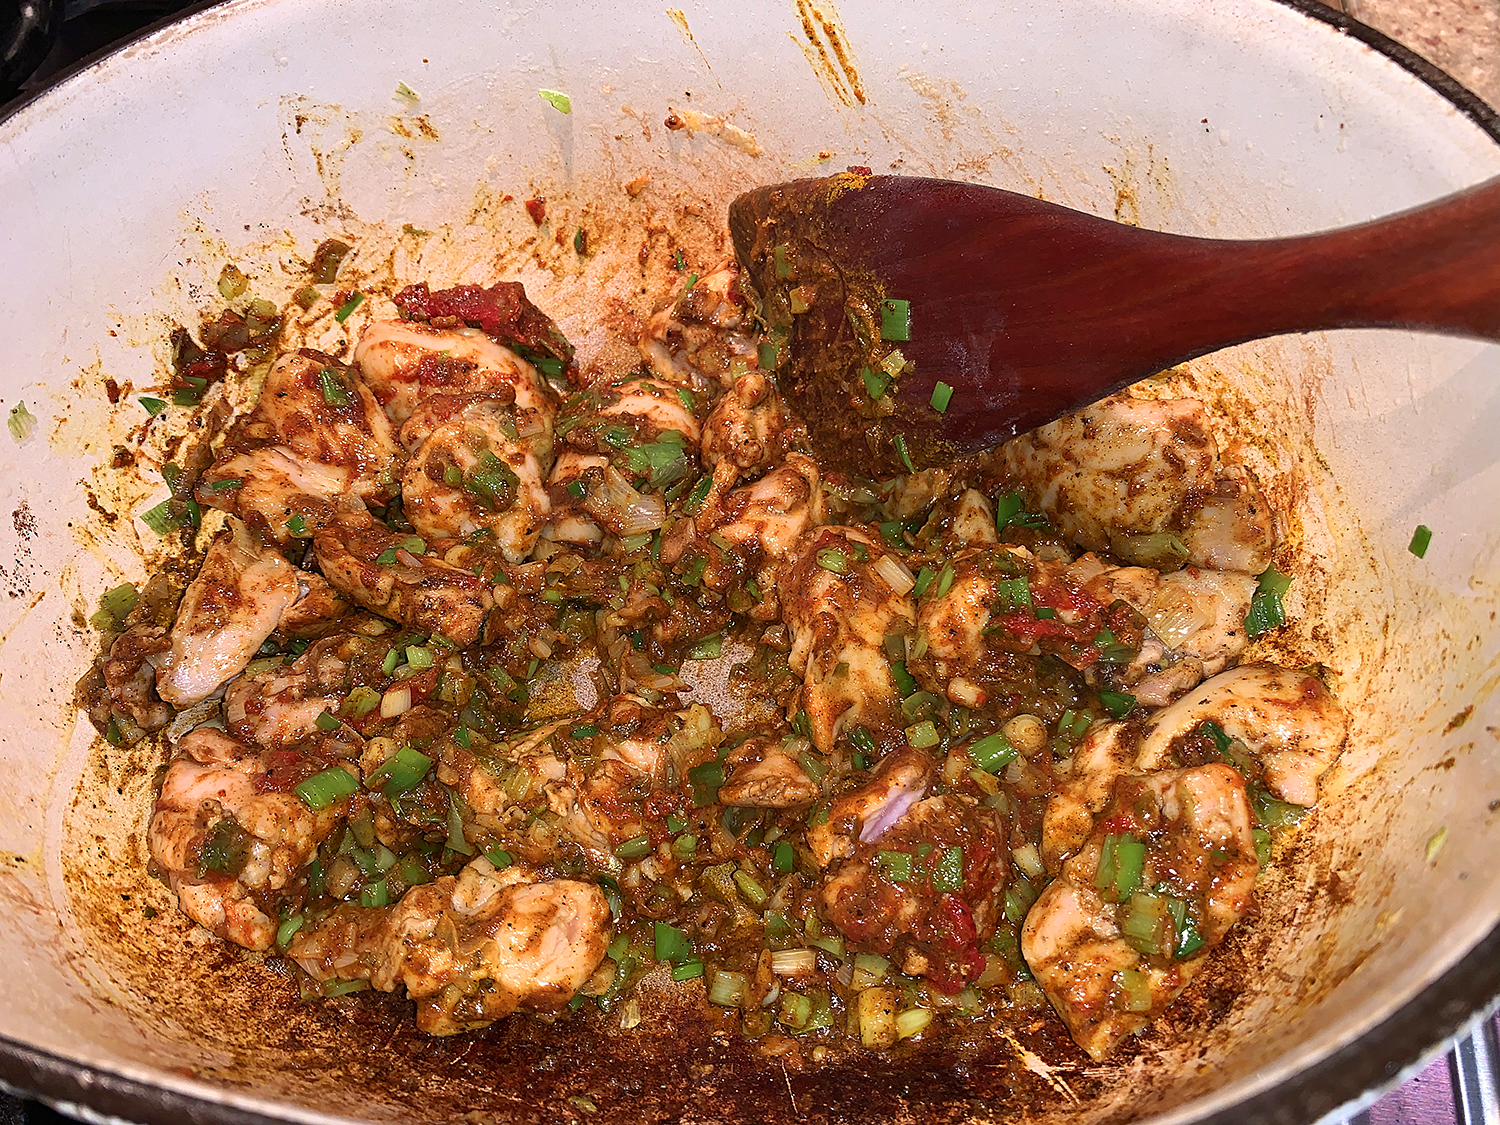
Onions with Spices 
Onions with Cashew Mixture
- In a large bowl, whisk together the yogurt, honey, paprika, cayenne, 3 tablespoons garam masala, 1 tablespoon cumin, 1 tablespoon ginger and 2 teaspoons salt.
- Add the chicken and stir until evenly coated. Cover and refrigerate for at least 30 minutes or for up to 1 hour.
- Heat the broiler with a rack about 6 inches from the broiler element. Line a rimmed baking sheet with foil, set a wire rack in the baking sheet and mist it with cooking spray.
- In a blender, puree the cashews with ¾ cup water until smooth, about 1 minute; set aside.
- In a large Dutch oven over medium, melt 2 tablespoons of butter. Add the onion and cook, stirring occasionally, until beginning to brown, about 5 minutes. Stir in the remaining 1 tablespoon ginger and the garlic, then cook until fragrant, about 30 seconds.
- Stir in the remaining 1 tablespoon garam masala and the remaining 1 tablespoon cumin. Add the cashew puree and cook, stirring constantly, until the mixture begins to brown, about 3 minutes.
- Stir in the tomatoes and 2 cups water, scraping up any browned bits. Add the remaining 2 tablespoons butter and bring to a simmer, stirring to combine. Reduce to medium and cook, stirring often, until the sauce is thick enough to heavily coat a spoon, 12 to14 minutes.
- Taste and season with salt and pepper. Remove from the heat and cover to keep warm.
- Arrange the chicken with its marinade still clinging to it in an even layer on the prepared rack. Broil until well browned and lightly charred on both sides, 15 to 20 minutes, flipping the pieces once about halfway through.
- Transfer to the sauce, bring to a simmer over medium and cook, stirring occasionally, until a skewer inserted into the chicken meets no resistance, about 10 minutes.
- Off heat, stir in the cilantro and lime juice, then let stand for 5 minutes. Taste and season with salt and pepper.
Adapted from a recipe by Diane Unger from Milk Street

Adding Crushed Tomatoes 
Add Butter 
Coated Chicken on Rack 
Broiled Chicken 
Broiled Chicken in Sauce
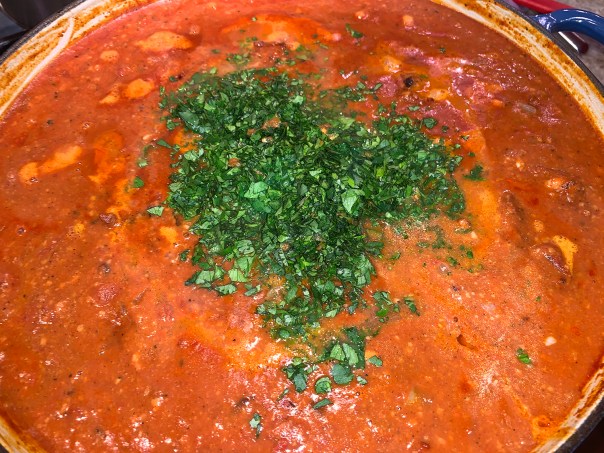
Add Cilantro and Lime Juice 
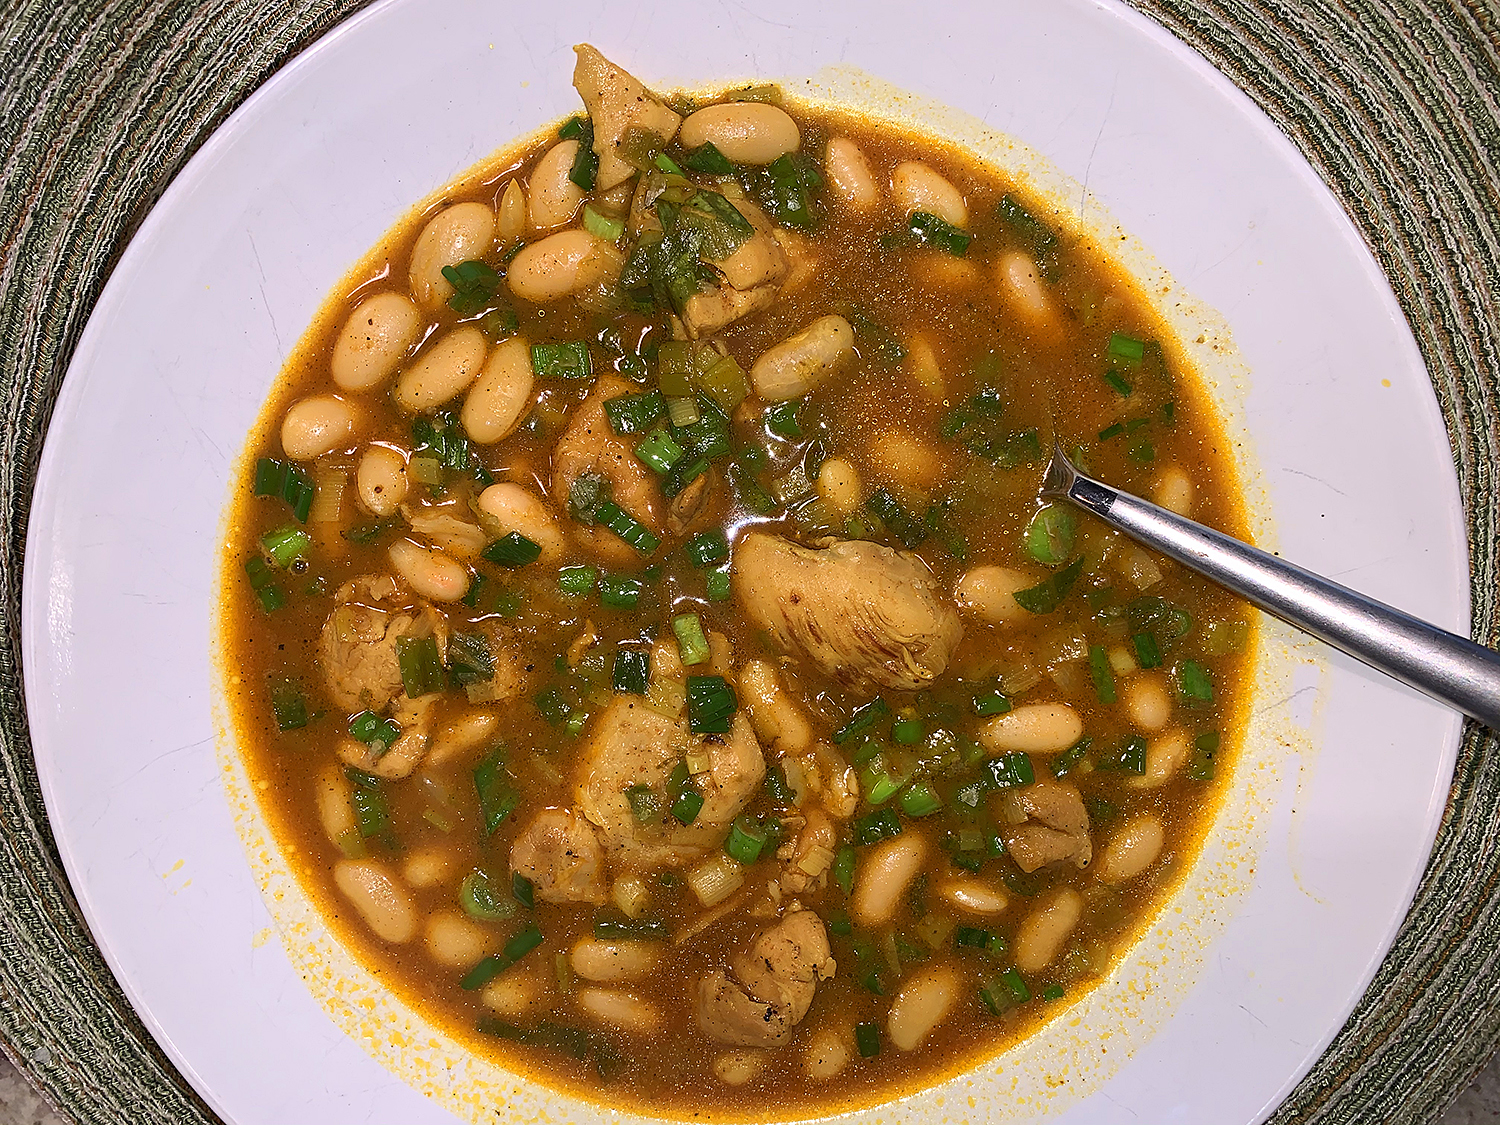
Plated over Basmati Rice


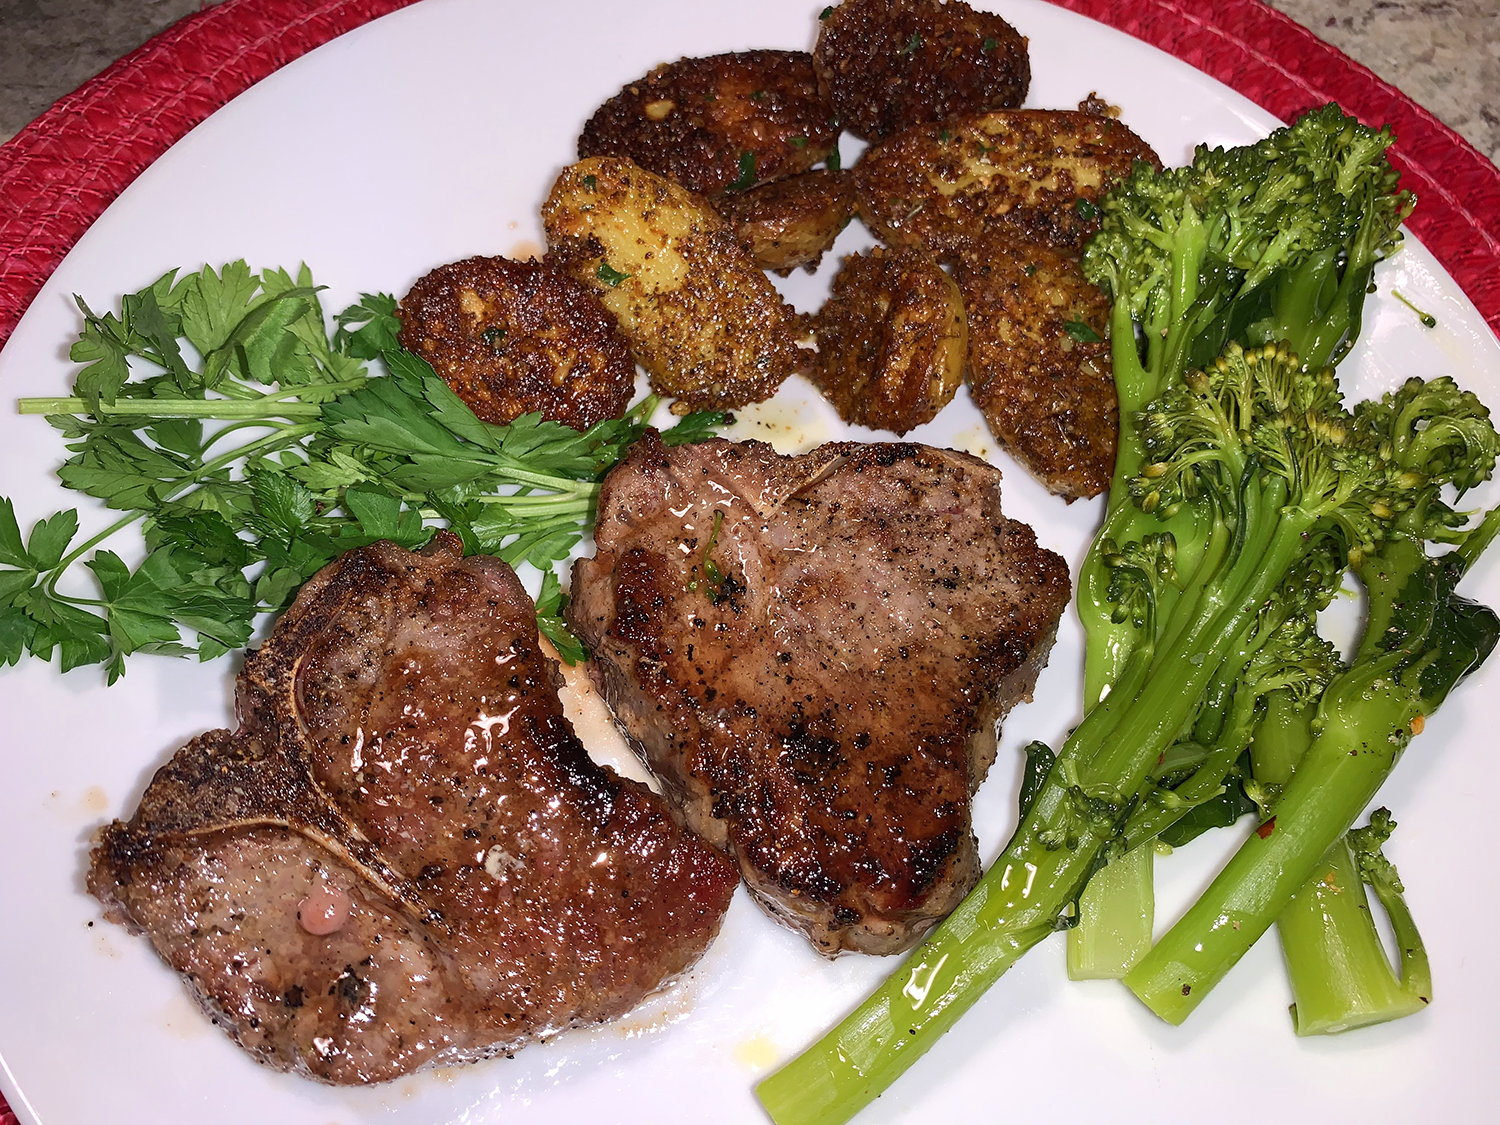 We served our potatoes with pan seared lamb loin chops and sautéed broccolini.


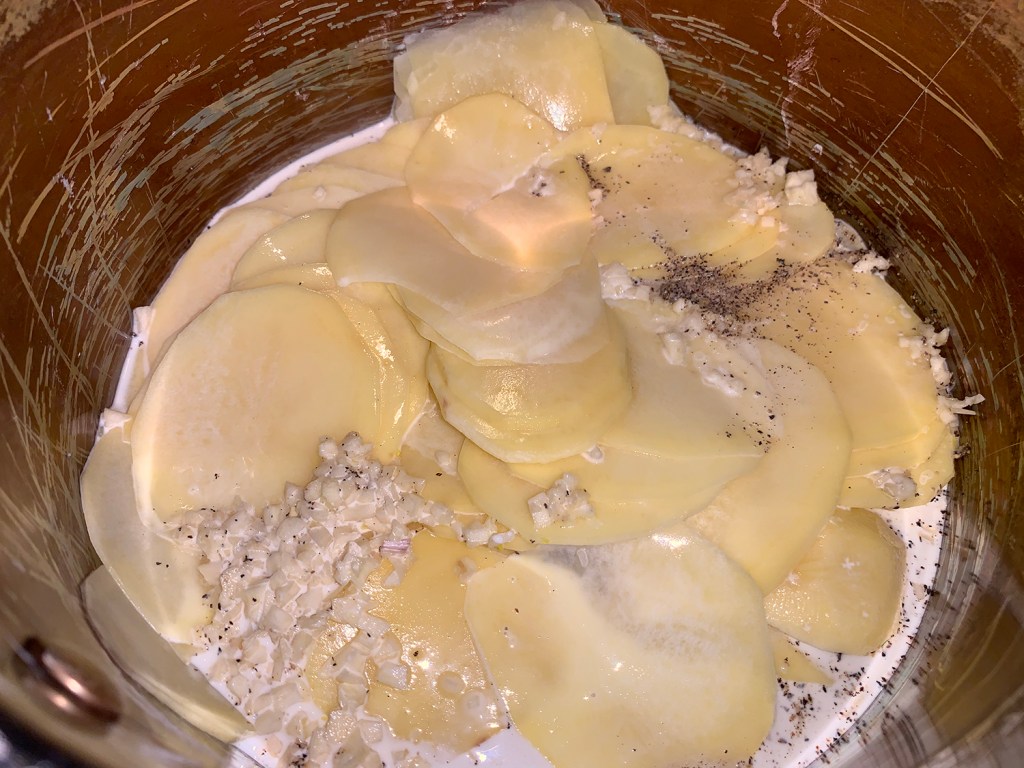
 We completed our meal with a side of twice baked potatoes.